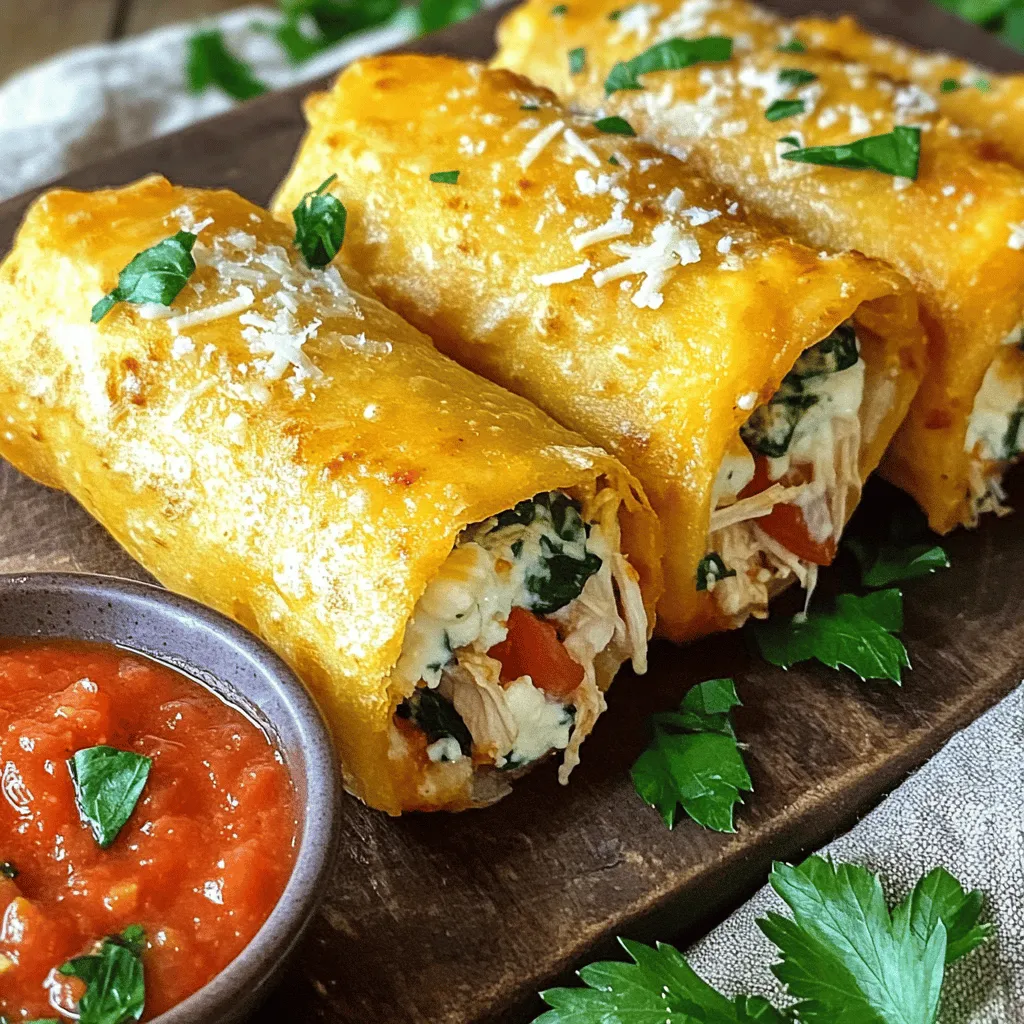
If you love cheesy, savory meals that come together fast, you’re in for a treat. Cheesy Garlic Chicken Wraps are juicy and packed with flavor. With just a few simple ingredients, you can create a delicious meal that will delight your whole family. Stick around as we dive into easy steps, helpful tips, and creative variations to make this wrap truly yours!
Ingredients
Main Ingredients
– 2 cups cooked chicken, shredded
– 1 cup shredded mozzarella cheese
– 1/2 cup cream cheese, softened
– 3 cloves garlic, minced
– 1 teaspoon Italian seasoning
Optional Ingredients
– 1/2 teaspoon red pepper flakes
– 4 large tortillas (flour or whole wheat)
– 1 cup spinach leaves
– 1/2 cup diced tomatoes
– 1/4 cup grated Parmesan cheese
– Olive oil for cooking
Seasoning and Garnishing
– Salt and pepper to taste
– Fresh herbs for garnish (parsley or basil)
To make cheesy garlic chicken wraps, start with the main ingredients. Shredded chicken is key. It adds protein and flavor. Next, mozzarella cheese makes it gooey and rich. Cream cheese adds creaminess. Garlic gives it that lovely punch. Italian seasoning ties all flavors together.
You can add optional ingredients to personalize your wraps. Red pepper flakes give a spicy kick. Tortillas are the perfect vessel for all the goodness. Spinach adds a fresh touch. Diced tomatoes bring color and sweetness. Grated Parmesan cheese enhances the cheesy goodness. A drizzle of olive oil helps everything cook nicely.
Don’t forget seasoning! Salt and pepper balance the flavors. Fresh herbs like parsley or basil make it look pretty and taste fresh.
Step-by-Step Instructions
Preparing the Filling
– Combine shredded chicken, cheeses, garlic, and seasonings in a bowl.
– Mix until all ingredients are fully combined.
To start, you need to gather all your ingredients. Shredded chicken gives the wrap its main protein. The mozzarella and cream cheese add creaminess and flavor. Garlic brings a lovely aroma, while Italian seasoning gives it that classic taste. I often like to add a pinch of salt and pepper to enhance the flavors. Mixing this in a bowl makes it easy to see if everything is blended well.
Assembling the Wraps
– Layer spinach and cheesy chicken mixture on tortillas.
– Add diced tomatoes and sprinkle Parmesan cheese.
Next, take your tortillas and lay them on a clean surface. Start with a layer of fresh spinach leaves. This adds crunch and a pop of color. Spoon on about a quarter of your cheesy chicken filling in the center. Then, top it off with some diced tomatoes for freshness and a sprinkle of Parmesan cheese for extra flavor.
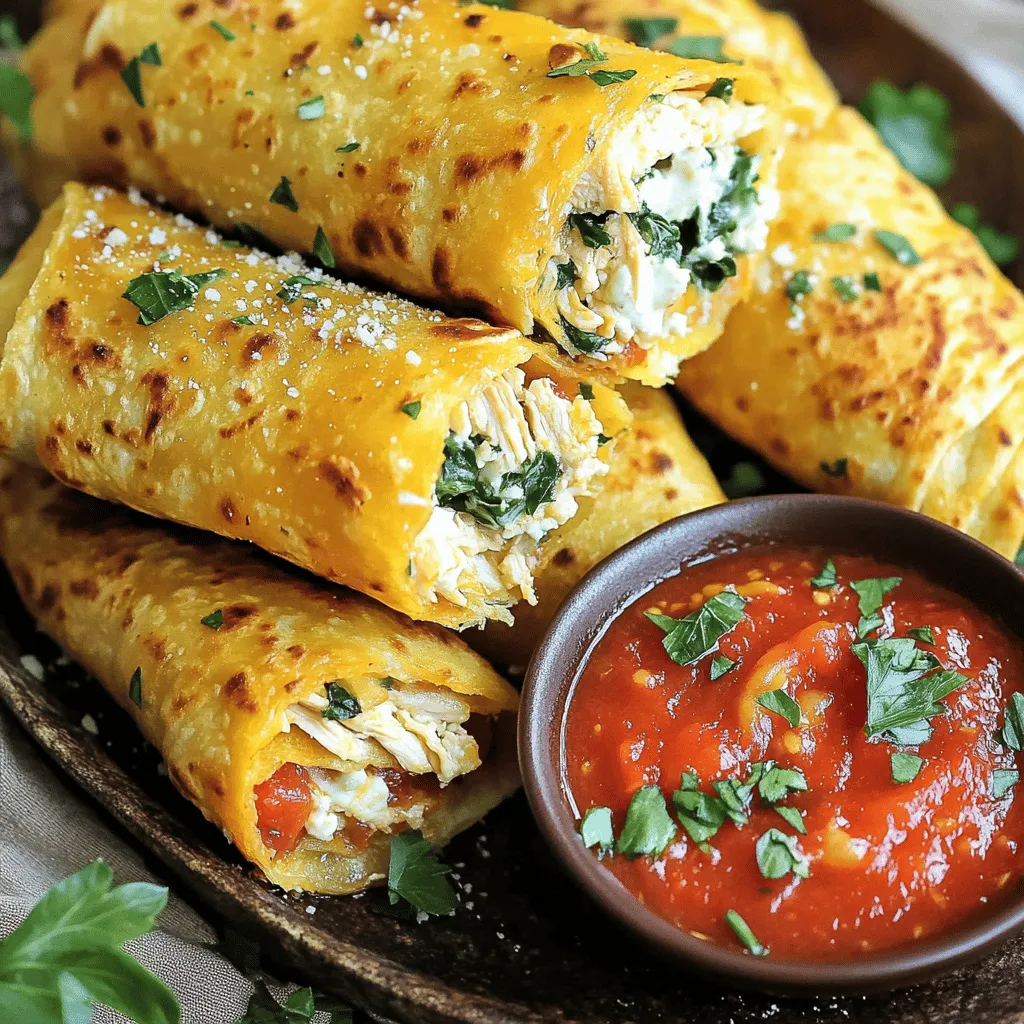
Cooking the Wraps
– Pan-fry in olive oil until golden brown.
– Cool slightly and slice for serving.
Now it’s time to cook! Heat a drizzle of olive oil in a skillet over medium heat. Place the wraps seam side down in the skillet. Cook them for about 3-4 minutes on each side. You want them golden brown and crispy. Once done, let them cool for a moment before slicing them diagonally. This makes them easy to eat and visually appealing. Enjoy your cheesy garlic chicken wraps!
Tips & Tricks
Perfecting Your Wrap
To make a great wrap, you want it tight. Start by laying your filling in the center. Roll it carefully, folding in the sides as you go. This keeps your filling from spilling out. For a crispy wrap, heat your skillet well. Use enough olive oil to coat the bottom. Cook each side until golden brown, about 3-4 minutes.
Common Mistakes to Avoid
One common mistake is overfilling your tortillas. If you add too much, they won’t close. Stick to a quarter of the filling per wrap. Another mistake is cooking at too high a temperature. It can burn the outside while leaving the inside cold. Keep your heat moderate for even cooking.
Enhancing Flavor
Want to add more flavor? Try adding spices like smoked paprika or cumin. They can give your wraps a nice kick. For dips, marinara sauce is a classic choice. You can also serve with ranch or garlic sauce for a tasty twist. These pairings make your meal even better. Enjoy experimenting with different flavors!
Variations
When making cheesy garlic chicken wraps, you can easily switch things up. Here are some fun variations you can try!
Vegetarian Version
You can make these wraps vegetarian. Just substitute the chicken with roasted vegetables or beans. Roasted bell peppers, zucchini, and mushrooms work great. Beans like black beans or chickpeas add protein and flavor. This way, everyone can enjoy a cheesy delight!
Flavor Twist Ideas
Want to add some zing? Try adding barbecue sauce. It gives a great smoky flavor to your wraps. You can also change the cheeses. Cheddar or pepper jack can add a spicy kick. Mixing different cheeses makes each bite exciting and tasty.
Low-Carb Option
If you want a low-carb meal, use lettuce wraps instead of tortillas. Crisp lettuce leaves are a fresh and crunchy option. They keep the wraps light while still being full of flavor. You won’t miss the tortillas at all!
These variations keep your meal fun and interesting. Each option gives you a new way to enjoy cheesy garlic chicken wraps.Enjoy your cooking adventure!
Storage Info
Storing Leftovers
To keep your cheesy garlic chicken wraps fresh, store them properly. First, let the wraps cool to room temperature. Then, wrap each one tightly in plastic wrap. This helps keep air out and prevents drying. You can also place them in an airtight container. Make sure to store them in the fridge. They will stay good for about three days.
If you want to save wraps for longer, freezing is a great option. Wrap each one in plastic, then place them in a freezer bag. Be sure to remove as much air as possible. You can freeze them for up to three months. Label the bags with the date for easy tracking.
Reheating Suggestions
When it’s time to enjoy your wraps again, reheating them the right way is key. The best method is to use an oven or a skillet. If using an oven, preheat it to 350°F (175°C). Place the wraps on a baking sheet and cover them with foil. Heat for about 10-15 minutes until warm.
For a skillet, heat it over medium heat. Place the wraps seam side down and cook for 3-4 minutes on each side. This helps keep the outside crispy while warming the filling. Avoid using the microwave, as it can make the wraps soggy. Enjoy your cheesy garlic chicken wraps just like they were fresh!
FAQs
How can I make Cheesy Garlic Chicken Wraps in advance?
You can prep these wraps ahead of time. Start by making the filling. Mix the chicken, cheeses, garlic, and seasonings. Store this mixture in the fridge for up to two days. When you’re ready to eat, assemble the wraps. Keep the tortillas separate until you cook them. This keeps them fresh and prevents sogginess.
For best results, you can also freeze the assembled wraps. Wrap each one in plastic wrap, then store in a freezer bag. They will last up to three months. When it’s time to cook, thaw them overnight in the fridge. Then pan-fry them until crispy.
Can I use other types of cheese?
Yes, you can use other cheeses! Cheddar brings a sharp flavor. Pepper jack adds a spicy kick. Gouda gives a rich, smoky taste. Each cheese changes the flavor of your wraps. Mix and match to find your favorite combo. Just keep in mind that some cheeses melt better than others.
What are some side dishes that pair well with these wraps?
These wraps go great with many sides. A fresh salad adds crunch and brightness. You could also serve them with vegetable sticks and hummus for a healthy option. For something warm, try a bowl of tomato soup. It’s perfect for dipping! Consider serving with marinara sauce for extra flavor. Whatever you choose, these wraps will shine as the main dish.
In this blog post, we explored how to make Cheesy Garlic Chicken Wraps. We covered the main ingredients, optional add-ins, and seasoning tips. I shared step-by-step instructions on preparing the filling, assembling the wraps, and cooking them to perfection. You also learned about variations, mistakes to avoid, and storage tips.
These wraps are simple, tasty, and perfect for any meal. Experiment with flavors and enjoy this easy dish!