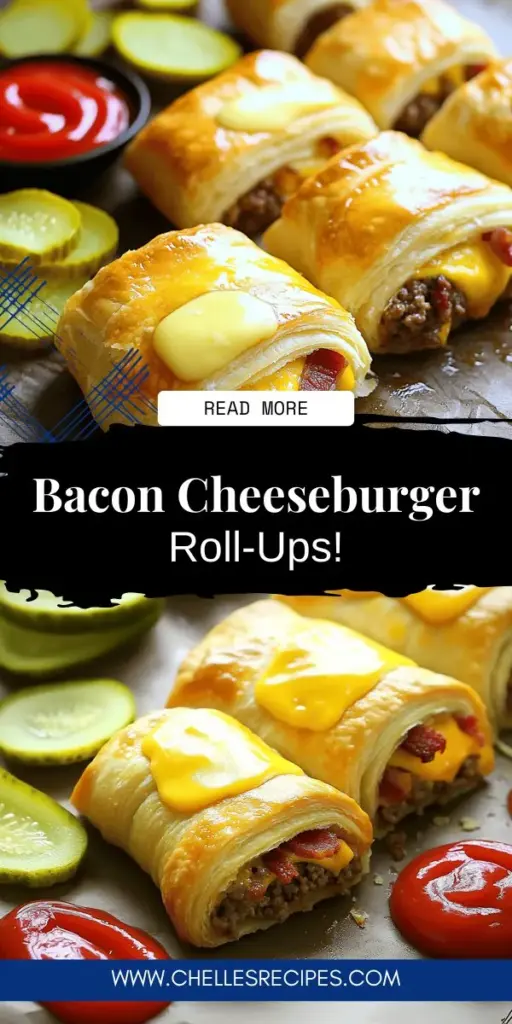
Are you looking for a fun and tasty snack? Look no further! Bacon Cheeseburger Roll-Ups are here to save the day. These easy-to-make treats combine crispy bacon, savory beef, and gooey cheese—all wrapped up for a bite-sized delight. Perfect for family gatherings or quick meals, they will impress everyone. Read on to discover how to make these delicious roll-ups and why they are a hit among snack lovers!
What are Bacon Cheeseburger Roll-Ups and Why Are They Popular?
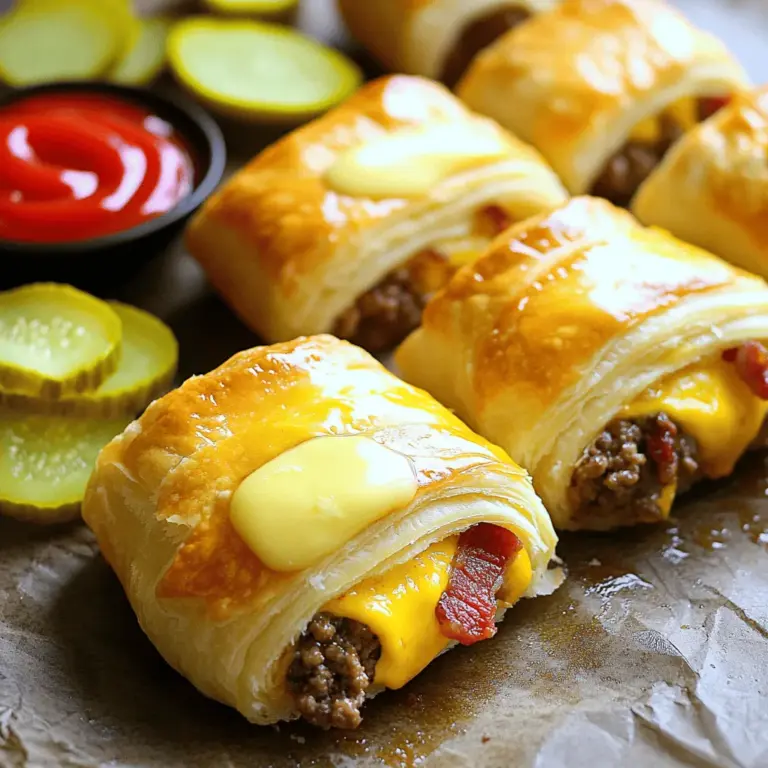
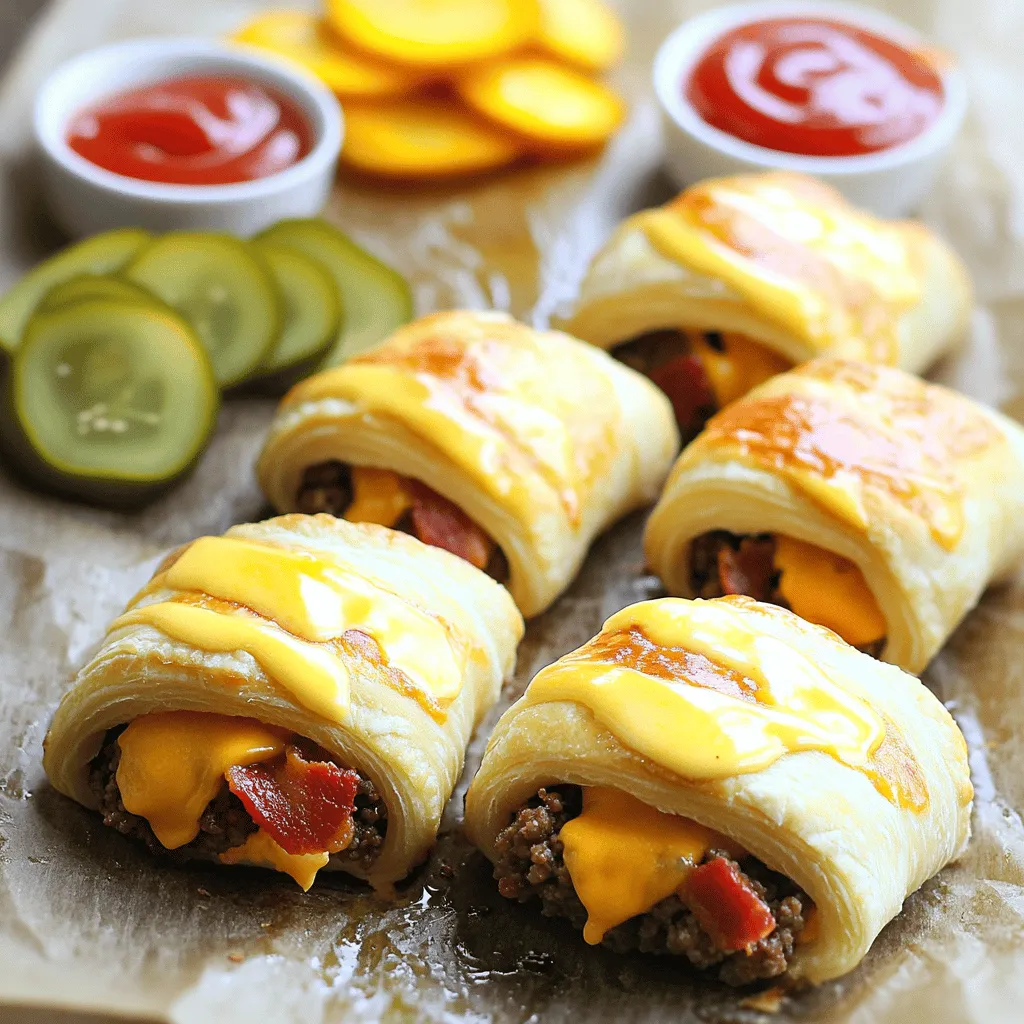
Bacon cheeseburger roll-ups are a fun twist on classic burgers. They combine ground beef, bacon, and cheese in a tasty roll. You wrap all of that goodness in crescent dough. This snack is easy to make and loved by many.
What Ingredients Are Essential for Bacon Cheeseburger Roll-Ups?
To make these roll-ups, you need a few key ingredients. Start with ground beef, about one pound. You also need one cup of shredded cheddar cheese. Don’t forget eight slices of crispy bacon, crumbled. Add garlic powder, onion powder, salt, and pepper for flavor. You will also need one package of crescent roll dough. Ketchup and mustard are great for serving.
Why Are These Roll-Ups a Trendy Snack Choice?
These roll-ups are trendy because they are quick to prepare. Many people love the mix of flavors. The crispy bacon and melted cheese create a delightful bite. Plus, they are easy to eat, making them perfect for parties or family movie nights. You can find many easy bacon cheeseburger roll-ups recipes online, which makes cooking them even simpler.
What Makes Bacon Cheeseburger Roll-Ups Family-Friendly?
Bacon cheeseburger roll-ups are family-friendly for several reasons. First, kids enjoy the familiar tastes of burgers. Second, they can help in the kitchen with the rolling. Lastly, these roll-ups are great for busy nights. They cook fast and fill hungry bellies. Serve them warm with ketchup and mustard for a fun meal.
How Can You Make Bacon Cheeseburger Roll-Ups Step-by-Step?
Making bacon cheeseburger roll-ups is simple and fun. Here’s how to make bacon cheeseburger roll-ups in a few easy steps.
What Are the Key Steps in the Cooking Process?
1. Preheat the Oven: Start by preheating your oven to 375°F (190°C). This step is key for cooking.
2. Cook the Beef: In a skillet, cook 1 pound of ground beef over medium heat. Brown it fully and drain any fat.
3. Season the Meat: Add 1 teaspoon each of garlic powder and onion powder. Add salt and pepper to taste. Mix well and remove from heat.
4. Prepare the Dough: Unroll 1 package of crescent roll dough and place it on a baking sheet. Cut it into squares and seal any holes.
5. Mix the Filling: In a bowl, mix the cooked beef, 1 cup of shredded cheddar cheese, and 8 slices of crumbled bacon.
6. Fill the Dough: Place a spoonful of the beef mixture in the center of each dough square.
7. Roll Them Up: Fold the corners of the dough over the filling. Pinch the seams to seal tightly.
8. Bake: Place the roll-ups seam side down on the baking sheet. Bake for 12-15 minutes until golden brown.
9. Serve: Enjoy warm with ketchup, mustard, and pickles.
How Can You Ensure Perfectly Cooked Roll-Ups Every Time?
To ensure perfectly cooked roll-ups, avoid overcooking the beef. Cook it just until brown. Drain fat well to keep the dough from getting soggy. Make sure to seal the roll-ups tightly. This keeps the filling inside during baking.
What Cooking Tips Should You Know Before Getting Started?
Use fresh ingredients for the best flavor. Preheat your oven to the correct temperature for even cooking. If you want a golden finish, brush the roll-ups with melted butter before baking. You can also add spices to the beef for extra flavor.
These steps and tips will help you make delicious bacon cheeseburger roll-ups every time.

What Are Some Delicious Variations of Bacon Cheeseburger Roll-Ups?
You can make bacon cheeseburger roll-ups even more fun by adding different flavors. Try adding jalapeños for a spicy kick. You can also mix in some sautéed onions or mushrooms for a savory twist. If you love cheese, add pepper jack or a creamy blue cheese for depth.
For a twist, use different meats. Ground turkey or chicken works well. You can even swap bacon for turkey bacon if you want a lighter option. These changes will give you unique bacon cheeseburger roll-ups every time.
You can also customize roll-ups for dietary needs. If you’re gluten-free, try using gluten-free crescent dough. For a lower-carb option, use lettuce leaves instead of dough. This makes a great wrap for those cutting carbs.
Bacon lovers can enjoy popular flavor combinations. Try adding barbecue sauce instead of ketchup for a smoky flavor. Mixing in ranch seasoning can also elevate the taste. You could even drizzle some sriracha for a fun, spicy option.
For serving, consider bacon cheeseburger dip. It combines all the flavors in a creamy, dippable form. You can serve it with chips or breadsticks. This variation is perfect for tailgating or parties, where everyone enjoys sharing delicious bites.
How Can You Serve and Present Bacon Cheeseburger Roll-Ups?
Bacon cheeseburger roll-ups are fun finger foods for any gathering. They are perfect for easy party snacks and family dinners. To make them stand out, think about how you serve them.
What Dipping Sauces Pair Well with These Roll-Ups?
Dipping sauces add flavor and fun. Ketchup and mustard are classic choices. You can also try barbecue sauce for a sweet twist. Ranch dressing gives a creamy touch. For a spicy kick, use sriracha or hot sauce. Each dip enhances the roll-up experience.
How Can You Present Roll-Ups for Special Occasions?
For special events, make your presentation pop. Arrange the roll-ups on a large platter. Garnish with fresh herbs like parsley or cilantro. You can add small bowls of dipping sauces around the roll-ups. This setup invites guests to grab and enjoy. Stack the roll-ups vertically in a tall glass for a fun display.
What Are Some Creative Serving Ideas for Guests?
Get creative with your serving ideas. Place roll-ups on mini skewers for easy eating. You can also serve them in small paper cones for a casual vibe. If you want to impress, create a roll-up bar. Provide various toppings like pickles, onions, and extra cheese. Guests can customize their own roll-ups. This adds excitement and makes the meal interactive.
These ideas make your bacon cheeseburger roll-ups shine. They turn simple snacks into memorable treats that everyone will love.
What Are the Best Practices for Storing and Reheating Roll-Ups?
How Should You Properly Store Bacon Cheeseburger Roll-Ups?
To store bacon cheeseburger roll-ups, first let them cool. Once cool, wrap them tightly in plastic wrap or foil. Place them in an airtight container. This keeps them fresh for up to three days in the fridge. If you want to keep them longer, store them in the freezer. They can last for about two months this way.
What Are the Best Methods for Reheating Leftovers?
When you reheat roll-ups, the goal is to keep them crispy. The oven works best for this. Preheat your oven to 350°F (175°C). Place the roll-ups on a baking sheet. Bake them for about 10-12 minutes. This reheating method crisps them up nicely. You can also use a microwave if you’re in a hurry. Just heat them for about 30 seconds, but they may not be as crispy.
Can You Make Roll-Ups in Advance for Meal Prep?
Yes, you can make roll-ups in advance! Prepare them and store them in the fridge before baking. When you are ready to eat, just bake them as directed. This method saves time on busy days. You can also freeze unbaked roll-ups. Just remember to thaw them in the fridge overnight before baking. This way, you’ll have a tasty, quick meal ready whenever you want.
What Are Some Related Recipes and Ideas for Bacon Lovers?
Bacon lovers have many tasty options. One great recipe is bacon-wrapped jalapeño poppers. They are spicy and creamy. You wrap fresh jalapeños with bacon and bake them. The flavor is amazing.
Another fun idea is bacon mac and cheese. You can add crispy bacon to your favorite mac and cheese. It adds crunch and a smoky taste. Kids love this dish, and it is easy to make.
If you want a quick snack, try bacon-wrapped potato bites. Just wrap small potatoes in bacon and bake them. They are crispy and fun to eat. Serve them with a dip for extra flavor.
You can also think outside the box with bacon. Try adding it to breakfast burritos. Mix scrambled eggs, cheese, and bacon in a tortilla. Roll it up for a hearty breakfast.
For lunch, consider a bacon spinach salad. Toss fresh spinach with crispy bacon, nuts, and a light dressing. It’s a fresh twist on a classic salad.
Don’t forget about bacon desserts! Try bacon chocolate chip cookies. The sweet and salty mix is a hit.
These ideas can help any bacon lover enjoy their favorite food in new ways.
Bacon cheeseburger roll-ups are tasty, easy, and fun to make. We covered key ingredients, cooking steps, and tasty variations. These roll-ups fit any gathering, whether it’s a snack or main dish. Plus, they adapt well for different diets. Always store leftovers properly and reheat for the best flavor. Explore more delicious bacon recipes to keep things exciting. Enjoy creating these roll-ups for family and friends! Your kitchen adventures with bacon will keep everyone coming back for more.