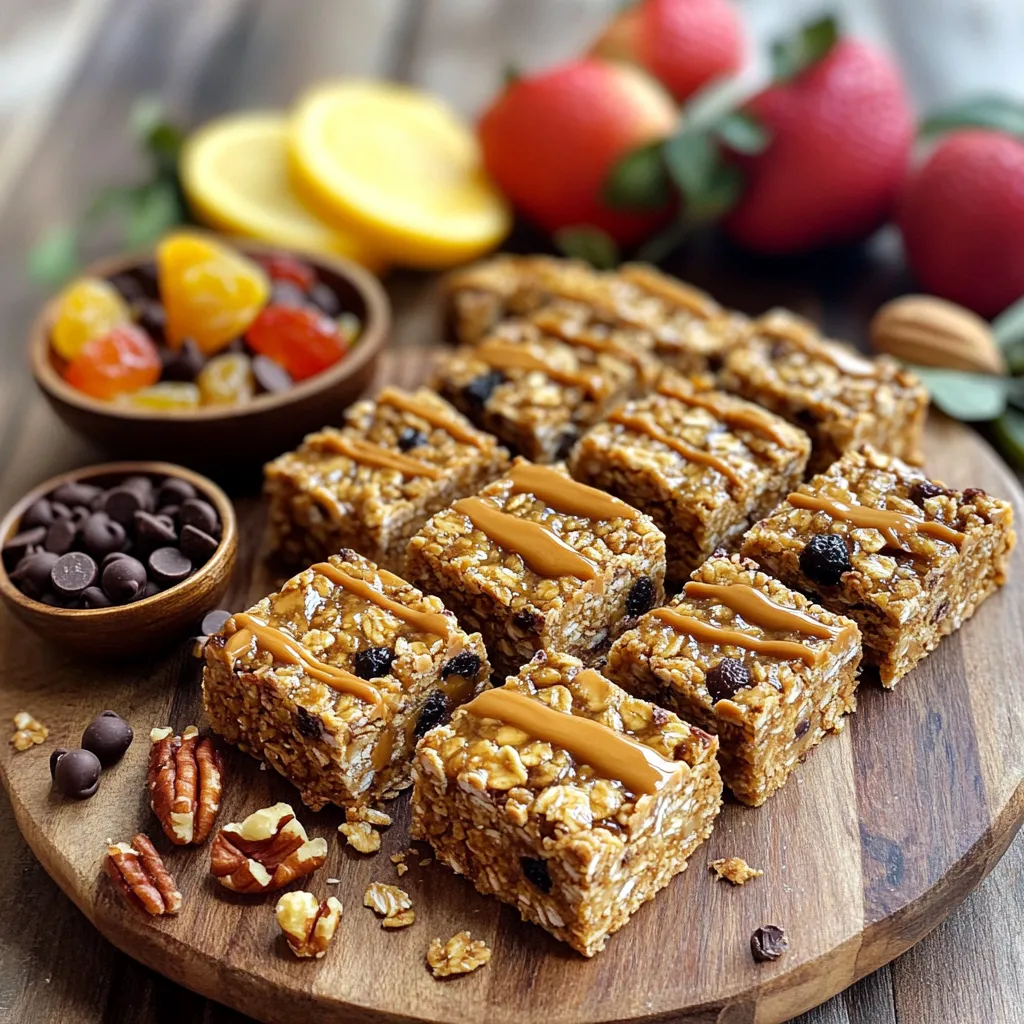
No-Bake Peanut Butter Granola Bars Easy Recipe
Craving a quick snack that packs a punch? Look no further! These No-Bake Peanut Butter Granola Bars are not just

Craving a quick snack that packs a punch? Look no further! These No-Bake Peanut Butter Granola Bars are not just
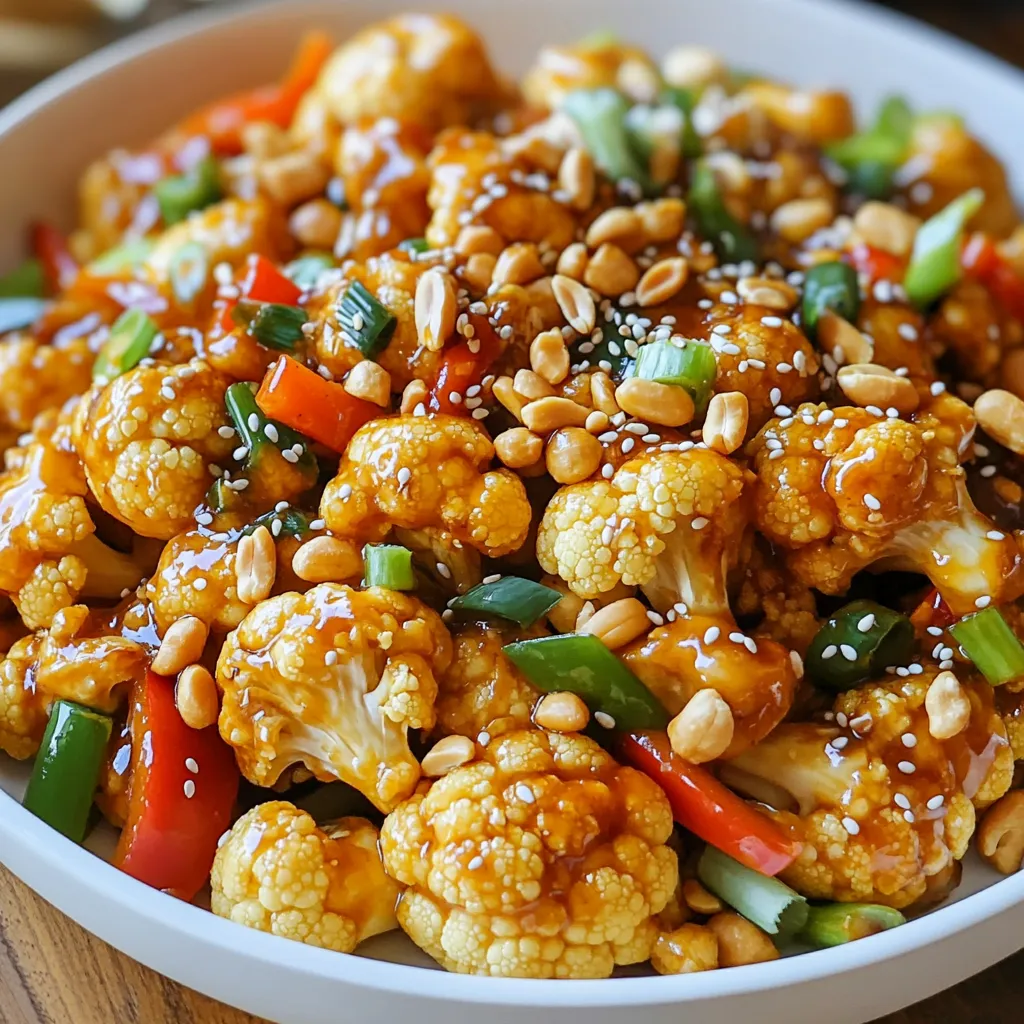
Looking for a tasty dish that’s both spicy and easy to make? You’ve found it! My Spicy Kung Pao Cauliflower
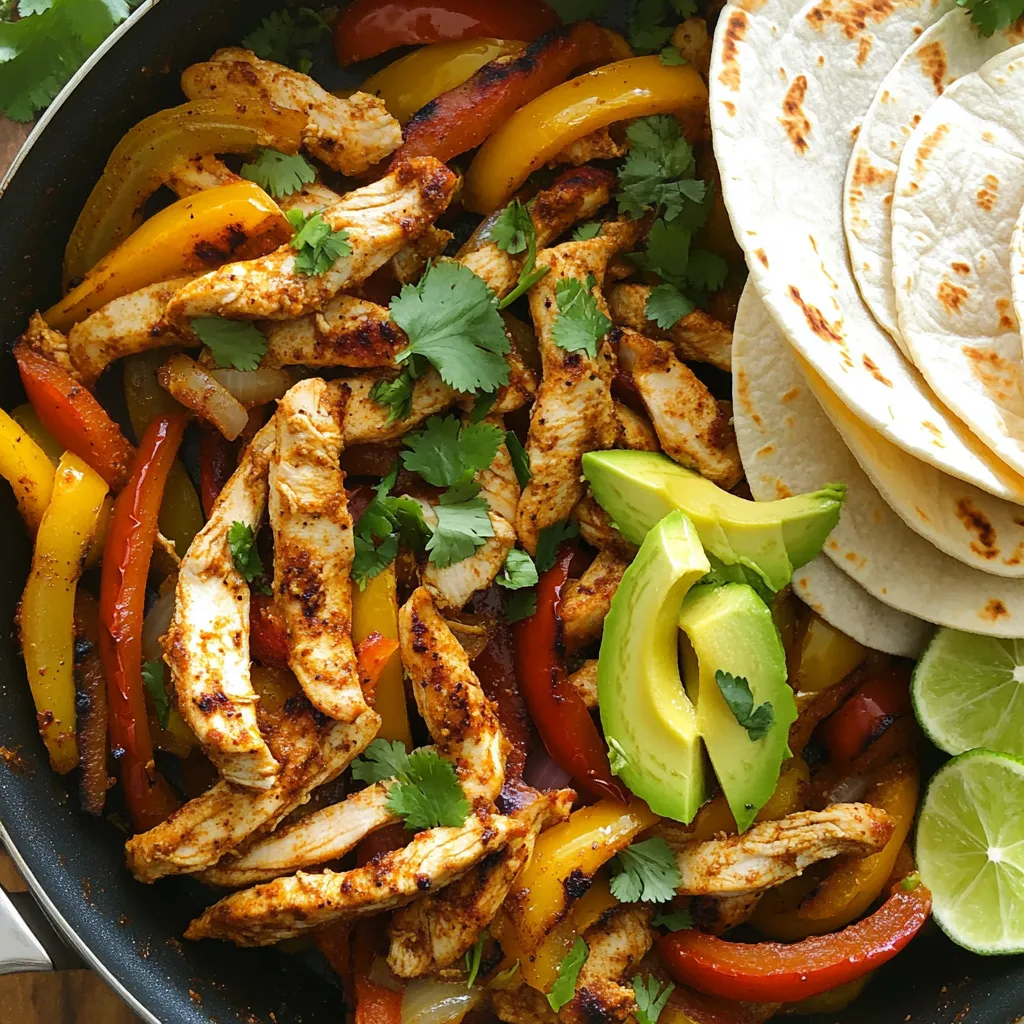
If you’re craving a dish that bursts with flavor and is easy to make, you’re in the right place! Smoky
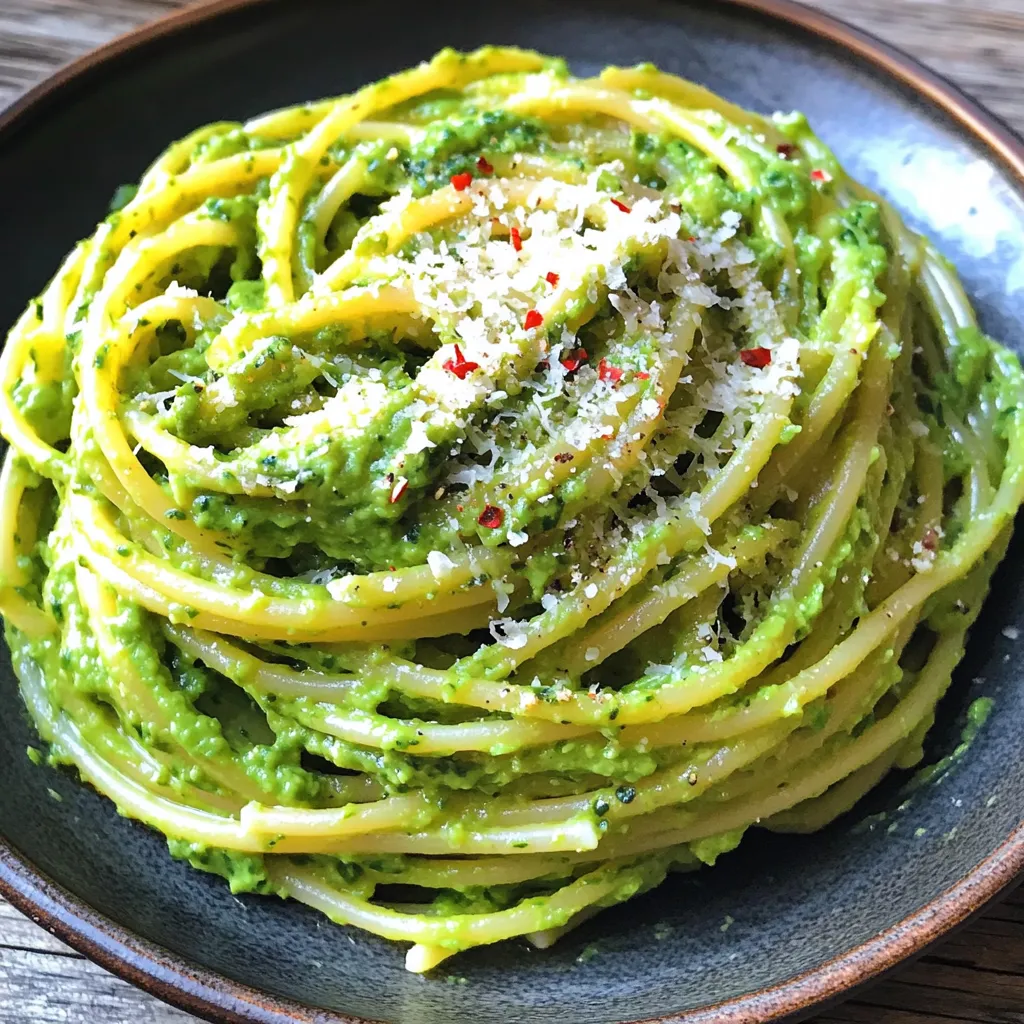
Looking for a quick and tasty meal? You’ll love this Minute Creamy Avocado Spinach Pasta Delight Recipe! With just a
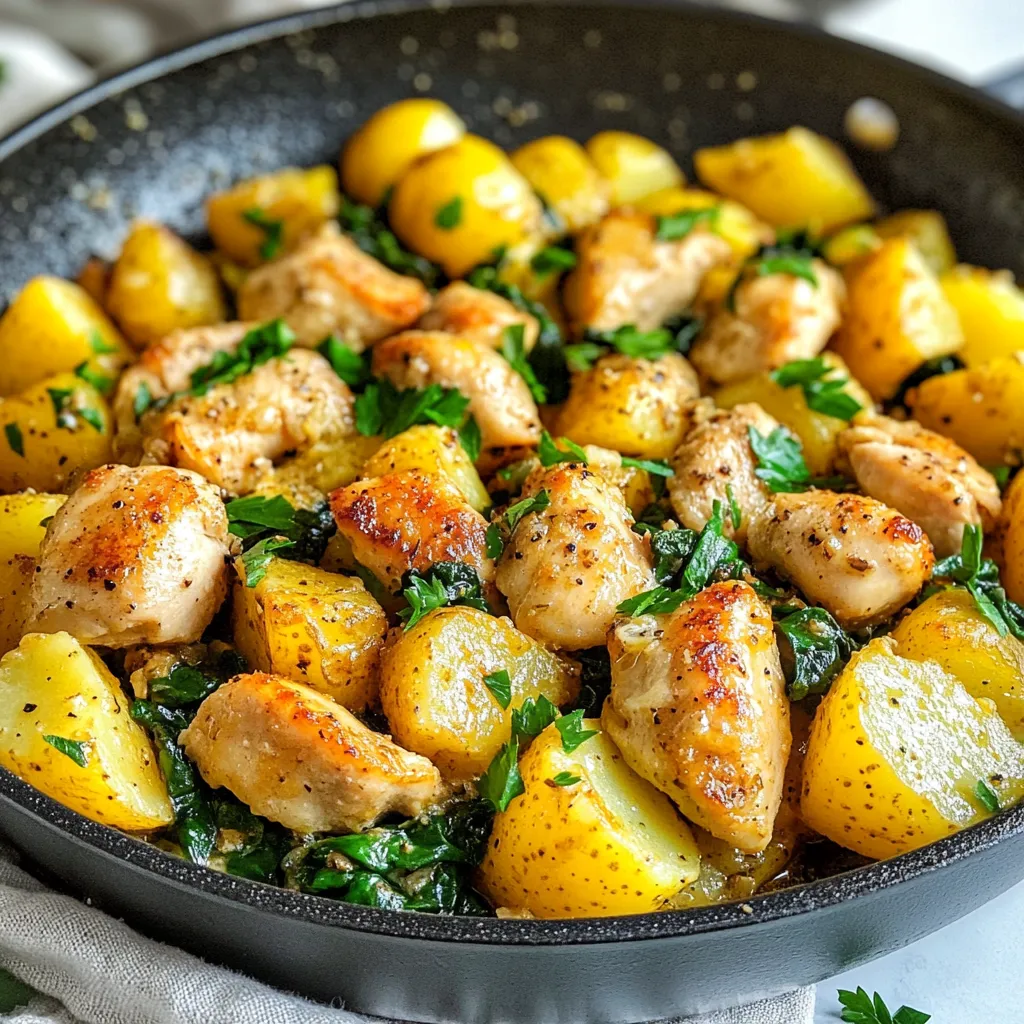
Are you ready to whip up a tasty Garlic Butter Chicken Potato Skillet? This simple, one-pan meal packs a flavor
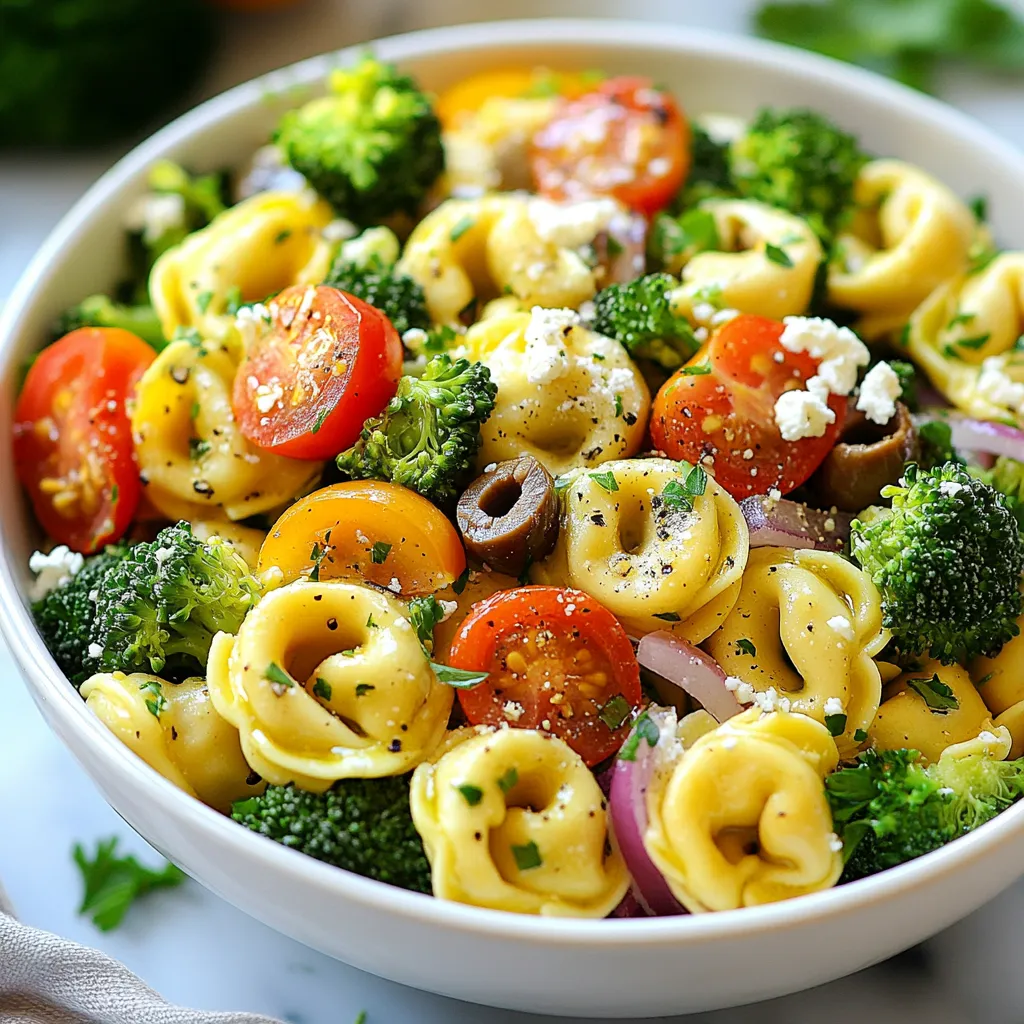
Looking for a dish that bursts with color and flavor? My Broccoli Tortellini Salad is the answer! This fresh and
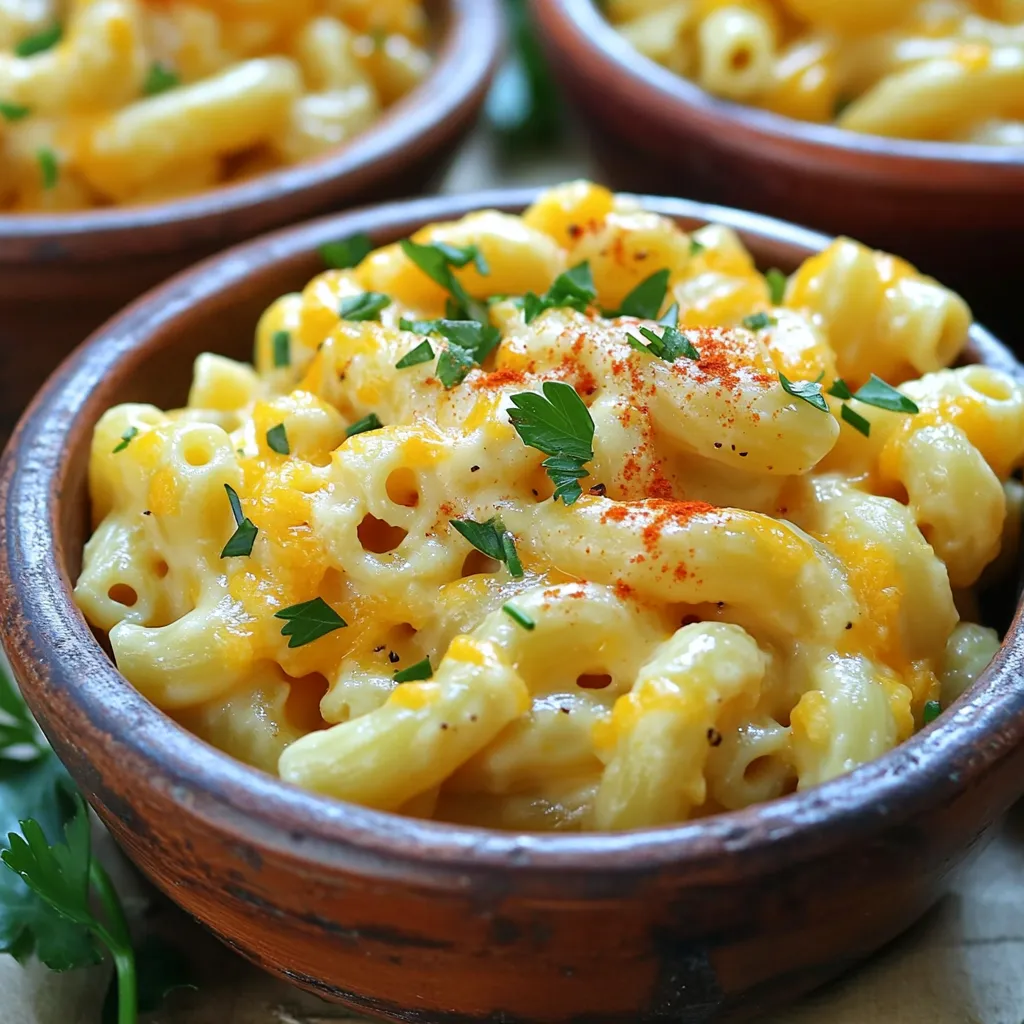
Are you ready to transform your mac and cheese game? In this article, I’ll show you how to make Protein

Autumn is here, and it’s time to bake some delicious Pumpkin Chocolate Chip Bars! These soft, gooey treats are perfect
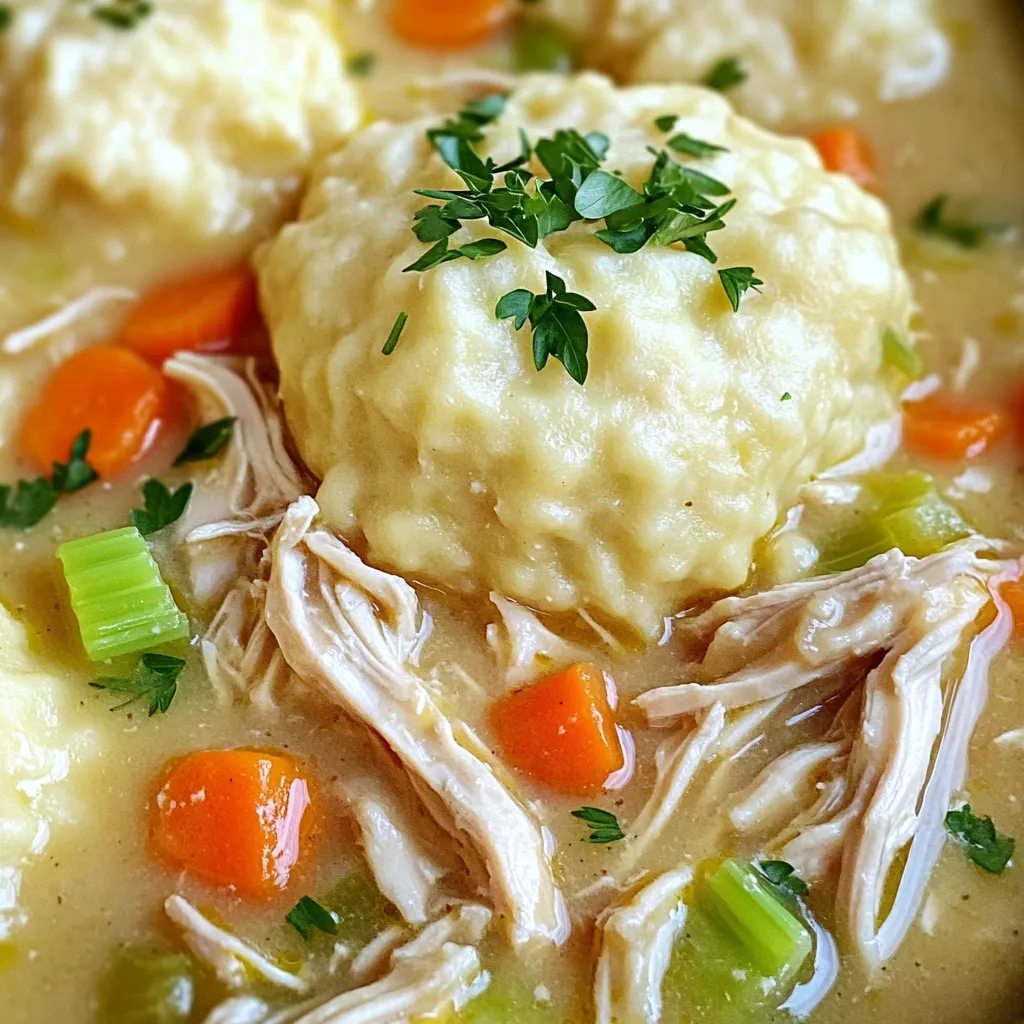
If you’re craving a warm and hearty meal, savory slow cooker chicken and dumplings is the answer. This dish is
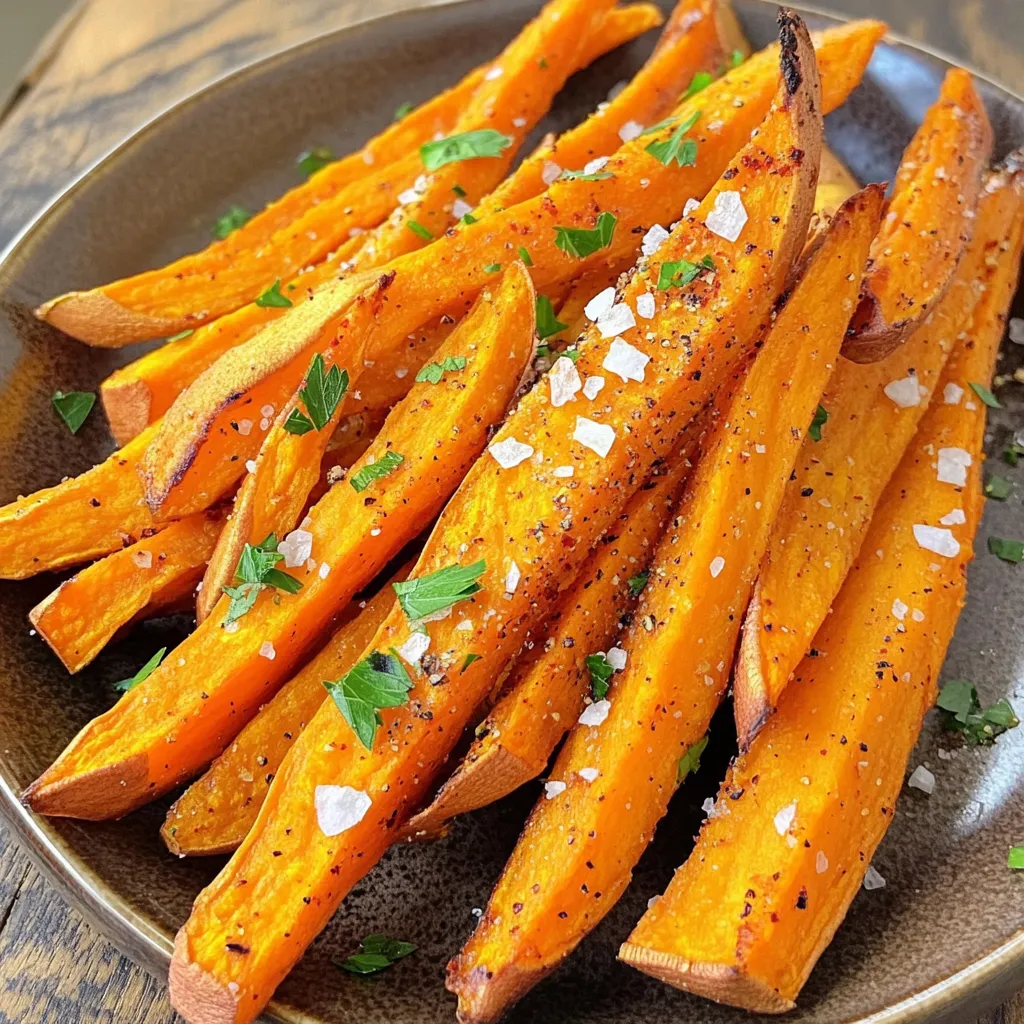
Looking for a tasty snack that’s both healthy and easy? You’ll love these Air Fryer Sweet Potato Fries! They are
