
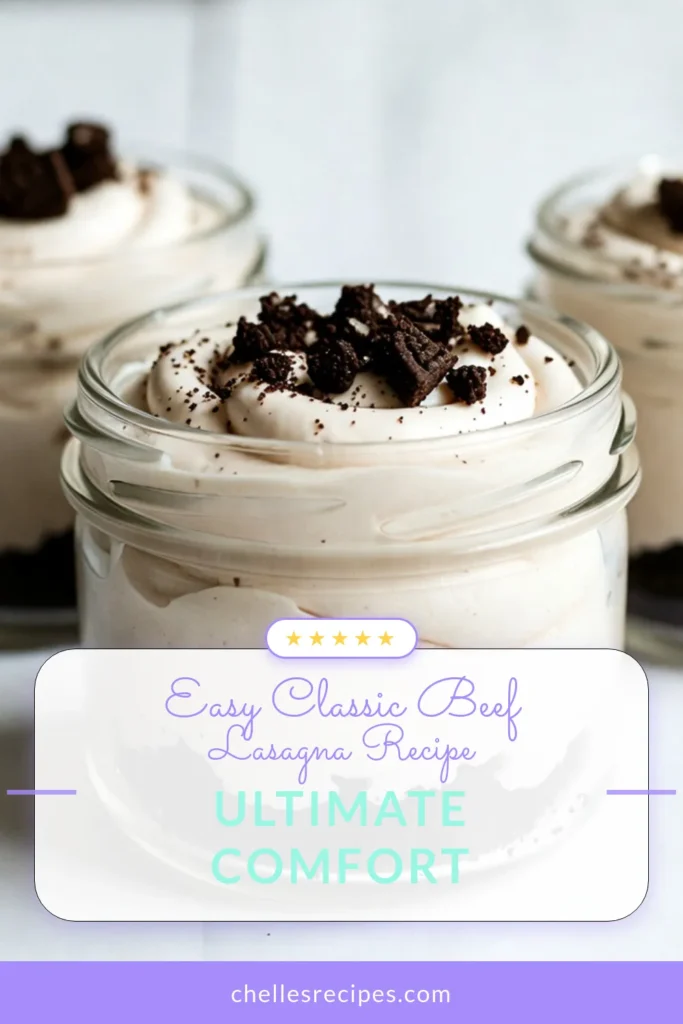
If you love easy desserts, this No Bake Oreo Cheesecake Jars recipe is perfect for you. You can whip up these delightful treats without turning on your oven. With just a few simple ingredients, you’ll create a creamy and crunchy dessert that pleases every time. Get ready to impress friends and family with a sweet treat that’s as fun to make as it is to eat! Let’s dive into the recipe!
Why I Love This Recipe
- Quick and Easy: This no-bake cheesecake is simple to prepare, making it perfect for last-minute dessert cravings.
- Individual Servings: Serving the cheesecake in jars not only looks adorable but also makes portion control a breeze.
- Decadent Flavor: The combination of Oreo cookies and creamy cheesecake filling creates a rich and indulgent dessert experience.
- Customizable: You can easily modify this recipe by adding different toppings or mix-ins to suit your taste preferences.
Ingredients
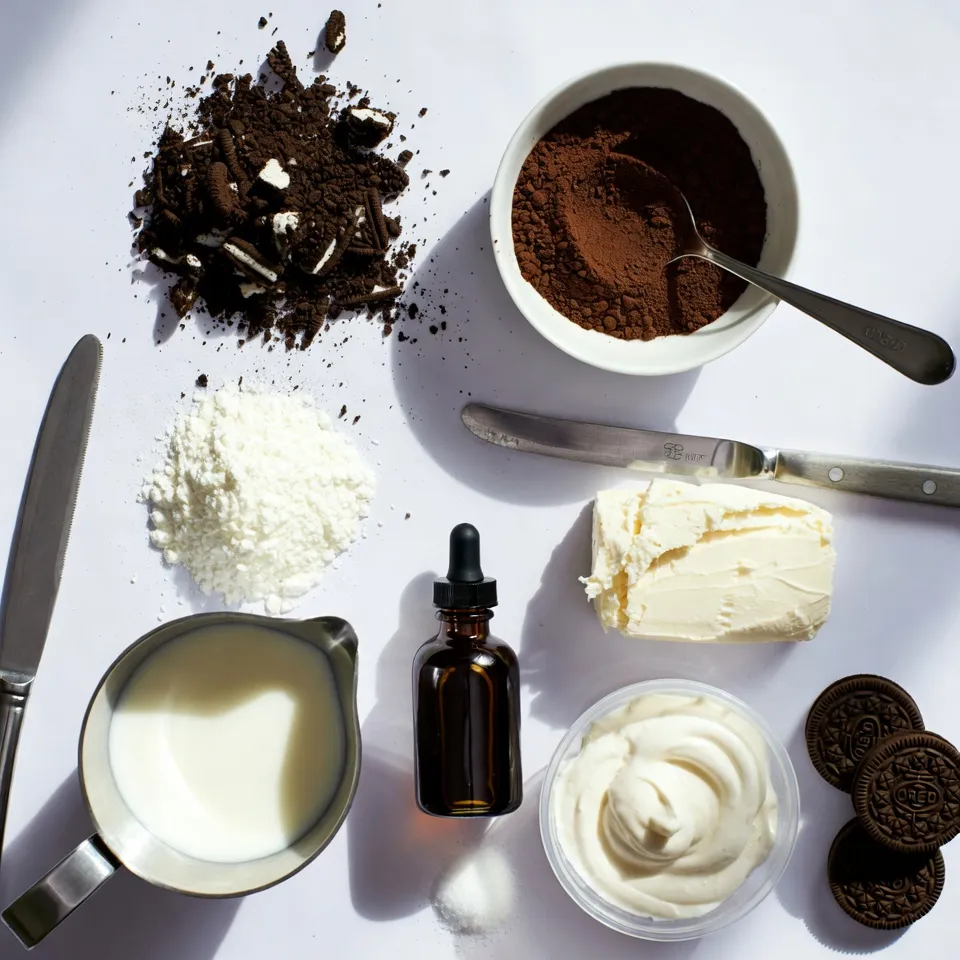
To make No Bake Oreo Cheesecake Jars, you’ll need some simple and tasty ingredients. Each component adds flavor and texture. Here’s what you need:
- 16 Oreo cookies, crushed
- 2 tablespoons unsweetened cocoa powder
- 1 cup cream cheese, softened
- 1/2 cup powdered sugar
- 1 teaspoon vanilla extract
- 1 cup heavy whipping cream
- 1/2 cup sour cream
- A pinch of salt
- Extra Oreos for garnish
These ingredients come together to create a rich and creamy dessert. Start with the crunchy Oreos for the base. The cocoa powder adds a deep chocolate flavor. Cream cheese provides that smooth and creamy texture, while the powdered sugar sweetens the mix. Vanilla extract gives the filling a warm flavor. Heavy whipping cream makes the filling light and fluffy, and sour cream adds a nice tang. Finally, a pinch of salt helps to balance all the sweet flavors.
Using extra Oreos for garnish not only makes it pretty, but it also adds more crunch. This dessert is easy to make and fun to enjoy. You can layer the ingredients in jars and see each layer. This adds to the fun of eating it!
Step-by-Step Instructions
Preparing the Chocolate Crust
To start, take your 16 Oreo cookies and crush them in a bowl. I like to use a rolling pin for this, but you can use a food processor too. Next, add 2 tablespoons of cocoa powder to the crushed cookies. Mix well. You want a nice, even blend. Now, take this mixture and divide it among your jars. Press it down firmly to form a solid base layer. This crust will give your cheesecake great flavor.
Making the Cheesecake Filling
In a large mixing bowl, grab 1 cup of softened cream cheese. Use an electric mixer to beat it until smooth and creamy. This step is crucial for a silky texture. Next, slowly add 1/2 cup of powdered sugar and 1 teaspoon of vanilla extract. Mix until everything is nicely combined. Now, in another bowl, whip 1 cup of heavy whipping cream until it forms stiff peaks. Gently fold this whipped cream into the cream cheese mixture. This will make your filling light and fluffy. Finally, add 1/2 cup of sour cream and a pinch of salt. Fold gently until it’s all smooth.
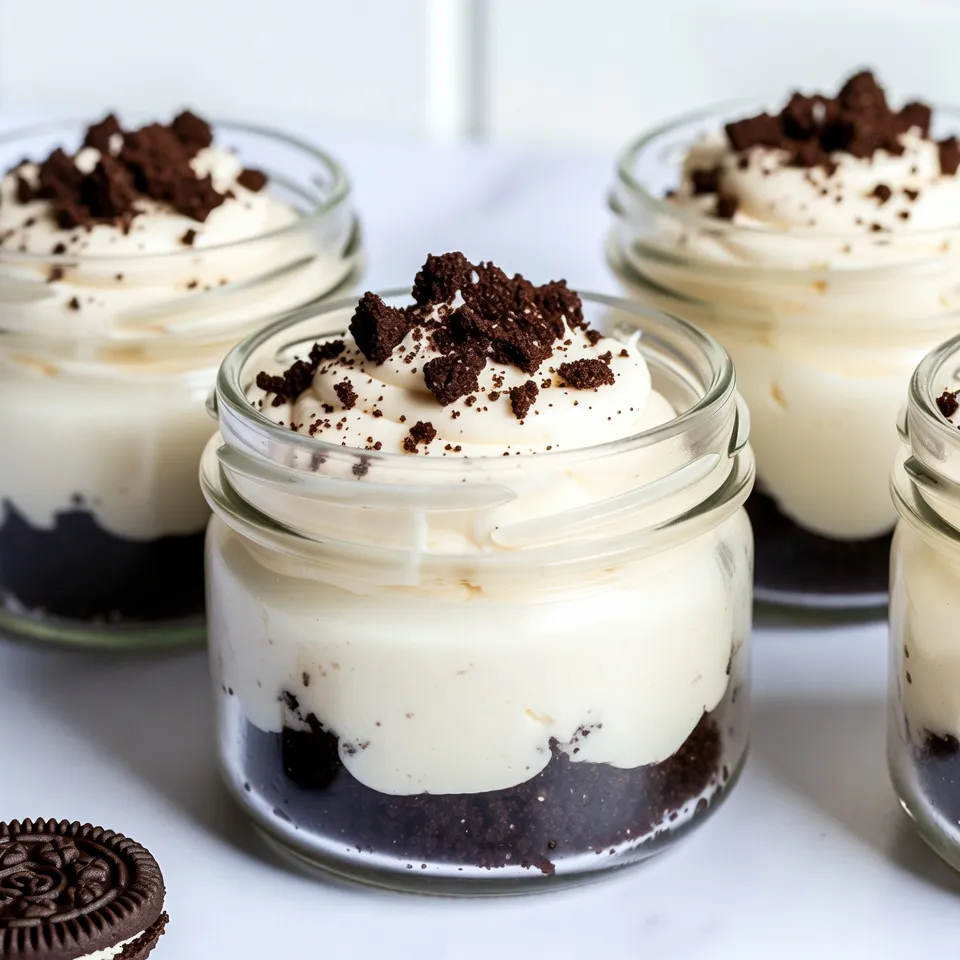
Layering and Chilling
Now it’s time to layer the cheesecake. Spoon a layer of your cheesecake filling over the Oreo crust in each jar. Use a spatula to smooth it out. You can repeat this process, adding another layer of filling to each jar. Fill them up, but leave a little space at the top. Cover each jar with a lid or plastic wrap and chill them in the fridge. Let them sit for at least 4 hours. The longer they chill, the better they taste!
Tips & Tricks
Achieving the Perfect Texture
To make a great no bake Oreo cheesecake, start with softened cream cheese. Softened cream cheese mixes better. It helps to create a smooth and creamy filling. Take the cream cheese out of the fridge for at least 30 minutes before using. This makes it easier to blend.
Next, whip your heavy cream to stiff peaks. This means the cream should hold its shape well when you lift the mixer. Stiff peaks add air and lightness to the filling. Gently fold the whipped cream into the cream cheese mix. This keeps the texture fluffy.
Serving Suggestions
For a stunning presentation, use clear jars to show off the layers. Place the jars on a nice platter. You can add whole Oreo cookies next to the jars for a fun touch.
Before serving, crush extra Oreos and sprinkle them on top of each jar. This adds a nice crunch and looks great. A dollop of whipped cream can also add flair. This simple garnish makes your dessert even more delightful.
Pro Tips
- Chill for Best Results: Allow the jars to chill overnight for a richer flavor and smoother texture in your cheesecake.
- Perfect Whipping: Make sure your heavy whipping cream is cold before whipping to achieve the best stiff peaks.
- Layering Technique: Use a spatula to smooth out each layer of cheesecake filling for a polished look in your jars.
- Garnishing Tricks: For added visual appeal, use a mix of crushed and whole Oreos as garnish on top of your jars.
Variations
Flavor Additions
You can easily change the taste of your No Bake Oreo Cheesecake Jars. Here are some fun ideas:
- Adding extracts: Try using almond or mint extract for a new twist. Just add a few drops when mixing the cream cheese. These flavors will surprise your taste buds.
- Incorporating chocolate chips or fruit: Mix in some mini chocolate chips for extra texture. You can also add fresh fruit like strawberries or raspberries. This gives a nice contrast to the rich cheesecake.
Dietary Adjustments
You can make this recipe fit different diets without losing taste.
- Alternatives for low-fat options: Use low-fat cream cheese and light sour cream. This keeps the creamy texture but cuts some calories. You can also use a sugar substitute if you want fewer carbs.
- Gluten-free ingredient suggestions: Swap out regular Oreos for gluten-free cookies. Many brands now offer tasty gluten-free options. This way, everyone can enjoy this delightful dessert.
Storage Info
Best Practices for Storage
To keep your No Bake Oreo Cheesecake Jars fresh, follow these steps:
- Cover the jars: Use the lids or plastic wrap to seal them tightly. This prevents air from getting in and keeps them fresh.
- Store in the fridge: Place your jars in the fridge. They will stay good for up to five days.
Reheating or Refreshing
- Can you refreeze? I don’t recommend refreezing these jars. The texture may change and become watery.
- How to refresh texture before serving: If the texture feels a bit off, gently stir the cheesecake filling. You can also add a little whipped cream to make it creamy again.
FAQs
Common Questions
Can I use different cookies for the crust?
Yes, you can use different cookies. Try chocolate wafer cookies or graham crackers. Each will give a unique taste. Just crush them well before mixing.
How long can I keep these jars in the fridge?
You can keep the jars in the fridge for up to five days. Make sure they are sealed tightly. This will help keep them fresh.
Can I make this recipe ahead of time?
Absolutely! This recipe is great for making ahead of time. You can prepare it one day before serving. The flavors will blend and taste even better.
Troubleshooting Tips
What if my cheesecake filling is too runny?
If your filling is too runny, try adding more whipped cream. This will help thicken it. You can also chill it longer, which may help set the filling.
How to fix grainy cream cheese mixture?
To fix grainy cream cheese, ensure it is fully softened. Use a mixer to beat it until smooth. If it’s still grainy, whip in some heavy cream until it’s creamy.
You learned how to make a delicious no-bake Oreo cheesecake. We covered the key ingredients, easy steps, and helpful tips. Remember, using softened cream cheese gives the best texture. Get creative with flavors and adjust for dietary needs. Store your jars correctly to enjoy them longer. With these insights, you’ll impress everyone with your dessert skills. Enjoy making and sharing this trea
No Bake Oreo Cheesecake Jars
Ingredients
- 16 cookies Oreo cookies, crushed (plus extra for garnish)
- 2 tablespoons unsweetened cocoa powder
- 1 cup cream cheese, softened
- 1/2 cup powdered sugar
- 1 teaspoon vanilla extract
- 1 cup heavy whipping cream
- 1/2 cup sour cream
- 1 pinch salt
Instructions
- In a medium bowl, combine the crushed Oreo cookies and cocoa powder. Mix well until combined.
- Divide the Oreo mixture evenly among your jars, pressing it down firmly to form a base layer.
- In a large mixing bowl, beat the softened cream cheese with an electric mixer until smooth and creamy.
- Gradually add the powdered sugar and vanilla extract to the cream cheese, mixing until well combined.
- In a separate bowl, whip the heavy whipping cream until stiff peaks form. Gently fold the whipped cream into the cream cheese mixture until fully incorporated.
- Add the sour cream and a pinch of salt to the mixture and fold gently until smooth.
- Spoon a layer of the cheesecake filling over the Oreo crust in each jar, smoothing it out with a spatula. Repeat the layering until the jars are full (usually about two layers of cheesecake).
- Cover the jars with lids or plastic wrap and refrigerate for at least 4 hours, or overnight for the best texture.
- Before serving, crush some extra Oreo cookies and sprinkle on top of each jar for garnish.
