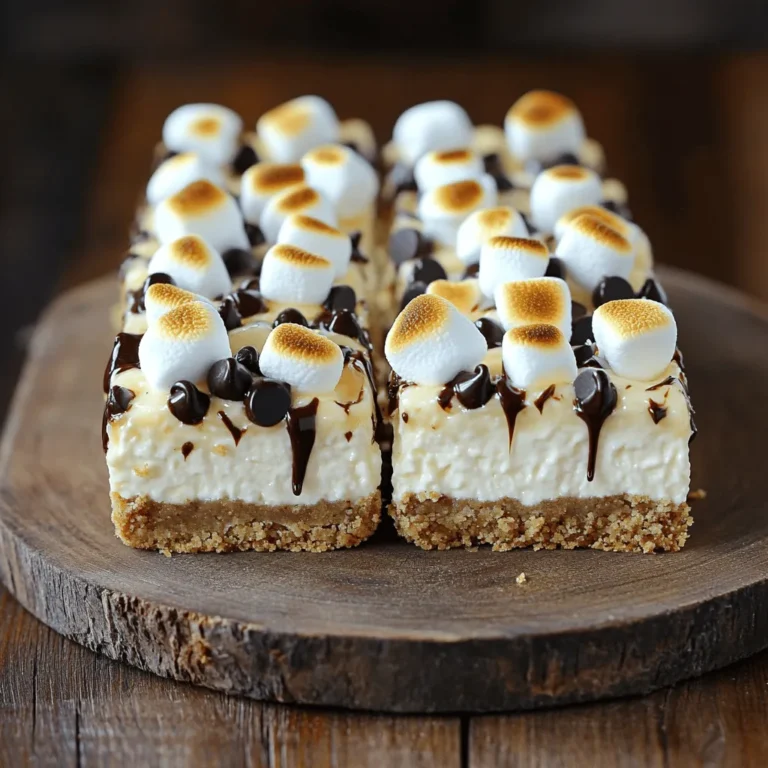
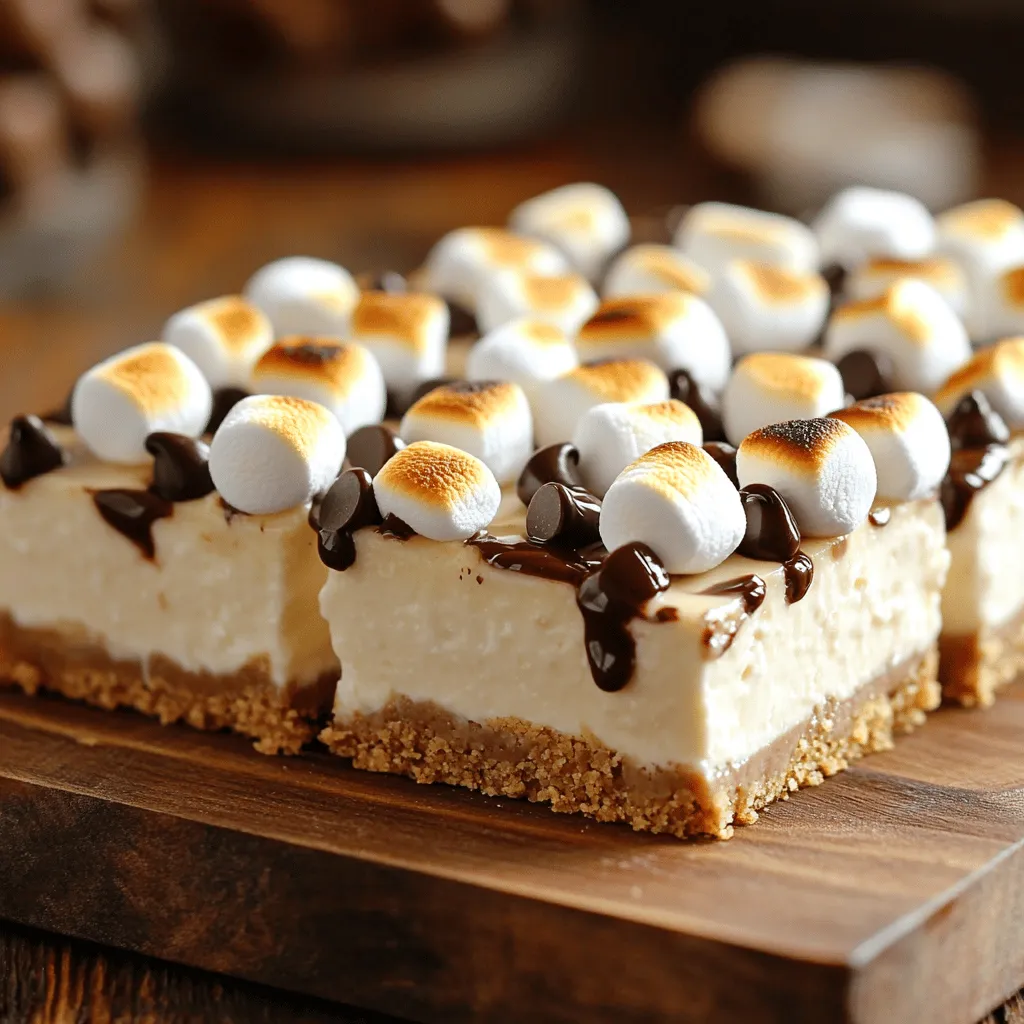
Looking for a fun and easy dessert? You’ll love my No-Bake S’mores Cheesecake Bars! This treat gives you all the flavors of classic s’mores but without the campfire. With a crunchy graham cracker crust, creamy filling, and fluffy marshmallows, it’s sure to impress. Plus, you can whip it up in no time. Ready to satisfy your sweet tooth? Let’s dive into the simple steps to make these delicious bars!
Ingredients
To make the No-Bake S’mores Cheesecake Bars, you need simple, tasty ingredients. Here’s the list:
- 1 ½ cups graham cracker crumbs
- ½ cup unsalted butter, melted
- 2 tablespoons granulated sugar
- 8 oz cream cheese, softened
- 1 cup powdered sugar
- 1 teaspoon vanilla extract
- 1 cup heavy whipping cream
- ½ cup mini marshmallows
- ½ cup chocolate chips (dark or milk chocolate)
- ¼ cup mini chocolate chips for topping
- Extra mini marshmallows for toasting on top
Each ingredient plays a key role. The graham cracker crumbs form the base, giving that classic s’mores crunch. Butter and sugar add richness and sweetness. Cream cheese brings a creamy texture to the filling, while powdered sugar sweetens it just right.
Vanilla extract boosts the flavor, making it more inviting. Heavy whipping cream is crucial for lightness and fluffiness. Mini marshmallows and chocolate chips add the fun, gooey texture, while the extra marshmallows give a perfect toasted finish.
With these tasty ingredients, you can create a dessert that feels like a campfire treat, all without baking!
Step-by-Step Instructions
Preparing the Crust
To start, you need to make the crust. In a mixing bowl, combine 1 ½ cups of graham cracker crumbs, ½ cup of melted unsalted butter, and 2 tablespoons of granulated sugar. Stir until everything blends well. This mixture should look like wet sand. Next, press it evenly into the bottom of a 9×9-inch baking dish. Use the back of a measuring cup or your fingers to make it firm. After that, place the dish in the refrigerator. Let it chill while you make the cheesecake filling.
Making the Cheesecake Filling
Now, let’s make the cheesecake filling. Grab a large bowl and beat 8 oz of softened cream cheese until it is smooth. This step is key for a creamy texture. Gradually add 1 cup of powdered sugar. Keep mixing until it is fully incorporated. Then, stir in 1 teaspoon of vanilla extract. This will add a nice flavor to the filling.
Final Assembly and Chilling
Next, you will whip the cream. In a separate chilled bowl, whip 1 cup of heavy whipping cream until stiff peaks form. This means when you lift the beaters, the cream should hold its shape. Gently fold the whipped cream into the cream cheese mixture. Be careful! You want to keep the fluffiness. After that, fold in ½ cup of mini marshmallows and ½ cup of chocolate chips. This adds sweetness and texture.
Now, pour the cheesecake filling over your crust. Use a spatula to smooth it out. Sprinkle the top with ¼ cup of mini chocolate chips. Cover the dish with plastic wrap and refrigerate it for at least 4 hours. This helps the bars set properly. When you are ready to serve, toast some extra mini marshmallows on top for that classic s’mores flavor. Slice into bars and enjoy!
Tips & Tricks
How to Perfect the Whipped Cream
To make whipped cream with stiff peaks, start with cold tools. Use a chilled bowl and beaters. Pour in the heavy cream and whip on medium speed. Keep whipping until you see soft peaks form. Then, increase speed to high. Watch closely until stiff peaks appear. This means your cream is ready. Gently fold the whipped cream into your cheesecake mix. Avoid deflating it. This keeps the filling light and airy.
Variations for Enhanced Flavor
You can change the flavors in your s’mores bars easily. Try using different chocolates. Dark chocolate gives a rich taste. Milk chocolate tastes sweeter. You might also add flavor extracts. A hint of almond or coconut can add a nice twist. For a fun touch, mix in peanut butter chips or butterscotch chips. These small changes can take your bars to the next level.
Presentation Tips
A great look can make your dessert even more appealing. Serve your bars on a rustic platter. Add some graham cracker pieces around them for a nice touch. Drizzle with melted chocolate for extra flair. You can also sprinkle toasted mini marshmallows on top. This adds a fun s’mores effect. Slice the bars neatly for a polished look. These steps will impress your guests and make your dessert even more delightful.
Variations
Alternative Crusts
You can switch up the crust for your no-bake s’mores cheesecake bars. Instead of using graham cracker crumbs, try Oreo crumbs. This gives a rich, chocolatey taste. You can also use nut-based crusts like almond or pecan. These options add a nice crunch and flavor. Just mix the crumbs with melted butter and press them into your dish.
Different Mix-ins
Mix-ins can change your bars in fun ways. You can add fruits like strawberries or bananas for a fresh twist. Nuts like walnuts or pecans bring added texture and crunch. Want more chocolate? Use flavored chocolate chips, like mint or peanut butter. These small changes make each bite exciting.
Gluten-Free Options
If you need gluten-free bars, it’s simple. Use gluten-free graham crackers or nut-based crusts. For the filling, make sure your cream cheese and chocolate chips are gluten-free. This way, everyone can enjoy your delicious creation without worry. These options keep your treat tasty and accessible.
Storage Info
How to Store Leftovers
To keep your no-bake s’mores cheesecake bars fresh, store them in the fridge. Use an airtight container to seal in moisture and flavor. If you leave them uncovered, they may dry out. Make sure to place a piece of wax paper between the bars and the lid. This will stop the marshmallows from sticking to the top.
Freezing Instructions
If you want to freeze these treats, cut them into bars first. Wrap each bar in plastic wrap and then place them in a freezer bag. This keeps them fresh for longer. When you’re ready to enjoy, thaw them in the fridge overnight. Avoid thawing at room temperature to keep the texture nice.
Shelf Life
In the fridge, these bars will last about 5 days. If you freeze them, they can stay good for up to 2 months. Just remember, the longer they sit, the less fresh they may taste. For the best flavor, enjoy them sooner rather than later.
FAQs
Can I use a different type of cream cheese?
Yes, you can use low-fat or dairy-free cream cheese. For low-fat options, look for brands that are labeled as such. If you need a dairy-free choice, brands like Tofutti or Kite Hill work well. Both options will give you a similar taste and texture. Just ensure they are softened before mixing to avoid lumps.
How can I make this recipe ahead of time?
Prepping this dessert in advance is easy and smart. You can make the crust and filling a day before. Just store them in the fridge, covered. When you’re ready to serve, toast the marshmallows and slice the bars. They taste even better after sitting in the fridge for a while, as the flavors meld perfectly.
What’s the best way to toast the marshmallows?
If you don’t have a kitchen torch, use your oven. Set it to broil and place the mini marshmallows on top. Keep an eye on them, as they can burn quickly. Another option is to use a stovetop. Skewer the marshmallows and hold them over the flame. This creates that perfect toasted look and flavor without any special tools.
This blog post covered how to make delicious cheesecake bars. We explored simple ingredients like graham crackers and cream cheese. You learned step-by-step instructions, tips for whipped cream, and ways to add flavors. There are many fun variations to try, like using different crusts or mix-ins. Finally, I shared smart storage tips for leftovers.
Now you can enjoy making these tasty treats at home! Get creative and share your own twists. You’ll impress friends and family with this easy dessert.

