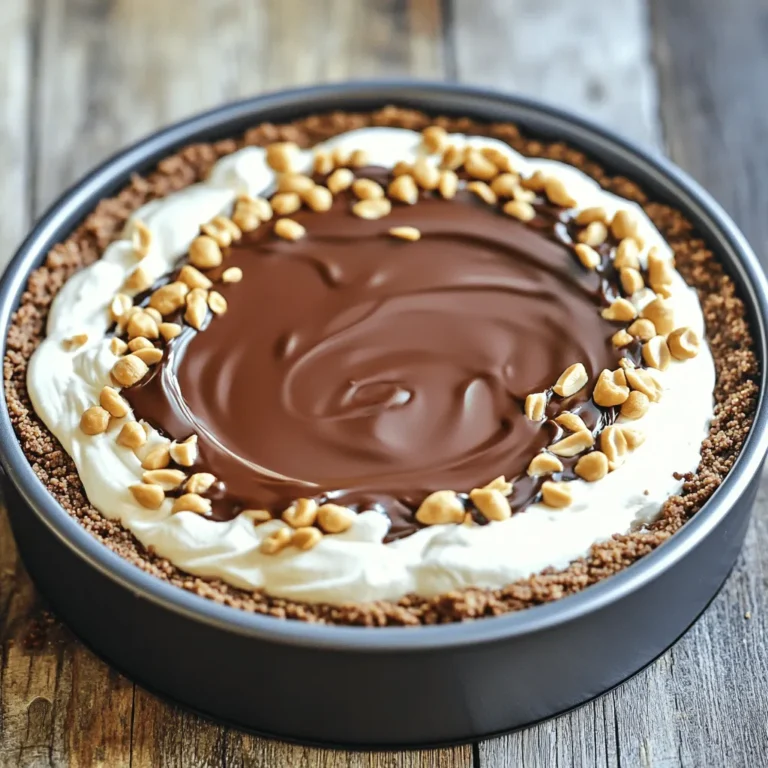
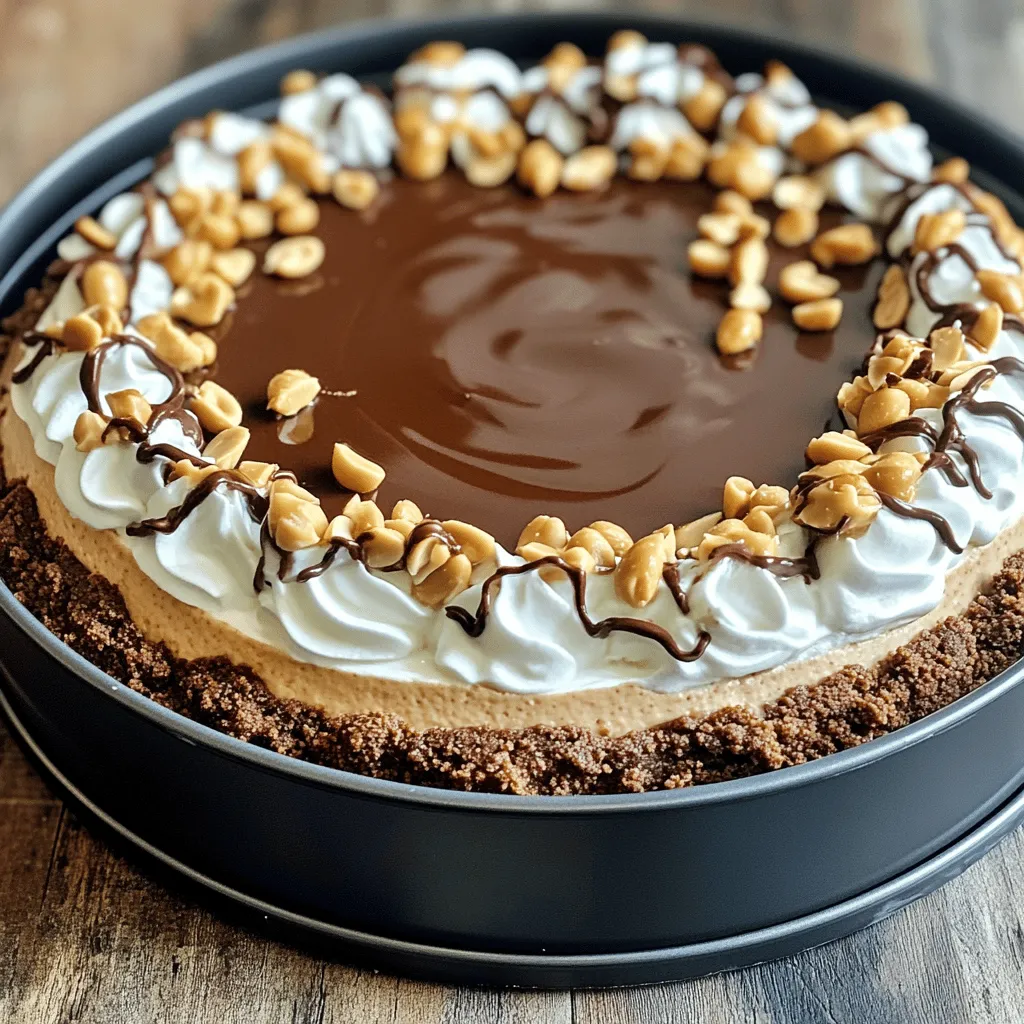
Get ready to indulge in a No-Bake Chocolate Peanut Butter Cheesecake that’s pure bliss! This dessert brings rich chocolate and creamy peanut butter together for a treat that’s as easy to make as it is delicious. With just a few simple ingredients and no baking required, you’ll whip up this dreamlike cheesecake in no time. Let’s dive into the tasty details and create a dessert that will wow your family and friends!
Ingredients
To make No-Bake Chocolate Peanut Butter Cheesecake, you need some simple, tasty ingredients. Here’s what you’ll need:
- 1 ½ cups chocolate graham cracker crumbs
- ½ cup unsalted butter, melted
- 1 cup creamy peanut butter
- 1 cup cream cheese, softened
- ¾ cup powdered sugar
- 1 teaspoon vanilla extract
- 1 cup whipped cream (store-bought or homemade)
- ½ cup semi-sweet chocolate chips (for topping)
- 2 tablespoons chopped peanuts (for garnish)
Each ingredient plays a key role in the taste and texture of the cheesecake. The chocolate graham cracker crumbs form a sweet base while the melted butter helps bind them together. Creamy peanut butter and softened cream cheese create a rich filling. The powdered sugar adds sweetness, and vanilla extract brings out the flavors. Whipped cream lightens the mix, making it fluffy. Finally, chocolate chips and chopped peanuts add delicious toppings.
Feel free to adjust these ingredients based on your taste or dietary needs. Enjoy the process and get ready for a delightful treat!
Step-by-Step Instructions
Prepare the Crust
Start by mixing the chocolate graham cracker crumbs with melted butter in a bowl. Use a fork to blend them well. The crumbs should look wet and clump together. Next, take a 9-inch springform pan and press the mixture firmly into the bottom. Make sure it is even across the base. Once done, place the pan in the fridge while you prepare the filling. This helps the crust to set and hold its shape.
Make the Filling
In a large mixing bowl, beat the softened cream cheese and creamy peanut butter together. Use a hand mixer or a stand mixer for smooth results. Keep mixing until the mixture is creamy and well combined. Gradually add in the powdered sugar and vanilla extract. Beat again until the mixture becomes fluffy and smooth. This step is key for a rich filling.
Combine and Chill
Now, it’s time to add some lightness to the filling. Gently fold in the whipped cream using a spatula. This adds a nice texture to your cheesecake. Pour the peanut butter filling over the chilled crust. Smooth the top with the spatula to make it look nice. Cover with plastic wrap and place it in the fridge. Chill for at least 4 hours, but overnight is best. This helps the cheesecake to set perfectly.
Tips & Tricks
Perfecting the Cheesecake
To achieve a smooth filling, start with softened cream cheese. Cold cream cheese makes lumps. Beat the cream cheese and peanut butter together until creamy. This ensures a nice texture.
Gradually add the powdered sugar and vanilla. Mix until fluffy. The more you beat, the smoother it gets.
For better firmness, chill the cheesecake longer. I suggest at least four hours, but overnight is best. This allows it to set fully.
Serving Suggestions
Garnishing your cheesecake makes it pop. I love adding chopped peanuts on top. They add crunch and flavor. You can also drizzle melted chocolate for a rich touch.
For a dessert platter, pair it with fresh fruits. Strawberries or raspberries go well. They add a bright contrast to the rich cheesecake. Serve with coffee or tea for a delightful end to a meal.
Variations
Flavor Variations
You can change the taste of your cheesecake easily. If you like it sweeter, add more powdered sugar. Start with a little, then taste. Mix in a spoonful at a time. This way, you can find the right balance.
Try different nut butters for a fun twist. Almond butter or cashew butter can work well too. Each nut butter brings a unique flavor. Experiment and see which one you like best.
Dietary Substitutions
If you need a gluten-free crust, use gluten-free chocolate graham cracker crumbs. They taste great and keep the same texture.
For a lactose-free filling, use lactose-free cream cheese. You can also use coconut cream instead of whipped cream. This makes it creamy while keeping it dairy-free.
Storage Info
How to Store
To keep your no-bake chocolate peanut butter cheesecake fresh, store it in the fridge. Cover it with plastic wrap or place it in an airtight container. This way, it stays moist and tasty. If you have leftovers, try to eat them within a few days for the best flavor.
Can you freeze no-bake cheesecake? Yes, you can! Wrap it tightly in plastic wrap and foil. This helps prevent freezer burn. When you want to eat it, let it thaw in the fridge for a few hours.
Shelf Life
How long does it last in the fridge? Your cheesecake can last about 5 to 7 days in the fridge. Make sure to check for any changes in texture or smell.
What are the signs the cheesecake has gone bad? If you see mold or if it smells sour, throw it away. Also, if the texture feels off or very watery, it’s best not to eat it. Keeping your cheesecake stored well helps it stay fresh longer.
FAQs
Can I make this cheesecake ahead of time?
Yes, you can make this cheesecake ahead of time. I suggest chilling it for at least four hours. For the best results, chill it overnight. This allows the flavors to blend well and makes the cheesecake firmer.
To prepare ahead, follow these tips:
- Make the crust and filling as directed.
- After pouring the filling into the crust, cover it tightly.
- Store it in the fridge until you’re ready to serve.
Is this recipe suitable for vegans?
This recipe is not vegan, but you can adapt it. Here are some substitutes for a vegan diet:
- Use vegan cream cheese instead of regular cream cheese.
- Swap creamy peanut butter with a brand that is dairy-free.
- For whipped cream, choose a coconut cream option.
These changes keep the flavor while making it vegan-friendly.
How do I prevent cracking on the cheesecake?
To stop cracks from forming, here are some helpful techniques:
- Beat the cream cheese and peanut butter gently. Over-mixing can add too much air.
- Make sure to chill the cheesecake slowly. Rapid temperature changes can cause cracks.
- When you pour the filling, do it gently over the crust. This helps maintain a smooth surface.
Using these methods, you can achieve a beautiful, crack-free cheesecake.
This cheesecake recipe combines easy steps and tasty ingredients for a delicious treat. We covered crust prep, filling making, and chilling tips. I shared variations for different tastes and dietary needs. Storing and serving options can help you enjoy it longer. Remember to chill for a smooth finish. Making this cheesecake can bring delight to any occasion. With a few simple steps, you can impress everyone. Enjoy your dessert-making journey and happy baking!

