Are you ready to indulge in a dessert that will impress everyone? In this blog post, I’ll share my simple and tasty recipe for the best banana pudding ever. With just a few key ingredients and easy steps, you’ll create a creamy, dreamy dish that brings smiles and happy memories. Whether you’re a novice or a pro in the kitchen, this recipe is foolproof. Let’s dive in and make some delicious banana pudding!
Ingredients
List of Ingredients
– 4 ripe bananas, sliced
– 1 box (12 oz) vanilla wafers
– 1 cup granulated sugar
– 1/3 cup all-purpose flour
– 1/4 teaspoon salt
– 2 cups milk
– 3 large egg yolks, lightly beaten
– 1 tablespoon vanilla extract
– 1 cup heavy whipping cream
– 2 tablespoons powdered sugar
Gathering the right ingredients is key for the best banana pudding. I always choose ripe bananas for the sweetest taste. Vanilla wafers add a great crunch and flavor. The sugar, flour, and salt mix together to make a smooth base. Milk gives the pudding its creamy texture.
The egg yolks help thicken the pudding. Vanilla extract adds a rich flavor that pairs perfectly with bananas. Lastly, heavy whipping cream brings a light and fluffy topping. You can find all these ingredients at your local grocery store.
Recommended Tools
– Medium saucepan
– Whisk
– 9×13 inch dish
– Mixing bowls
– Measuring cups and spoons
To make this banana pudding, you need some essential tools. A medium saucepan is great for cooking the pudding base. A whisk helps blend your ingredients smoothly. A 9×13 inch dish is perfect for layering your pudding. Mixing bowls are handy for whipping cream and mixing. Don’t forget measuring cups and spoons for accuracy.
You can find all these tools in your kitchen or at any store. Having the right ingredients and tools makes cooking fun and easy.
Step-by-Step Instructions
Preparation Steps
How to make the pudding base
To start, grab a medium saucepan. In it, whisk together 1 cup of granulated sugar, 1/3 cup of all-purpose flour, and 1/4 teaspoon of salt. Slowly add 2 cups of milk while whisking. Cook this mix over medium heat. Stir constantly until it thickens, which takes about 5 to 7 minutes.
Tempering the egg yolks
Once your pudding base thickens, take the saucepan off the heat. In a small bowl, add a few spoonfuls of the hot mixture to 3 large lightly beaten egg yolks. This step warms the yolks and helps prevent cooking them. Stir well to combine. Next, pour this back into the saucepan. Whisk continuously for another 2 to 3 minutes. This makes your pudding rich and creamy.
Layering the ingredients in the dish
Now, it’s time to build your banana pudding! In a 9×13 inch dish, start by layering half of the vanilla wafers. Next, add half of the sliced bananas. Pour half of the prepared pudding over them. Repeat this layering with the remaining wafers, bananas, and pudding. Each layer adds texture and flavor.
Final Touches
Whipping the cream
In a separate bowl, pour 1 cup of heavy whipping cream. Add 2 tablespoons of powdered sugar. Use a mixer to whip the cream until it forms stiff peaks. This whipped cream will add a fluffy finish to your pudding.
Adding final layers to the pudding
Spread the whipped cream evenly over the top layer of pudding. This creates a beautiful and tasty topping. You can make it smooth or create peaks for a fun look.
Refrigeration time for best results
Cover your dish with plastic wrap and refrigerate. Let it chill for at least 4 hours, or better yet, overnight. This time helps the flavors mix well and makes the pudding set. When you serve it, you’ll have a delightful dessert that everyone will love!
Tips & Tricks
Perfecting the Recipe
– Using ripe bananas for flavor
Ripe bananas have a rich taste. Look for bananas with brown spots. They are sweeter and mash easily. This gives your pudding a great flavor.
– Tips for thickening the pudding
To thicken the pudding, cook it slowly over medium heat. Stir constantly to prevent burning. If it’s too runny, add a bit more flour. This helps create a creamy texture.
– How to avoid lumps in the pudding
Whisk your dry ingredients well before adding milk. This helps mix them evenly. When you cook the mixture, keep stirring. This keeps the pudding smooth and lump-free.
Presentation Tips
– Garnishing the banana pudding
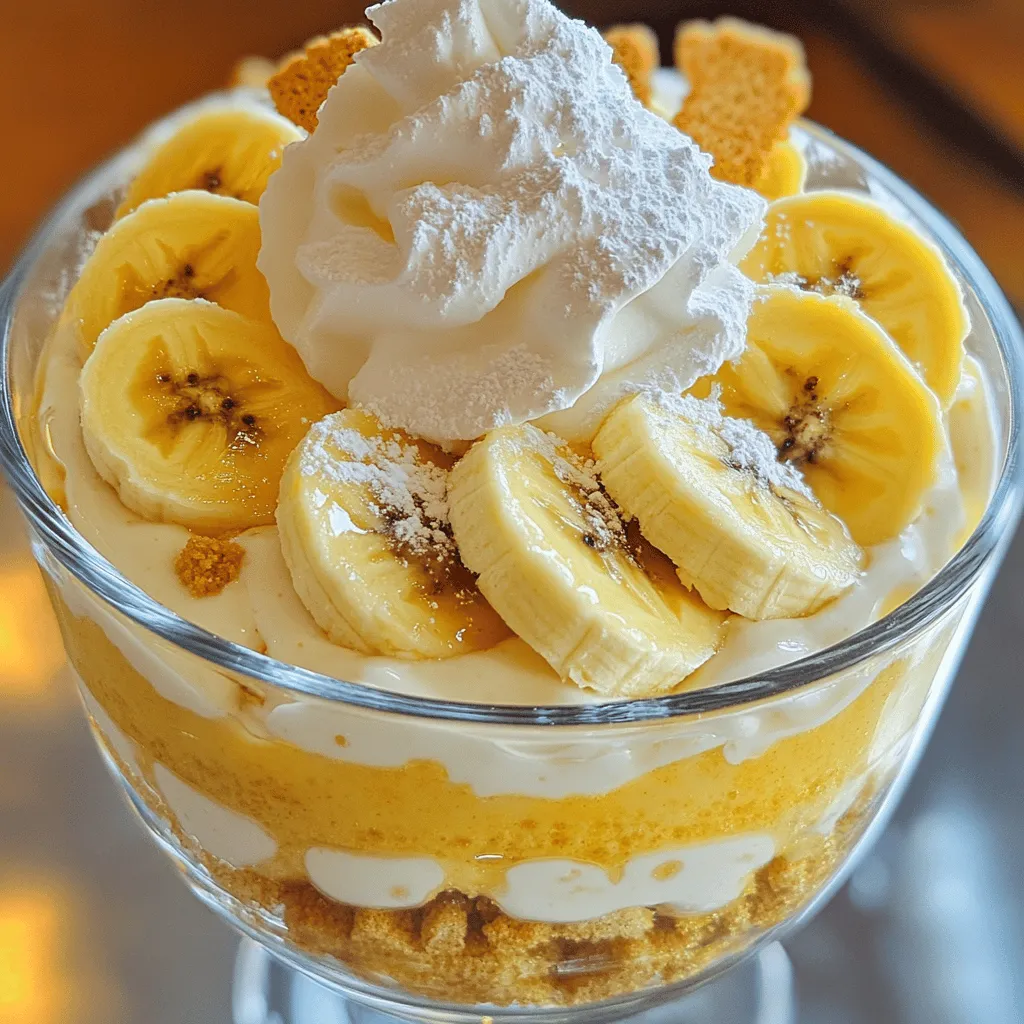
For a fun touch, add banana slices and crushed wafers on top. This adds color and makes it look nice. A sprinkle of cinnamon can enhance the flavor too.
– Serving suggestions for events
Serve the pudding in small cups for parties. This makes it easy to grab and enjoy. You can also layer it in a clear dish to show off the beautiful layers.
– Best dishes for serving
A 9×13 inch dish works great for this pudding. It holds all the layers well. For smaller servings, use individual dessert cups. They look cute and are easy to serve.
Variations
Flavor Enhancements
You can make banana pudding even more fun. Here are some tasty ideas:
– Adding chocolate or peanut butter: Mix in some chocolate syrup or peanut butter. This adds depth and richness. It’s a great twist to the classic flavor.
– Alternate flavors of pudding: Instead of vanilla, try using chocolate or butterscotch pudding. This gives a new flavor profile that is still creamy and delicious.
– Using different types of cookies: Swap vanilla wafers for chocolate cookies or graham crackers. Each cookie changes the taste and texture of the pudding.
Dietary Modifications
You can enjoy this dessert while meeting your dietary needs. Here’s how:
– Making it gluten-free: Use gluten-free cookies and cornstarch instead of flour. This keeps the pudding thick without any gluten.
– Vegan substitutions: Replace milk with almond or coconut milk. Use a vegan whipped cream for the topping. This keeps it creamy and plant-based.
– Reducing sugar without losing flavor: Use a sugar substitute like stevia or monk fruit. These options provide sweetness without all the calories.
Storage Info
How to Store Leftovers
To keep your banana pudding fresh, follow these tips:
– Refrigeration: Store your pudding in the fridge. This keeps it cool and safe to eat.
– Containers: Use an airtight container. This helps keep the flavors intact. If you don’t have one, cover the dish tightly with plastic wrap.
Leftover banana pudding can last for about three days in the fridge.
Freezing Banana Pudding
Can you freeze banana pudding? Yes, you can freeze banana pudding, but it may change the texture. The bananas might turn brown, and the cream can separate.
Steps for successful freezing:
1.
2. Layer: Freeze only the pudding part, not the bananas or the cream.
3. Container: Use a freezer-safe container. Leave some space at the top for expansion.
4. Label: Write the date on the container. This helps you keep track of how long it’s been in the freezer.
When you want to eat it, thaw the pudding in the fridge overnight. Add fresh bananas and whipped cream right before serving for the best flavor!
FAQs
Common Questions
How long does the banana pudding last?
Banana pudding lasts about 3 to 4 days in the fridge. Store it in an airtight container. The bananas may brown over time but the taste will remain good.
Can I use instant pudding instead of homemade?
Yes, you can use instant pudding. Just mix it according to the package directions. But, homemade pudding has a richer taste and texture.
What can I serve with banana pudding?
You can serve banana pudding with whipped cream or a sprinkle of crushed cookies. It also pairs well with fresh fruit or a scoop of vanilla ice cream for extra delight.
Troubleshooting
Why is my pudding runny?
If your pudding is runny, it might not have cooked long enough. Ensure you cook it until it thickens. If it still seems runny after chilling, you can try adding a bit more cornstarch.
How to fix a grainy pudding texture?
A grainy texture often happens if the egg yolks were not tempered correctly. If this happens, blend the pudding until smooth or strain it through a fine mesh sieve.
What should I do if I run out of vanilla wafers?
If you run out of vanilla wafers, you can use graham crackers or shortbread cookies. They can add a nice twist to the flavor and still create great layers.
You learned how to make delicious banana pudding from scratch. We covered the ingredients, tools, and steps needed for success. Plus, I shared tips for making it perfect every time. Don’t forget to try fun variations and adapt the recipe to fit your diet. Store your leftovers well, or even freeze them for later. Now, you can impress your friends and family with this tasty treat. Enjoy making and sharing your banana pudding!