Are you ready to create a creamy, dreamy No-Churn Oreo Ice Cream at home? Forget about ice cream makers! This easy recipe uses just three key ingredients. You’ll whip up a delightful treat that’s perfect for any occasion. Follow my simple steps and impress your friends or family with your new ice cream skills. Let’s dive into this delicious adventure and make dessert magic together!
Why I Love This Recipe
- Easy to Make: This recipe requires minimal ingredients and simple steps, making it perfect for all skill levels.
- Irresistible Flavor: The combination of creamy vanilla, rich Oreos, and a hint of salt creates a delightful taste that everyone loves.
- Customizable: You can add your favorite mix-ins or toppings, making it a versatile dessert that you can personalize.
- Perfect for Any Occasion: This ice cream is great for parties, family gatherings, or just a cozy night in.
Ingredients
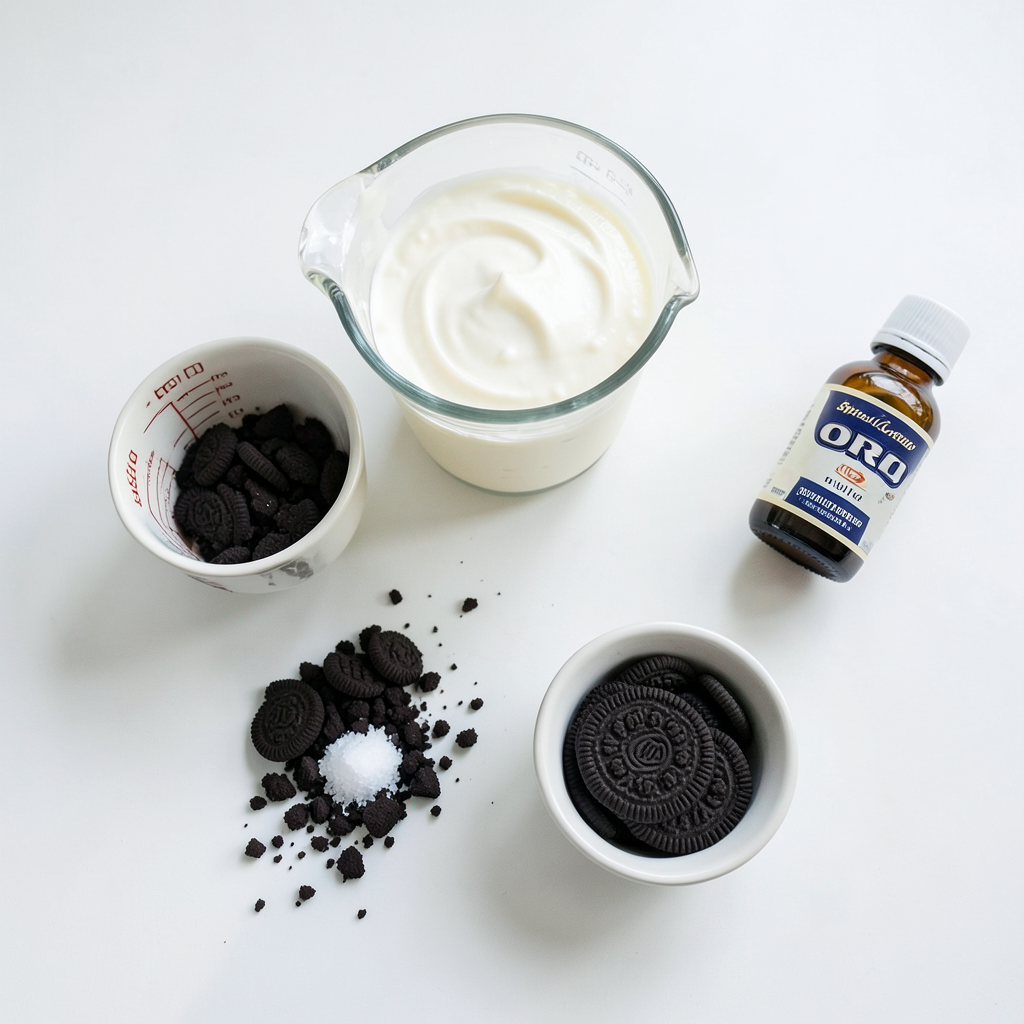
Main Ingredients
- 2 cups heavy whipping cream
- 1 cup sweetened condensed milk
- 12 Oreo cookies, crushed
To make this no-churn Oreo ice cream, you need a few key items. First, heavy whipping cream gives the ice cream its rich and creamy base. You will whip this cream until it forms stiff peaks. This step is very important for a light and fluffy texture.
Next, you need sweetened condensed milk. This ingredient adds sweetness and creaminess. It also helps the ice cream freeze smoothly without ice crystals.
Finally, you will need Oreo cookies. Crushing these cookies adds a fun crunch and chocolate flavor. The classic taste of Oreos makes this ice cream a real treat.
Optional Ingredients
- 1 teaspoon vanilla extract
- Pinch of salt
- Extra crushed Oreo cookies for topping
You can add a teaspoon of vanilla extract for extra flavor. It enhances the sweet taste of the ice cream. A pinch of salt is also a great idea. Salt brings out the sweetness and balances the flavors nicely.
For a finishing touch, sprinkle some extra crushed Oreos on top. They not only look great but also add more yummy cookie bits. You can mix and match these optional ingredients to suit your taste.
Step-by-Step Instructions
Preparation of the Mixtures
To start, we need to prepare the whipped cream. Take a large mixing bowl and pour in 2 cups of heavy whipping cream. Use a mixer on medium-high speed for about 3-4 minutes. You want to see stiff peaks form. This step is key for a light and fluffy ice cream.
Next, grab another bowl. Combine 1 cup of sweetened condensed milk, 1 teaspoon of vanilla extract, and a pinch of salt. Mix these together until they blend well. This mixture adds sweetness and flavor to the base.
Combining Ingredients
Now comes the fun part: combining the mixtures. Start with one-third of the whipped cream. Fold it gently into the sweetened condensed milk mixture. This lightens the mix. Then, add the rest of the whipped cream. Be careful here! You want to keep all that air in the cream for a smooth texture.
Once mixed, it’s time to add the star of the show—Oreo cookies! Crush 12 Oreo cookies into small pieces. Fold them into the mixture evenly. This gives your ice cream that classic Oreo crunch.
Freezing and Serving
Pour the Oreo ice cream mixture into a freezer-safe container. Smooth out the top for even freezing. For a special touch, sprinkle extra crushed Oreo cookies on top. Cover the container tightly.
Now, we freeze! Let the ice cream sit in the freezer for at least 6 hours. This will make it firm and scoopable.
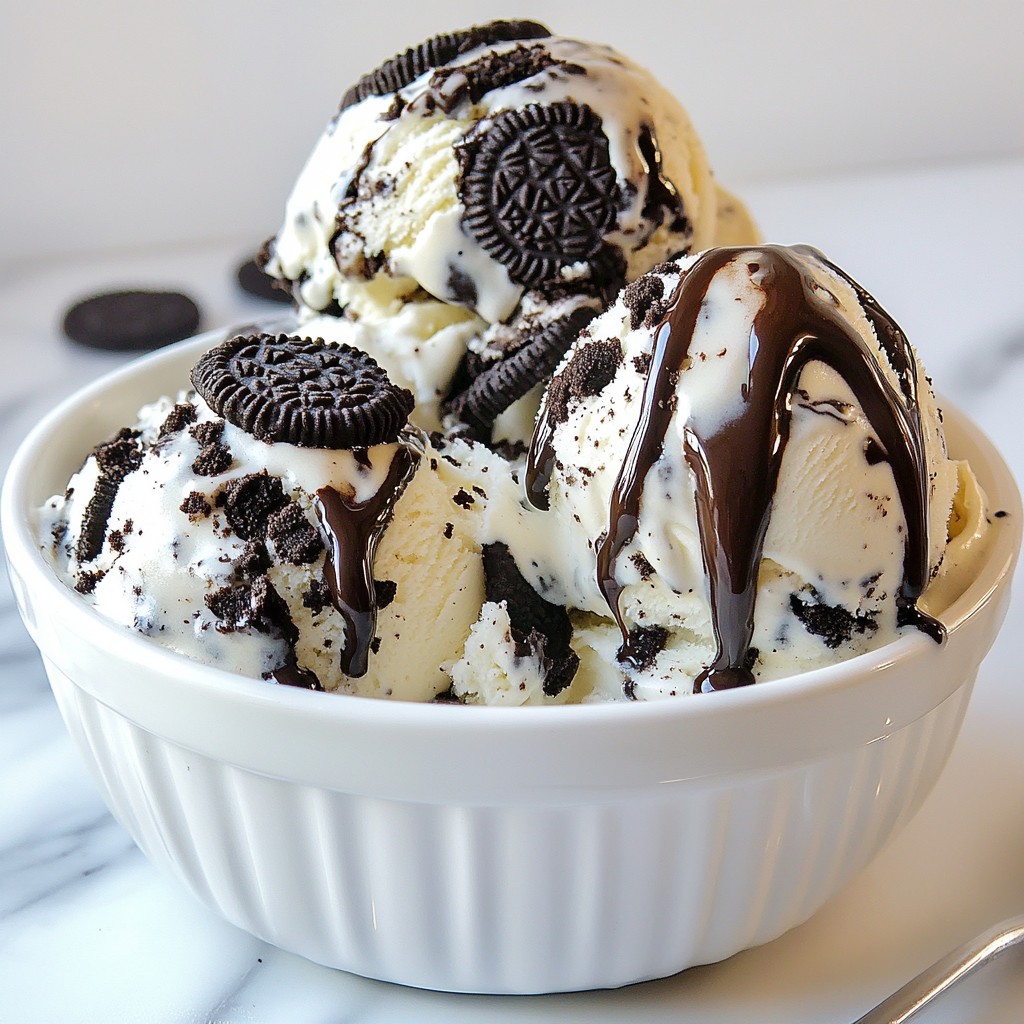
When you're ready to serve, scoop the ice cream into bowls or cone cups. Drizzle with chocolate syrup and add more crushed Oreos on top. This makes for a delicious and eye-catching dessert!
Tips & Tricks
Achieving the Perfect Texture
To get the best texture, you need stiff peaks. Stiff peaks mean the cream holds its shape well. When you whip the heavy cream, stop when it looks thick and fluffy. This takes about 3-4 minutes.
Next, use the right folding technique. Start by adding a small part of the whipped cream to the other mix. This lightens up the mixture. Then, gently fold in the rest. Be careful not to deflate the whipped cream. A gentle touch gives you a nice, creamy ice cream.
Flavor Enhancements
Want to make this ice cream even better? Try adding extra mix-ins. You can toss in chocolate chips or chopped nuts for a fun twist. You could even add some peanut butter or caramel swirls for a rich taste.
Pair your ice cream with fun options too. Serve it with a drizzle of chocolate syrup or a sprinkle of crushed Oreos on top. You can also enjoy it with fresh fruit, like strawberries or bananas, for a fresh touch.
Pro Tips
- Chill Your Bowl: Before whipping the cream, chill your mixing bowl in the freezer for about 10 minutes. This helps the cream whip up faster and more efficiently.
- Use Fresh Ingredients: Ensure your heavy whipping cream and sweetened condensed milk are fresh for the best flavor and texture in your ice cream.
- Experiment with Mix-ins: Feel free to customize your ice cream by adding other mix-ins like chocolate chips, crushed nuts, or different cookie varieties for a unique twist.
- Storage Tips: Store your ice cream in an airtight container to prevent ice crystals from forming and maintain its creamy texture.
Variations
Different Cookie Options
You can switch up the cookies in this recipe. Try using different sandwich cookies. For example, chocolate or peanut butter cookies work great. You can also mix a few types together. This adds new flavors to your ice cream.
Incorporating additional flavors makes it even more fun. You can add crushed mint cookies for a fresh taste. You can use lemon cookies for a zesty twist. The choice is yours! Be creative and find your favorite mix.
Dairy-Free Alternative
If you want a dairy-free version, you can use substitutes. For heavy cream, choose coconut cream or almond milk. These options whip up nicely and are creamy.
For sweetened condensed milk, you can try coconut milk or cashew milk. Both provide a sweet taste. Make sure to check that they are sweetened. This way, your ice cream stays delicious and creamy.
Storage Info
Freezing and Shelf Life
To keep your no-churn Oreo ice cream fresh, use a freezer-safe container. Glass or plastic containers work well. Make sure to seal it tightly to prevent ice crystals from forming.
Your ice cream lasts up to two weeks in the freezer. After that, the texture may change. For the best taste, try to eat it within the first week.
Reusing Containers
You can reuse old ice cream containers for storage. Just make sure they are clean and dry. Small containers allow you to serve single portions easily.
To scoop out ice cream later, run your scoop under warm water. This helps the ice cream slide out smoothly. Enjoy your tasty treat without the hassle!
FAQs
Can I make this recipe without an ice cream maker?
Yes, you can easily make this no-churn Oreo ice cream without an ice cream maker. The key is to whip the heavy cream until it forms stiff peaks. This adds air and makes the ice cream light and fluffy. After folding in the other ingredients, you just pour the mixture into a container and freeze. That’s all you need!
How long does the no-churn ice cream last in the freezer?
No-churn Oreo ice cream can last in the freezer for about two weeks. After that, it may lose some texture or flavor. To keep it fresh, store it in an airtight container. This will help prevent ice crystals from forming. Just scoop out what you want and put it back quickly.
Can I use a different type of cookie instead of Oreos?
Absolutely! You can use any cookie you like. Try chocolate chip cookies or peanut butter cookies for a twist. Just crush them like you would Oreos and fold them into the mixture. This gives you a fun way to mix up the flavor while keeping the same creamy texture.
This post shared how to make no-churn Oreo ice cream. You learned about key ingredients like heavy cream and sweetened condensed milk. I detailed steps, from whipping the cream to freezing the mix. Tips on texture and flavor added to your knowledge.
In the end, you can customize your ice cream to match your taste. Try different cookies or make it dairy-free. Enjoy making this easy treat for yourself and loved ones!