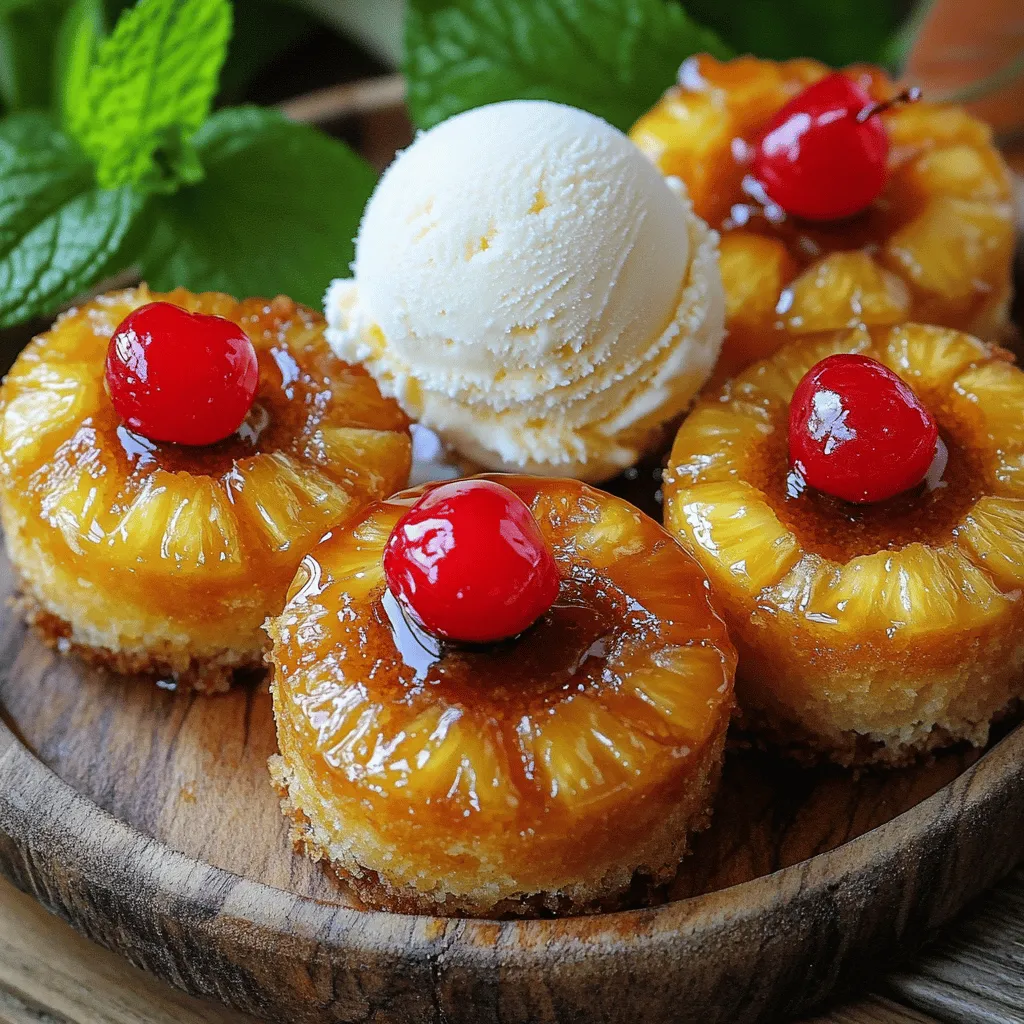
Indulge in a sweet twist with Mini Pineapple Upside Down Cakes! These delightful treats combine juicy pineapple and a buttery cake in perfect mini form. If you crave a fun dessert that’s easy to make, you’re in the right place. I’ll guide you through simple steps, share tips for flavor boosts, and discuss variations. Get ready to impress your family and friends with this tropical dessert that’s sure to brighten any day!
Ingredients
Dry Ingredients
– 1 cup all-purpose flour
– 1/2 cup granulated sugar
– 1/2 teaspoon baking powder
– 1/4 teaspoon baking soda
– 1/4 teaspoon salt
Wet Ingredients
– 1/2 cup unsalted butter, softened
– 2 large eggs
– 1 teaspoon vanilla extract
– 1/3 cup buttermilk
Toppings
– 1 cup crushed pineapple, drained
– 1/4 cup brown sugar
– 12 maraschino cherries
To make mini pineapple upside-down cakes, you need to gather your ingredients first. The dry ingredients form the base of your cake. Flour provides structure while sugar adds sweetness. Baking powder and baking soda help the cake rise. Salt brings out the flavors and balances the sweetness.
Next, you will need the wet ingredients. Softened butter gives a rich flavor and a tender texture. Eggs add moisture and act as a binder. Vanilla extract enhances the cake’s taste, and buttermilk adds a nice tang and keeps the cake moist.
Now, for the toppings, crushed pineapple gives a tropical flair. It adds sweetness and moisture. Brown sugar caramelizes beautifully during baking. Maraschino cherries top each cake, adding a burst of color and flavor.
This simple list of ingredients ensures you create delightful treats that everyone will enjoy.
Step-by-Step Instructions
Preparing the Oven and Muffin Tin
– Preheat your oven to 350°F (175°C).
– Grease a 12-cup muffin tin with non-stick spray or butter.
Mixing the Ingredients
– In a medium bowl, mix together the flour, baking powder, baking soda, and salt.
– In a large bowl, cream the softened butter and granulated sugar until fluffy.
– Add in the eggs one at a time. Mix well after each egg, then stir in the vanilla extract.
Assembling the Mini Cakes
– In the bottom of each muffin cup, sprinkle a little brown sugar.
– Add a spoonful of crushed pineapple on top of the brown sugar.
– Place a cherry in the center of the pineapple in each cup.
– Pour the cake batter over the pineapple-cherry mixture, filling each cup about two-thirds full.
Baking the Cakes
– Bake in the preheated oven for 18-20 minutes.
– Check for doneness with a toothpick. If it comes out clean, they are done.
Inverting and Cooling
– Once baked, cool the mini cakes in the muffin tin for 5 minutes.
– Carefully invert the muffin tin onto a serving platter. The mini cakes will fall out easily. Let them cool completely before serving.
This will help you make delightful mini pineapple upside-down cakes.
Tips & Tricks
Perfecting the Mini Cake Texture
To avoid dense cakes, use room temperature butter. This helps it blend well with sugar. Mix until it’s fluffy and light. Next, don’t overmix the batter. Stir just until you see no flour. This keeps the cake airy.
For measuring ingredients, use dry measuring cups for flour and sugar. Level off the top with a knife for accuracy. If you have a kitchen scale, weigh your flour. One cup of flour should weigh about 120 grams. Accurate measuring leads to great cakes.
Enhancements for Flavor
You can add spices for extra warmth. A pinch of cinnamon or nutmeg works well. These spices enhance the sweetness of the pineapple. Try mixing them into the dry ingredients for even flavor.
If you want to switch things up, consider using different fruits. Peaches or cherries can add a nice twist. You could also top the cakes with toasted coconut for a tropical vibe. This adds texture and flavor.
Presentation Tips
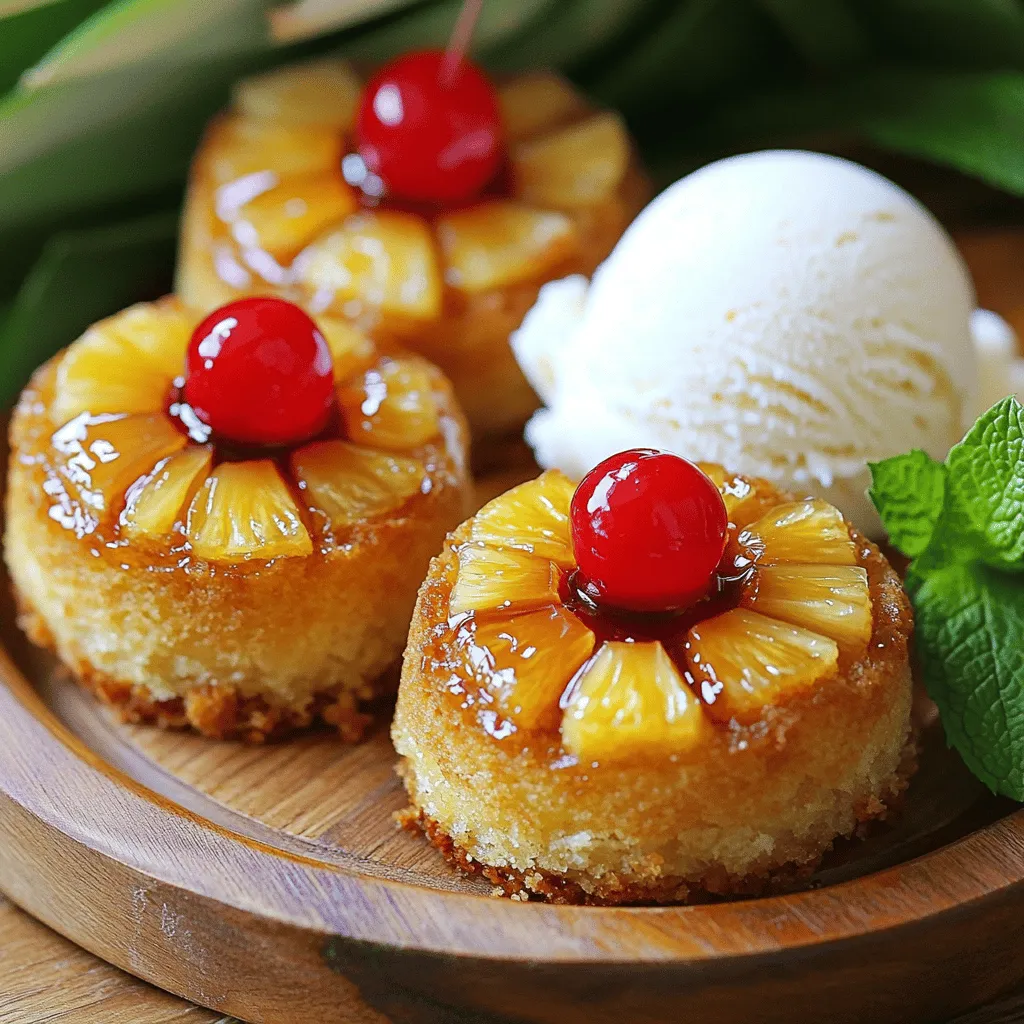
When serving, top each mini cake with a scoop of vanilla ice cream. The warm cake and cold ice cream create a tasty contrast. You can also use whipped cream for a lighter option.
For garnishing, fresh mint leaves add a pop of color. You can sprinkle toasted coconut on top for extra flair. These small touches make your dessert look even more inviting.
Variations
Different Fruit Options
You can switch up the fruit in these mini cakes. Instead of pineapple, try peaches or cherries. Both fruits work well and add a nice twist. For a tropical vibe, add coconut or mango. These fruits bring a fresh flavor to your cakes. You can mix and match, so get creative with your favorite fruits!
Alternative Sweeteners
If you want to cut back on sugar, use honey or maple syrup. They add great flavor and sweetness. You can also find sugar-free options if you’re health-conscious. These alternatives can help you enjoy a tasty treat without the extra sugar.
Gluten-Free Adaptations
For those avoiding gluten, you can use gluten-free flour. Look for a blend that works well in baking. It’s easy to substitute it in this recipe. To keep the cakes light, add a little extra baking powder. This helps maintain that fluffy texture and delicious flavor.
Storage Info
Short-Term Storage
After making these mini cakes, you may have leftovers. Store any leftover mini cakes in the refrigerator. Place them in an airtight container to keep them fresh. This helps to prevent them from drying out. They will last about three days in the fridge.
Long-Term Storage
If you want to save mini cakes for later, freezing is a great option. Wrap each mini cake tightly in plastic wrap. Then, place them in a freezer-safe bag. They can stay frozen for up to three months. When you want to enjoy them, thaw them in the fridge overnight.
To reheat, place the mini cakes in a warm oven for a few minutes. This will help restore their fluffy texture. Enjoy them warm for the best taste!
FAQs
What can I use instead of buttermilk?
You can use regular milk mixed with vinegar. Just add 1 tablespoon of vinegar to 1 cup of milk. Let it sit for 5 minutes. This makes a great substitute. You can also use plain yogurt to replace buttermilk. Use the same amount of yogurt as buttermilk. Both options work well in this recipe.
Can I make this recipe ahead of time?
Yes, you can make these mini cakes ahead of time. Once they cool, store them in an airtight container. This keeps them fresh for up to three days. You can also freeze them. Just wrap each mini cake in plastic wrap. They will last in the freezer for about a month.
How do I properly invert the mini cakes?
To invert the mini cakes, let them cool for 5 minutes. Then, place a serving platter upside down on the muffin tin. Carefully flip the platter and tin together. Gently lift the tin off. If a cake sticks, tap the bottom lightly. This helps avoid breakage and keeps the cake intact.
How long do mini pineapple upside-down cakes last?
These mini cakes last about three days at room temperature. Store them in an airtight container. If you keep them in the fridge, they last about a week. For the best taste, enjoy them fresh!
You can now create delicious mini pineapple upside-down cakes easily. We covered the key ingredients and how to mix them. I shared tips for perfect texture and flavor while presenting your cakes beautifully. Don’t forget the fun variations you can try. Store them correctly, and enjoy them longer. Overall, this recipe is simple and enjoyable, making it perfect for any occasion. Happy baking!