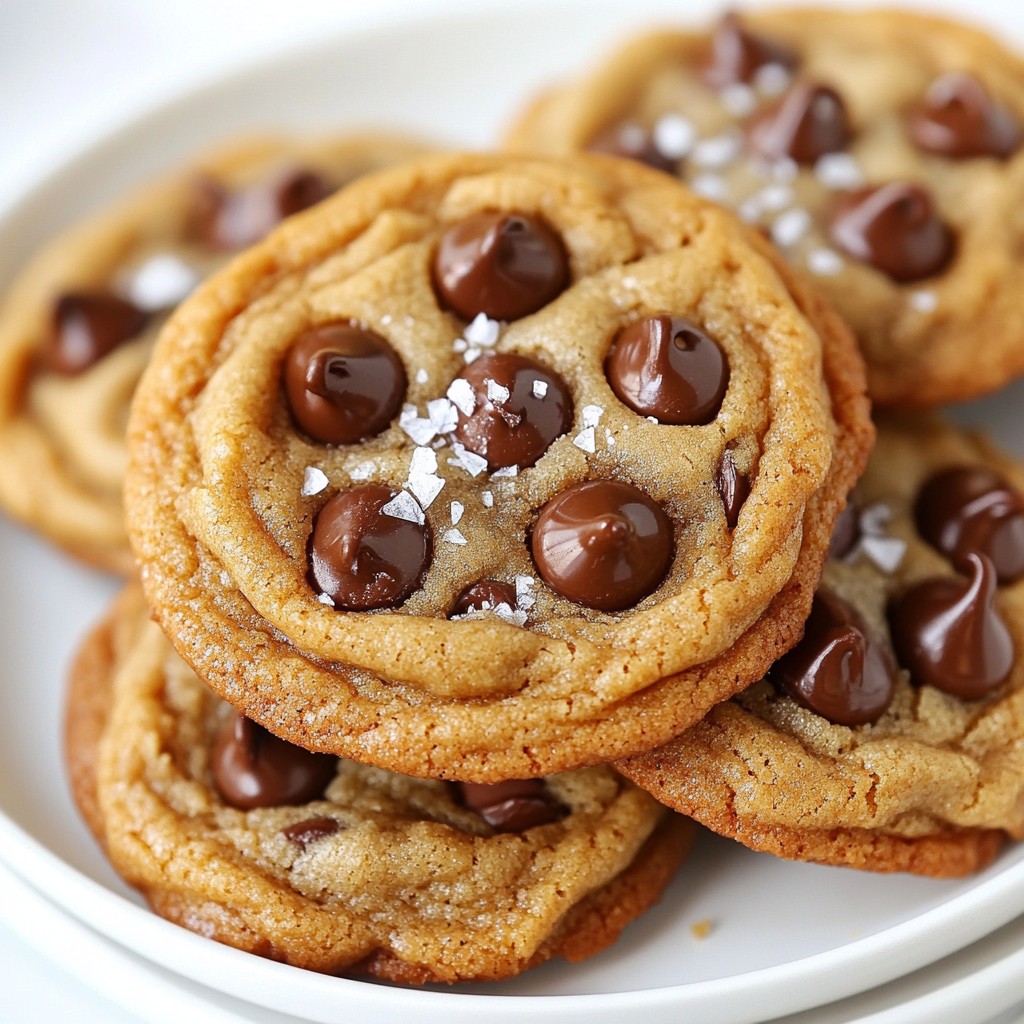
Ready to bake the ultimate chewy cookies? My Chewy Brown Butter Chocolate Chip Cookies are a game-changer. With rich brown butter for a nutty depth and a perfectly chewy texture, these cookies will wow your taste buds. Plus, I’ll guide you through each step, from choosing the right ingredients to baking tips that guarantee success. Let’s make your cookie dreams come true—one delicious bite at a time!
Why I Love This Recipe
- Rich Flavor: The brown butter adds a deep, nutty flavor that elevates the classic chocolate chip cookie experience.
- Chewy Texture: Chilling the dough helps achieve that perfect chewy texture that cookie lovers crave.
- Simple Ingredients: With just a few pantry staples, this recipe is easy to whip up anytime you need a sweet treat.
- Customizable: Feel free to mix in your favorite nuts or swap chocolate types for a personalized touch!
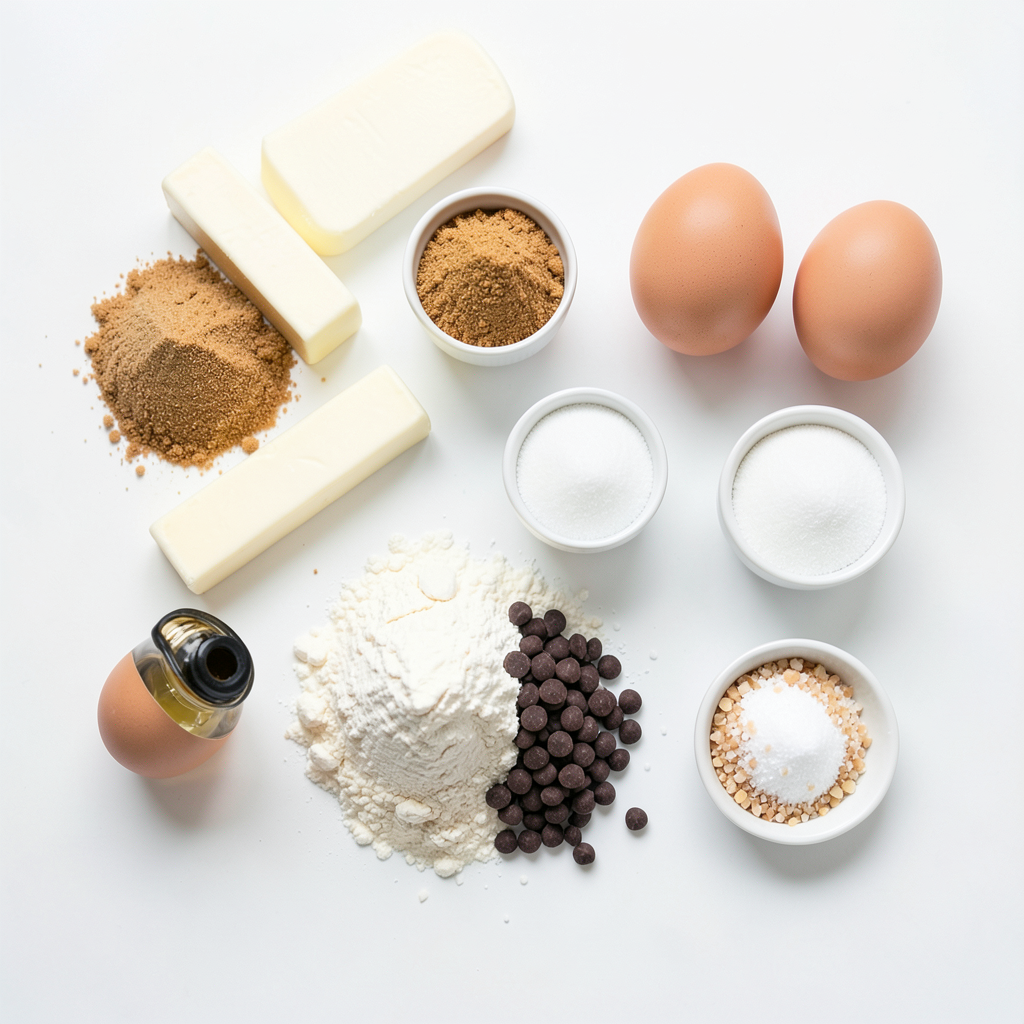
Ingredients
Detailed List of Ingredients
- 1 cup unsalted butter (2 sticks)
- 1 cup brown sugar, packed
- 1/2 cup granulated sugar
- 2 large eggs
- 2 teaspoons vanilla extract
- 2 1/4 cups all-purpose flour
- 1 teaspoon baking soda
- 1/2 teaspoon salt
- 1 1/2 cups semi-sweet chocolate chips
- Flaky sea salt for topping (optional)
Ingredient Tips
Using unsalted butter is key. This lets you control salt levels. Unsalted butter also helps the flavors shine. Brown sugar is special too. It adds a rich, caramel taste. It also makes cookies soft and chewy.
Measuring Ingredients Accurately
Precision matters in baking. Use kitchen scales for best results. They help you measure butter, flour, and sugar correctly. If you use measuring cups, pack brown sugar tightly. This keeps the right amount in your mix. Accurate measuring leads to perfect cookies every time.
Step-by-Step Instructions
Brown the Butter
Browning the butter adds a rich flavor. You want it to smell nutty. Look for a golden brown color. Swirl the pan often to prevent burning. Once it's ready, let it cool a bit before using.
Mixing Wet Ingredients
Combine the brown butter with both sugars in a large bowl. Mix them well until smooth. This step is key for flavor. Add eggs one at a time. Then, stir in the vanilla until everything is blended.
Preparing the Dry Ingredients
In a separate bowl, sift together the flour, baking soda, and salt. This step breaks up clumps. It also helps to mix the dry ingredients evenly. Make sure there are no lumps before adding to the wet mix.
Chilling and Baking
Chilling the dough is important. It helps to improve the cookie's chewy texture. Cover the dough and refrigerate it for at least 30 minutes. While waiting, preheat your oven to 350°F (175°C). Line two baking sheets with parchment paper for easy cleanup.
Cooling and Serving
After baking, let the cookies cool on the sheet for about 5 minutes. This helps them firm up. Then, move them to a wire rack to cool completely. Serve them warm or with a glass of milk for a tasty treat.
Tips & Tricks
Achieving the Perfect Chewy Texture
Chilling the dough is key for chewy cookies. It firms up the butter, making them less flat. Aim for at least 30 minutes in the fridge. You can chill longer for more flavor.
Baking time also matters. If you bake them for 10 minutes, they stay soft. Bake for 12 minutes, and they will have a nice crisp edge. Keep an eye on the color; they should be golden around the edges but soft in the middle.
Flavor Enhancements
Adding nuts or different types of chocolate can elevate your cookies. Walnuts or pecans bring a rich crunch. Dark chocolate chunks give a deeper flavor.
You can also try flavored extracts. Almond or hazelnut extract adds a unique twist. Just add a half teaspoon to the wet mix for a fun flavor surprise.
Common Mistakes to Avoid
Overmixing the dough can lead to tough cookies. Mix until just combined; lumps are okay. This keeps your cookies soft and chewy.
Not allowing the cookies to cool can ruin them. Let them sit on the baking sheet for 5 minutes before moving them. This helps them set and keeps them from crumbling.
Pro Tips
- Browning Butter: Make sure to keep a close eye on the butter while browning. It can go from perfect to burnt quickly! You want a rich, nutty aroma and a golden color.
- Chilling the Dough: Chilling the dough for at least 30 minutes not only enhances the flavor but also helps the cookies maintain their shape while baking.
- Testing for Doneness: Cookies may look underbaked in the center when you take them out. They will continue to cook on the baking sheet, so don’t overbake!
- Sea Salt Finish: A sprinkle of flaky sea salt right before baking adds a delightful contrast to the sweetness of the cookies. It enhances the overall flavor profile!
Variations
Gluten-Free Options
You can make these cookies gluten-free with some easy swaps. Use almond flour or oat flour instead of all-purpose flour. Both options add great flavor and texture. Remember that gluten-free baking often needs more moisture. You can add a bit of almond milk or an extra egg. To avoid dry cookies, make sure to check them closely while baking.
Vegan Adaptations
For a vegan version, swap the butter for coconut oil or a vegan butter. You can replace the eggs with flaxseed meal or applesauce. Use 1 tablespoon of flaxseed mixed with 3 tablespoons of water for each egg. This keeps your cookies moist. Pay attention to the baking time. Vegan cookies may need a few extra minutes to bake.
Add-in Ideas
Get creative with your cookie mix! Try adding nuts, like walnuts or pecans, for extra crunch. You can also use different types of chocolate, like dark or white chocolate chips. For fun seasonal flavors, mix in pumpkin spice in fall or peppermint bits during winter. These add a fun twist to your chewy cookies!
Storage Info
Storing Baked Cookies
To keep your chewy brown butter chocolate chip cookies fresh, use an airtight container. This helps to lock in the moisture and keeps cookies soft. You can also use a cookie jar, but it's not as effective. Cookie jars allow air in, which can dry out your cookies. Place a slice of bread in the container with the cookies. The bread will help keep them moist. Store your cookies at room temperature for up to a week.
Freezing Cookie Dough
Freezing cookie dough is a smart way to enjoy fresh cookies later. First, scoop the dough into balls and place them on a baking sheet. Freeze the dough balls for about 30 minutes until firm. Then, transfer them to a freezer bag. Remember to label the bag with the date. To bake, take out the dough and let it thaw in the fridge overnight. This method keeps the cookies chewy and fresh.
Shelf Life of Cookies
You should eat your baked cookies within a week for the best taste. After that, they may start to lose their flavor and texture. If you notice any off smells or mold, throw them away. A good sign of spoiled cookies is a hard, dry texture. Fresh cookies should be soft and chewy. Storing them properly helps maintain their delightful taste.
FAQs
What is the difference between brown butter and regular butter?
Brown butter has a nutty flavor. You achieve this by cooking unsalted butter until it turns golden brown. The milk solids caramelize, adding depth to your cookies. In contrast, regular butter has a mild taste. Using brown butter makes your cookies richer and more flavorful.
Can I use different types of sugar for this recipe?
Yes, you can! Brown sugar gives a chewy texture and adds moisture. Granulated sugar helps the cookies spread. You can try using coconut sugar or even maple sugar for unique flavors. Just keep the same total amount of sugar to maintain balance.
How can I make my cookies less sweet?
To reduce sweetness, cut back on the sugar. You can lower the brown sugar by 1/4 cup. You might also use less chocolate chips. Try dark chocolate for a richer taste that feels less sweet. Each change can help you find your perfect cookie balance.
What should I do if my dough is too sticky?
If your dough feels sticky, add a bit more flour. Start with one tablespoon at a time until it’s manageable. You can also chill the dough longer in the fridge. This will firm it up and make it easier to scoop.
Can I skip the chilling step?
While you can skip chilling, I don’t recommend it. Chilling helps the cookies develop flavor and chewiness. It also prevents spreading too much while baking. If you’re short on time, chill for at least 15 minutes. You’ll notice a difference in texture.
In this post, I discussed essential ingredients, precision in baking, and how to achieve perfect cookies. You learned tips for browning butter, mixing ingredients, and avoiding common mistakes. Don't forget to try different flavors or variations, like gluten-free and vegan options. Proper storage keeps your cookies fresh longer. Follow these steps, and you’ll create delicious treats every time. Baking is an art that rewards patience and creativity. Enjoy your cookie-making journey!