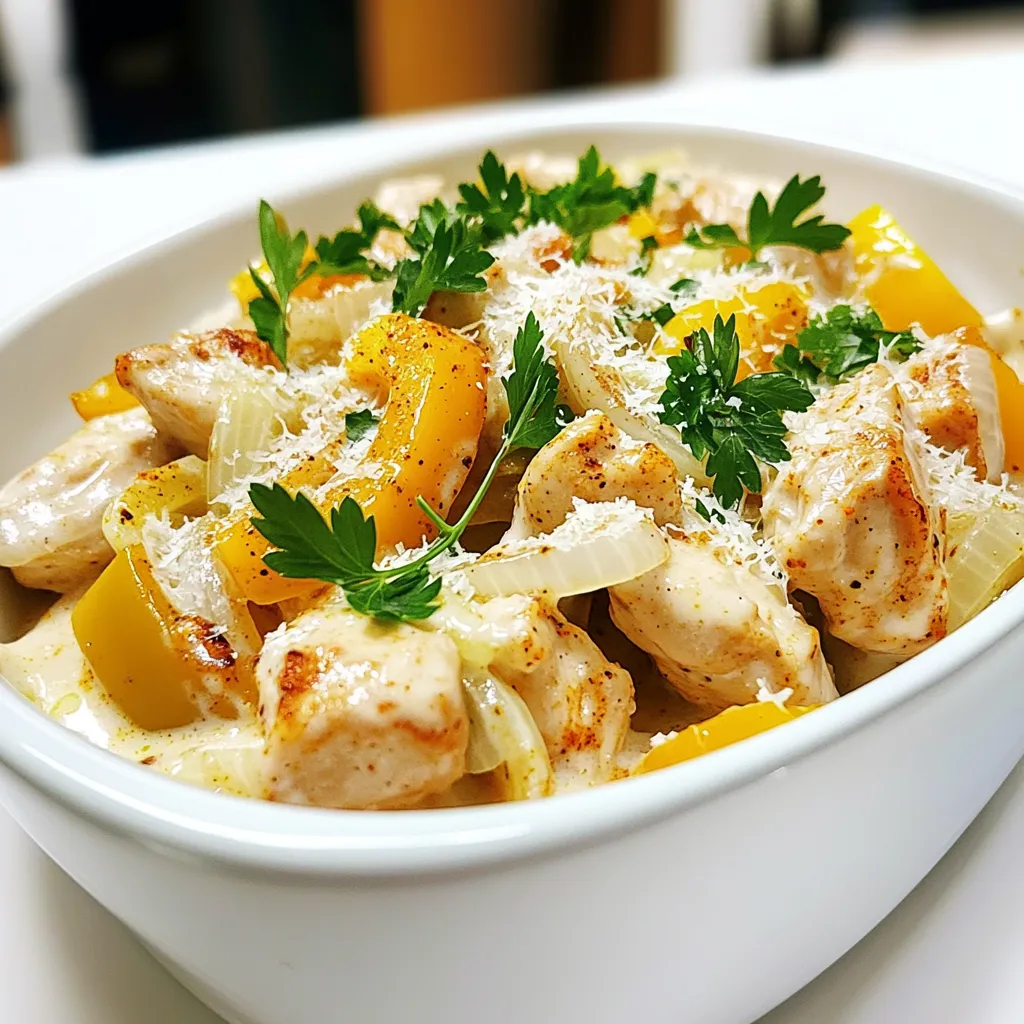
Cajun Chicken Alfredo One Pot Delightful Meal Recipe
If you’re craving a meal that’s rich in flavor and easy to make, you’ve hit the jackpot! My Cajun Chicken

If you’re craving a meal that’s rich in flavor and easy to make, you’ve hit the jackpot! My Cajun Chicken
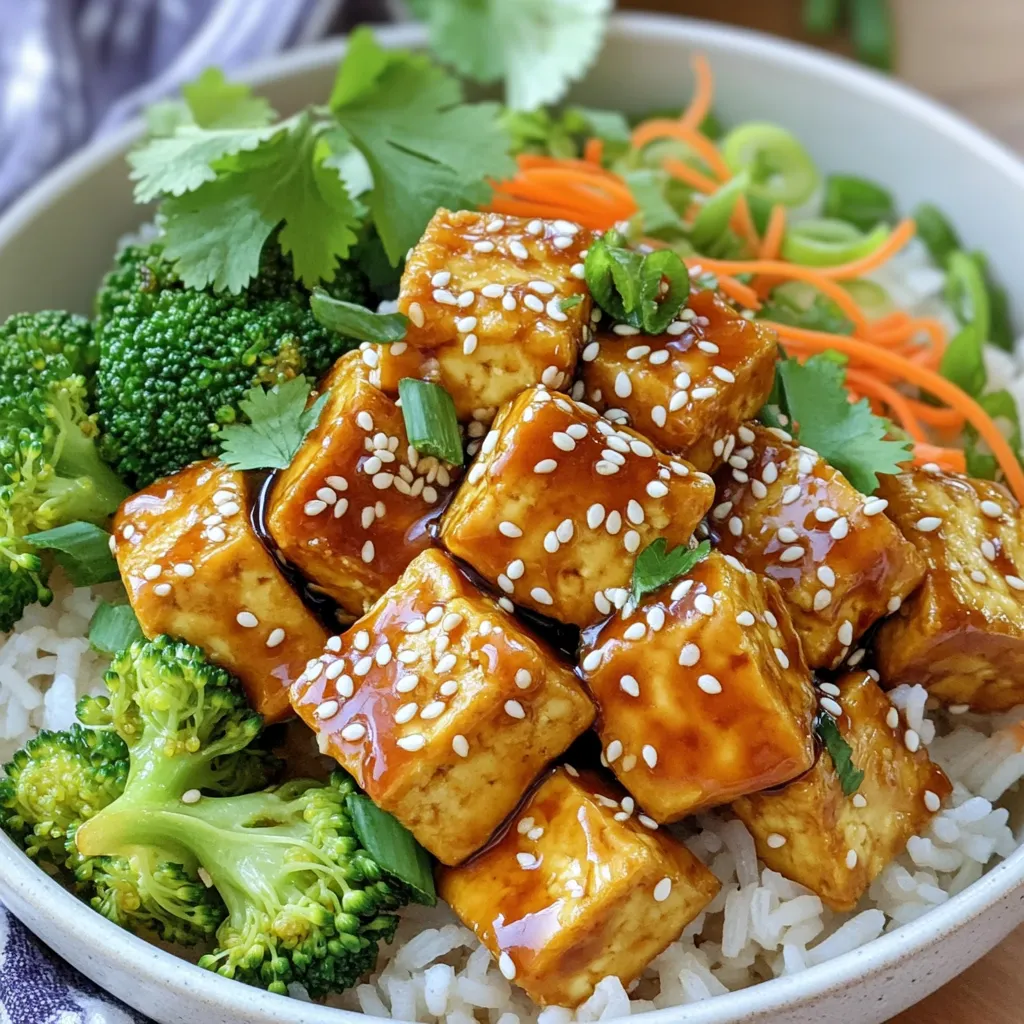
If you want a quick, tasty meal, try my Air Fryer Sesame Teriyaki Tofu Bowls! They’re packed with bold flavors

If you crave a warm, cheesy treat, you’ll love my Herb Garlic Parmesan Knots. This easy recipe combines fresh herbs
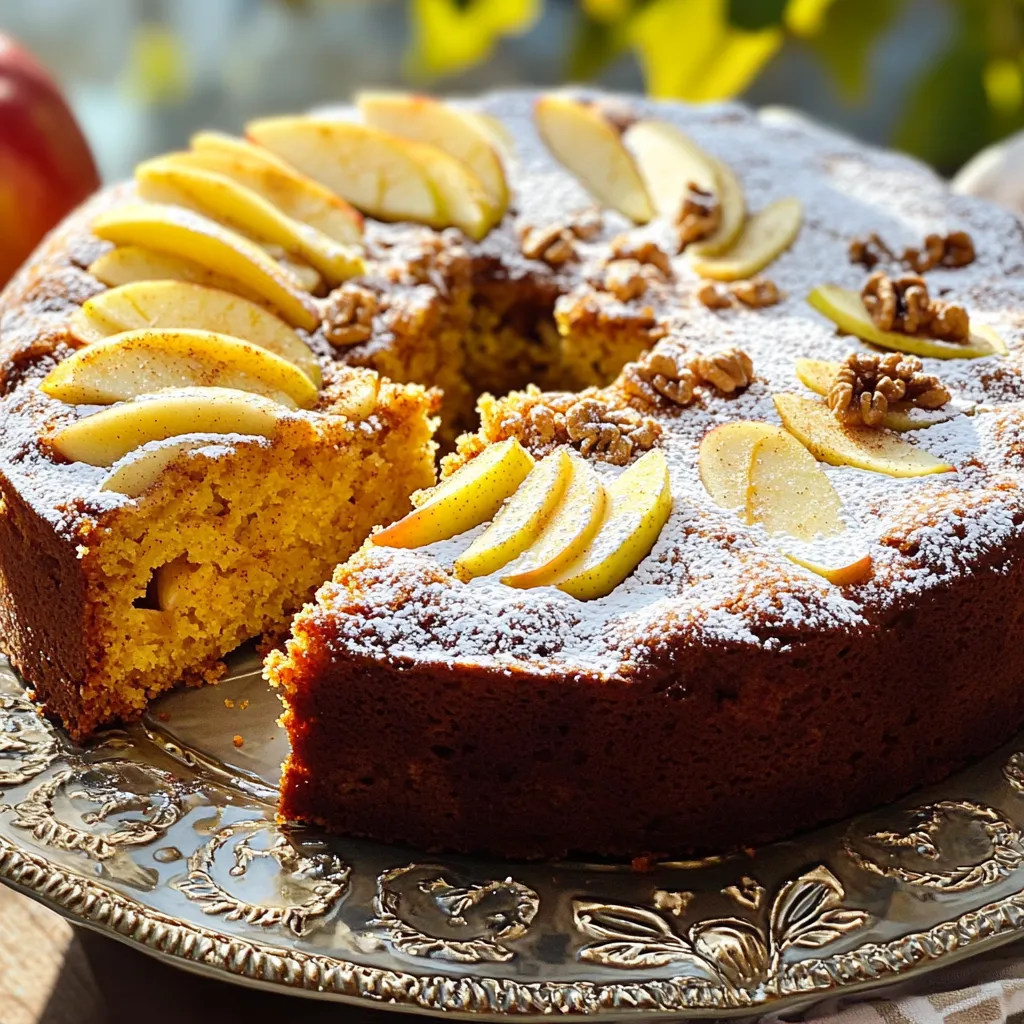
Craving a sweet treat that feels like autumn? Let me introduce you to the Brown Butter Apple Cider Pound Cake!
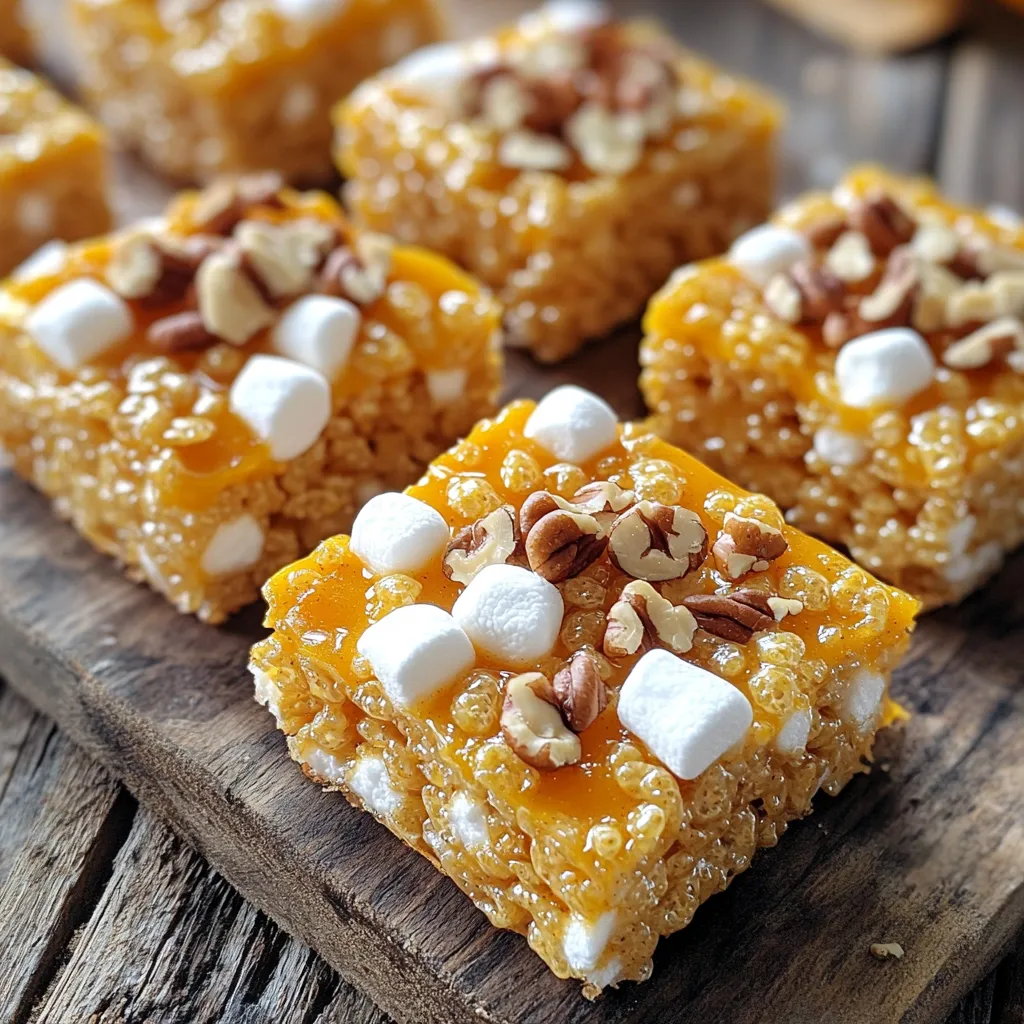
Fall flavors are here, and what better way to celebrate than with Pumpkin Spice Rice Krispie Treats? This tasty snack
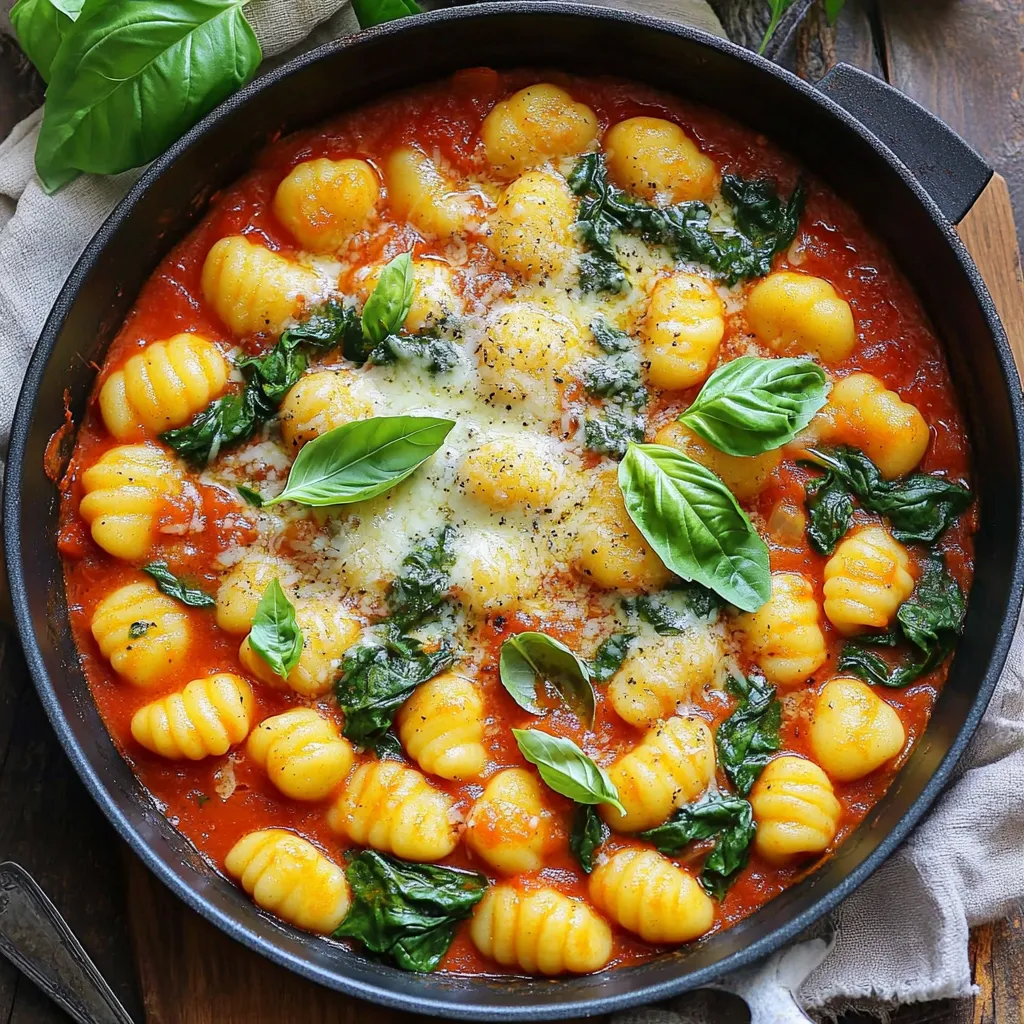
Looking for a quick, tasty meal? I’ve got you covered with my One Pot Tomato Gnocchi Spinach recipe! This dish
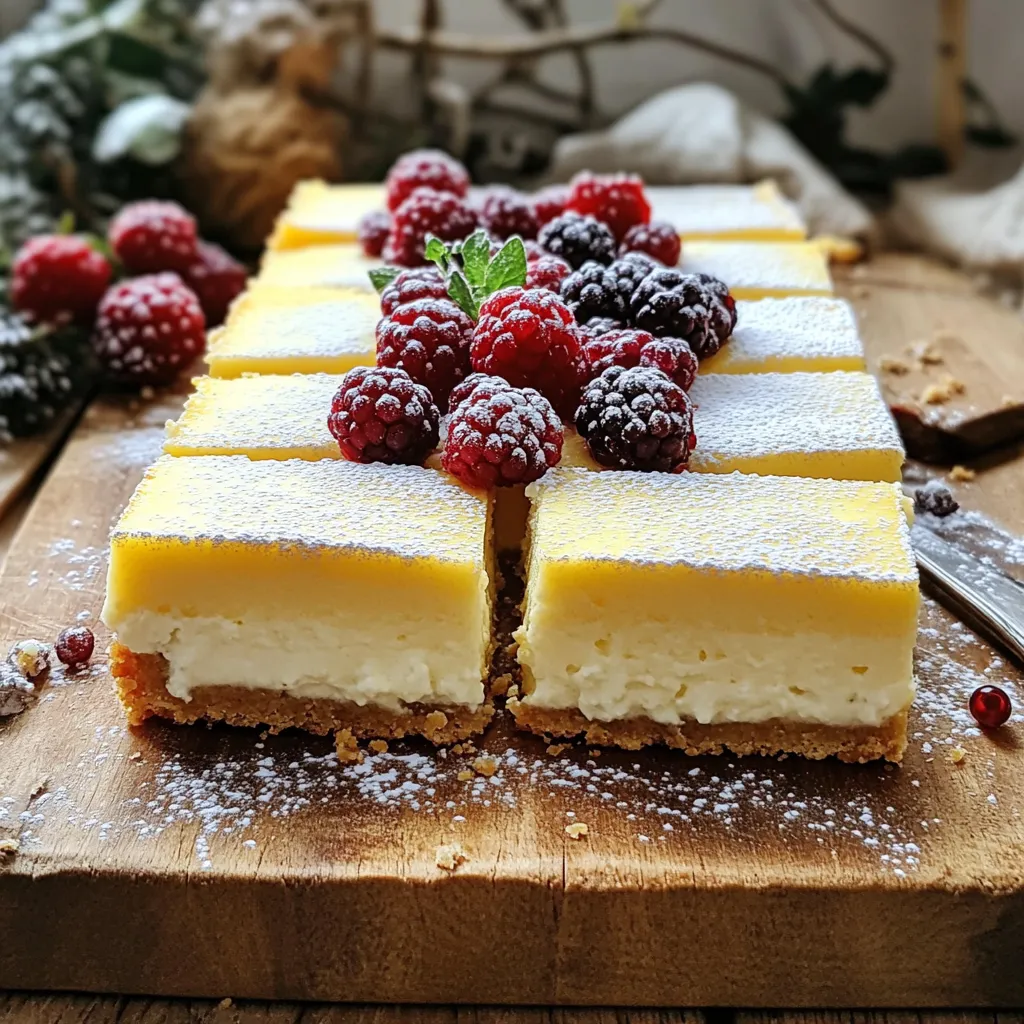
Looking for a dessert that’s easy to make and delicious? I’ve got you covered with my Cottage Cheese Cheesecake Bars!
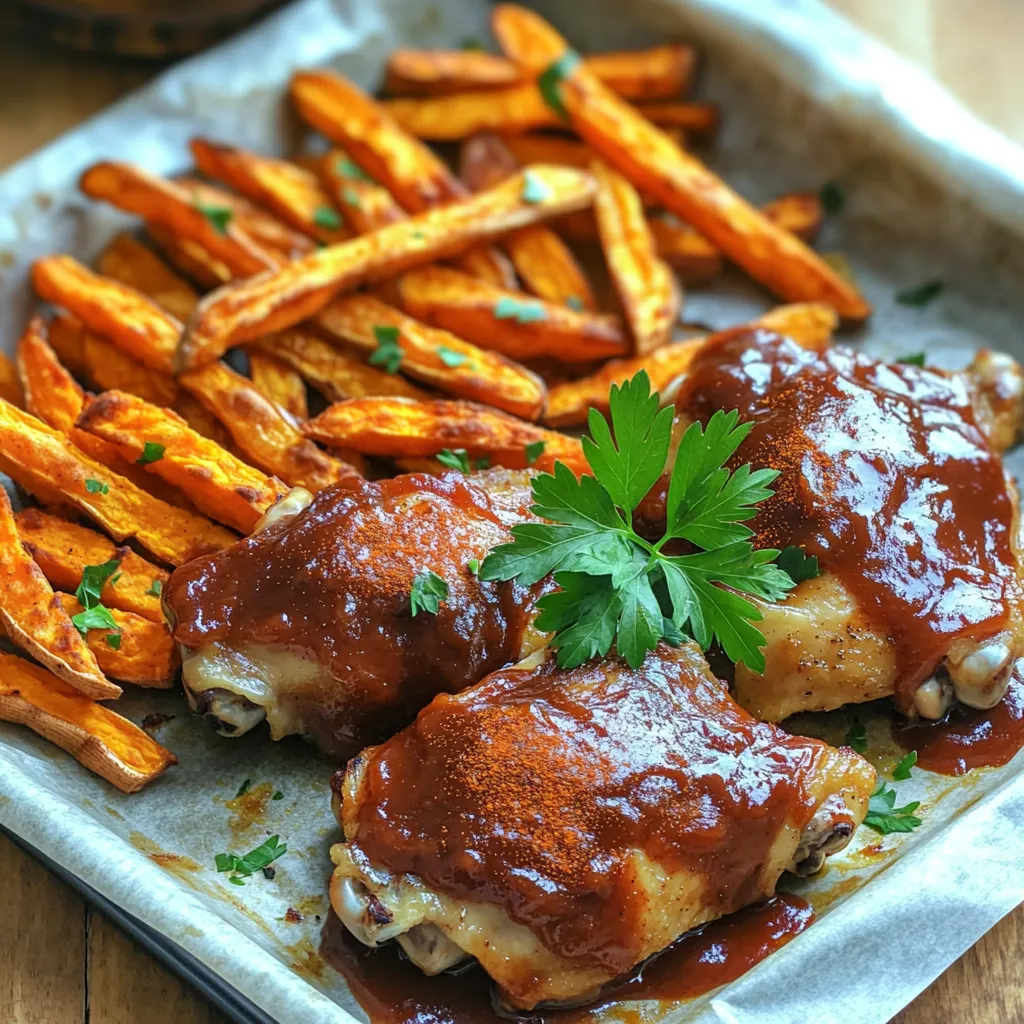
Are you ready for a tasty meal that’s easy to make? In this blog post, I’ll share my recipe for
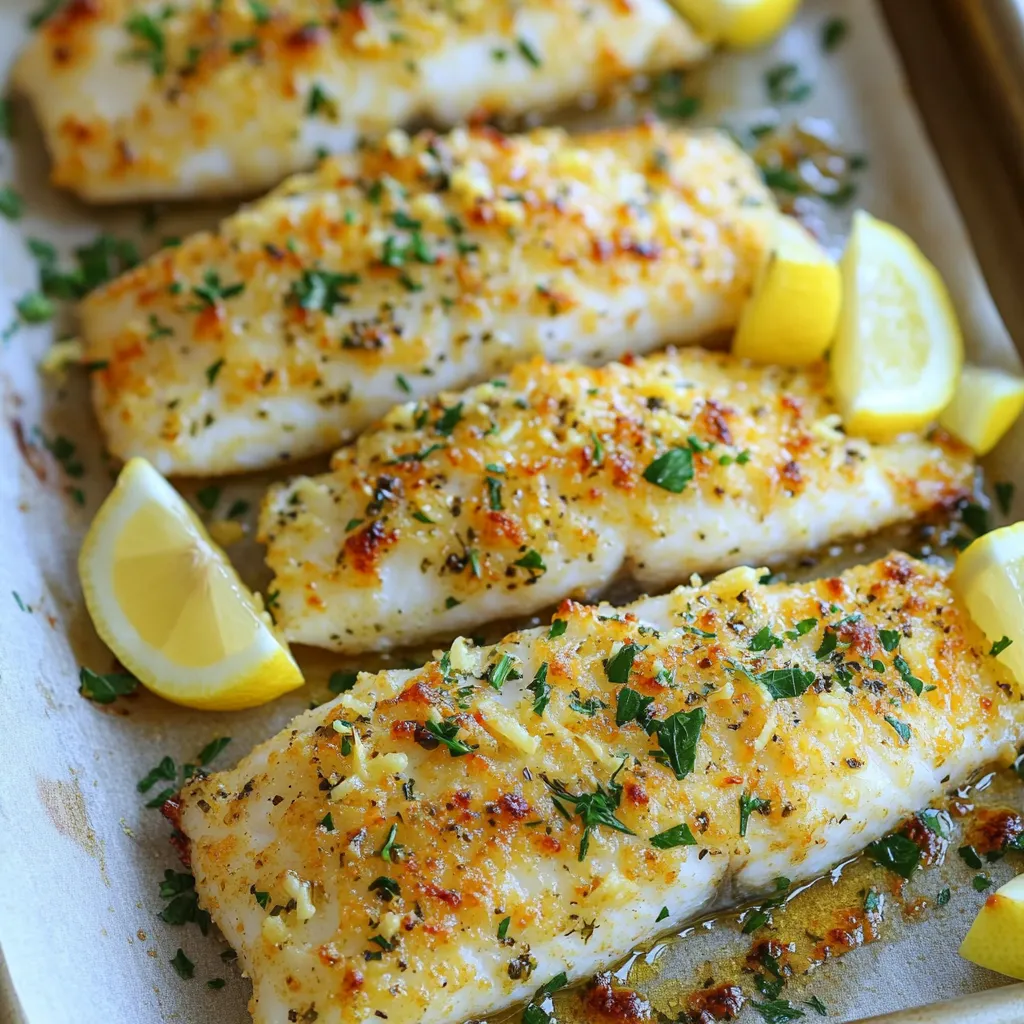
Are you looking for a delicious and simple dinner option? My Sheet-Pan Garlic Parmesan Tilapia is the answer! This easy

Fall lovers, it’s time to indulge in the ultimate cozy drink: Pumpkin Spice Whipped Coffee! This creamy delight combines rich
