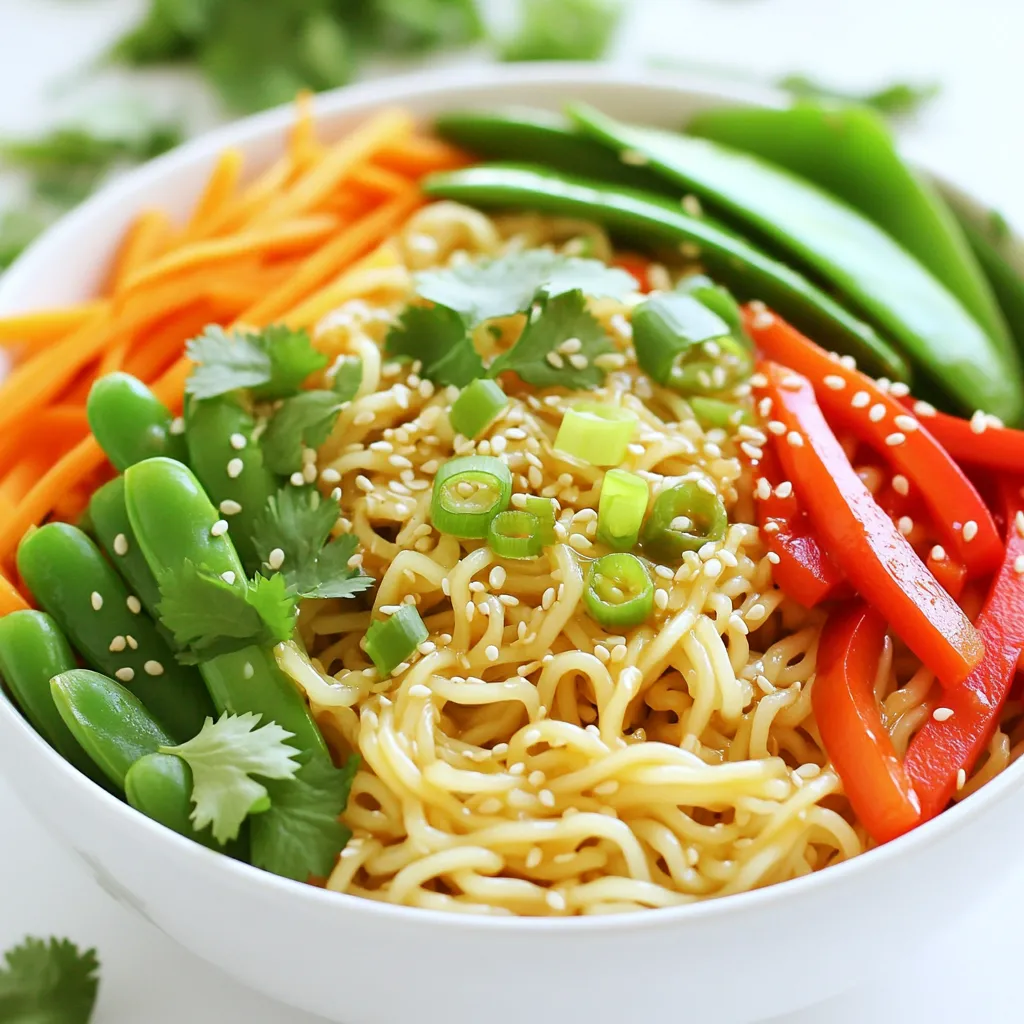
Minute Sesame Ginger Noodle Bowls Flavorful and Quick
Are you ready for a quick and tasty meal? My Minute Sesame Ginger Noodle Bowls are here to save the

Are you ready for a quick and tasty meal? My Minute Sesame Ginger Noodle Bowls are here to save the
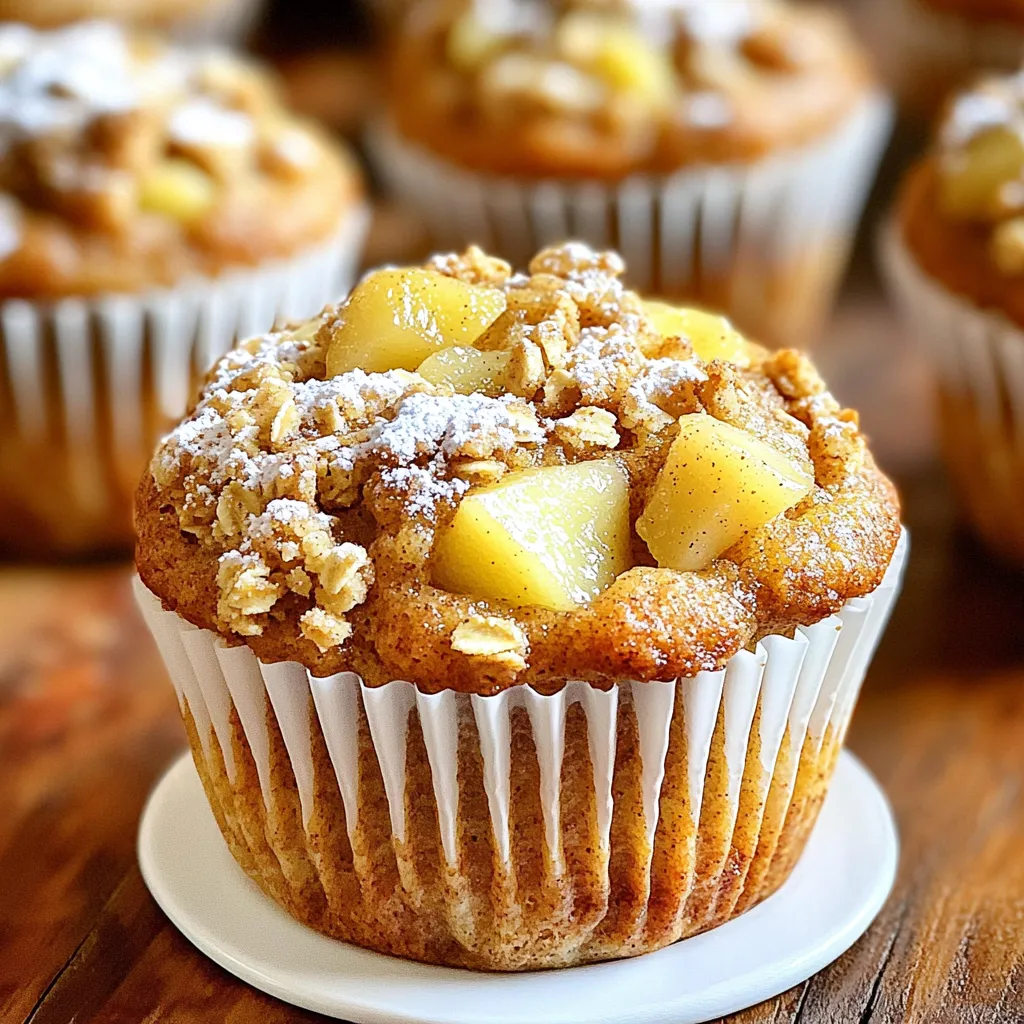
Get ready to bake the ultimate treat with my Bakery-Style Spiced Pear Crumble Muffins! These muffins pack warm spices and
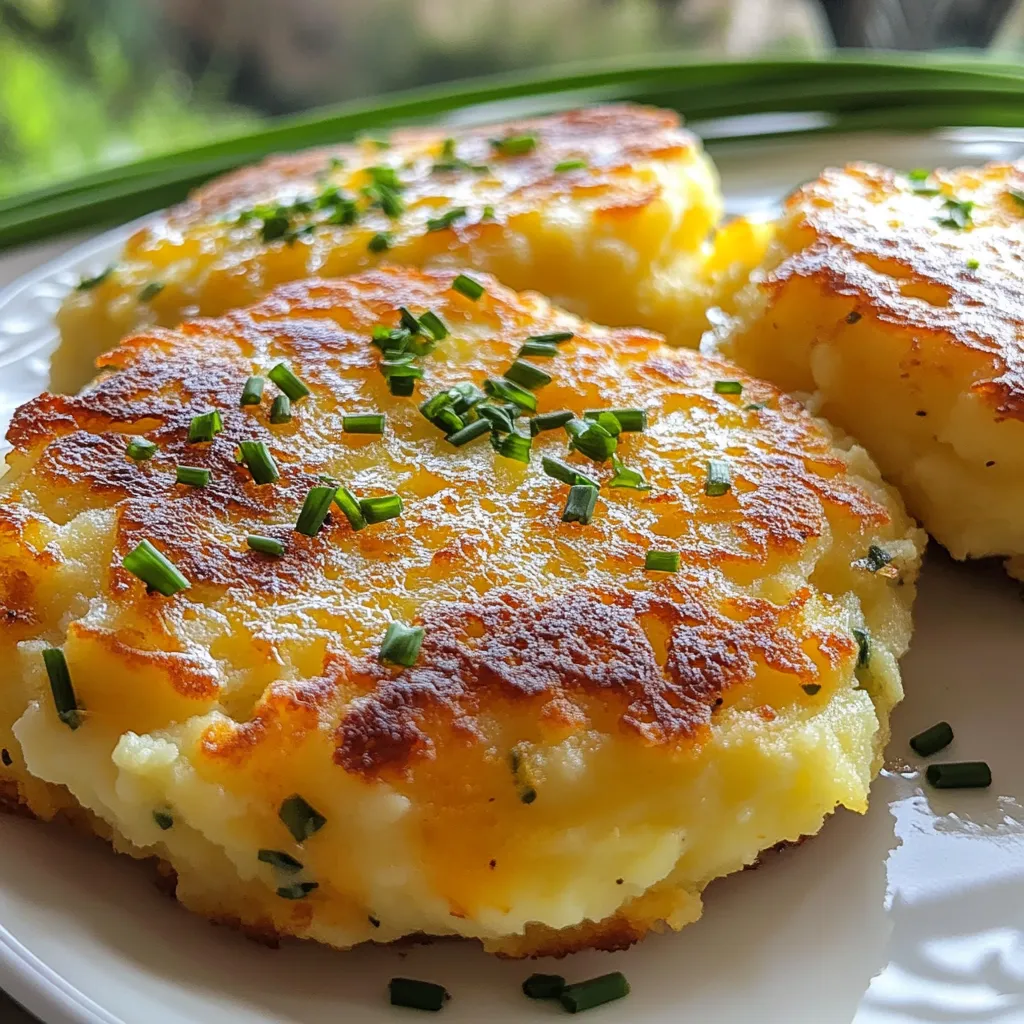
If you love crispy, cheesy goodness, you’ll adore my Savory Cheddar Chive Mashed Potato Cakes. They’re simple to make and
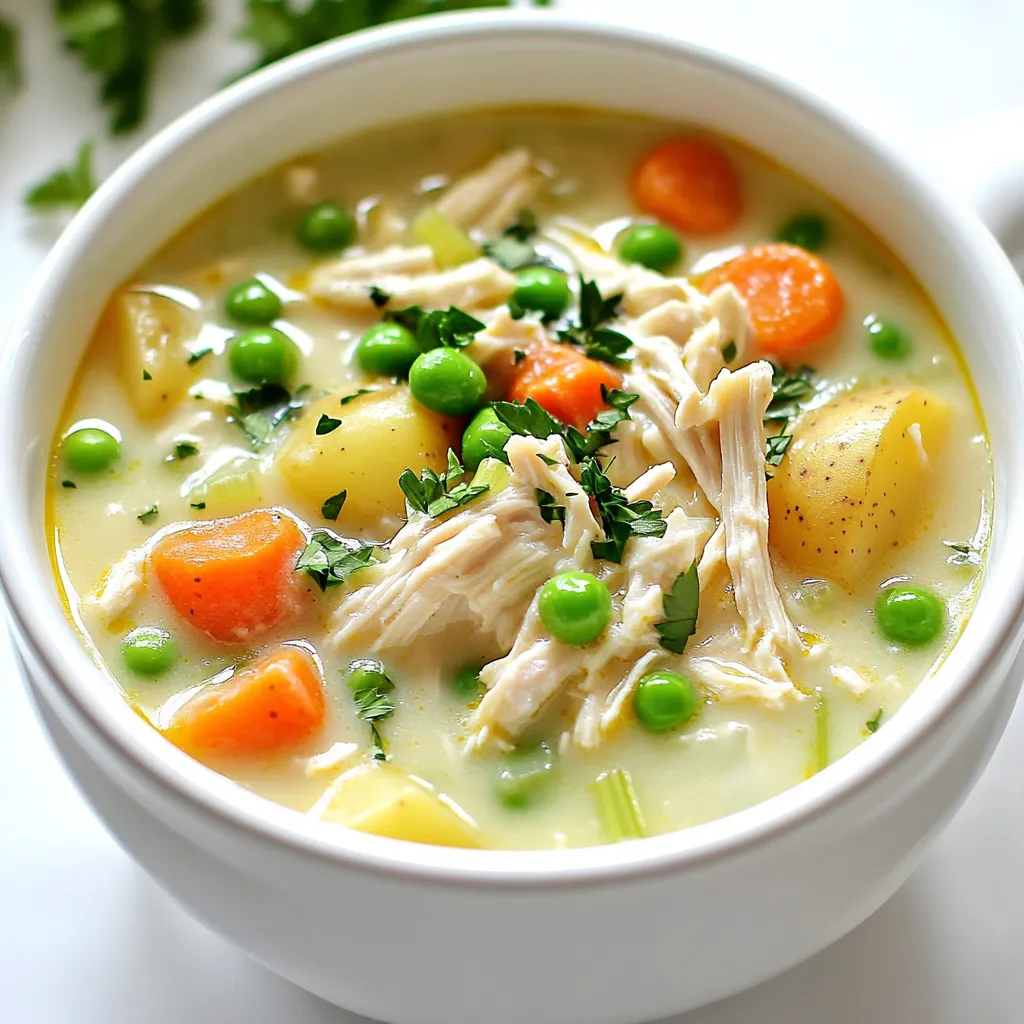
If you’re looking for a warm and soothing meal, you’re in the right place! My Slow Cooker Chicken Pot Pie
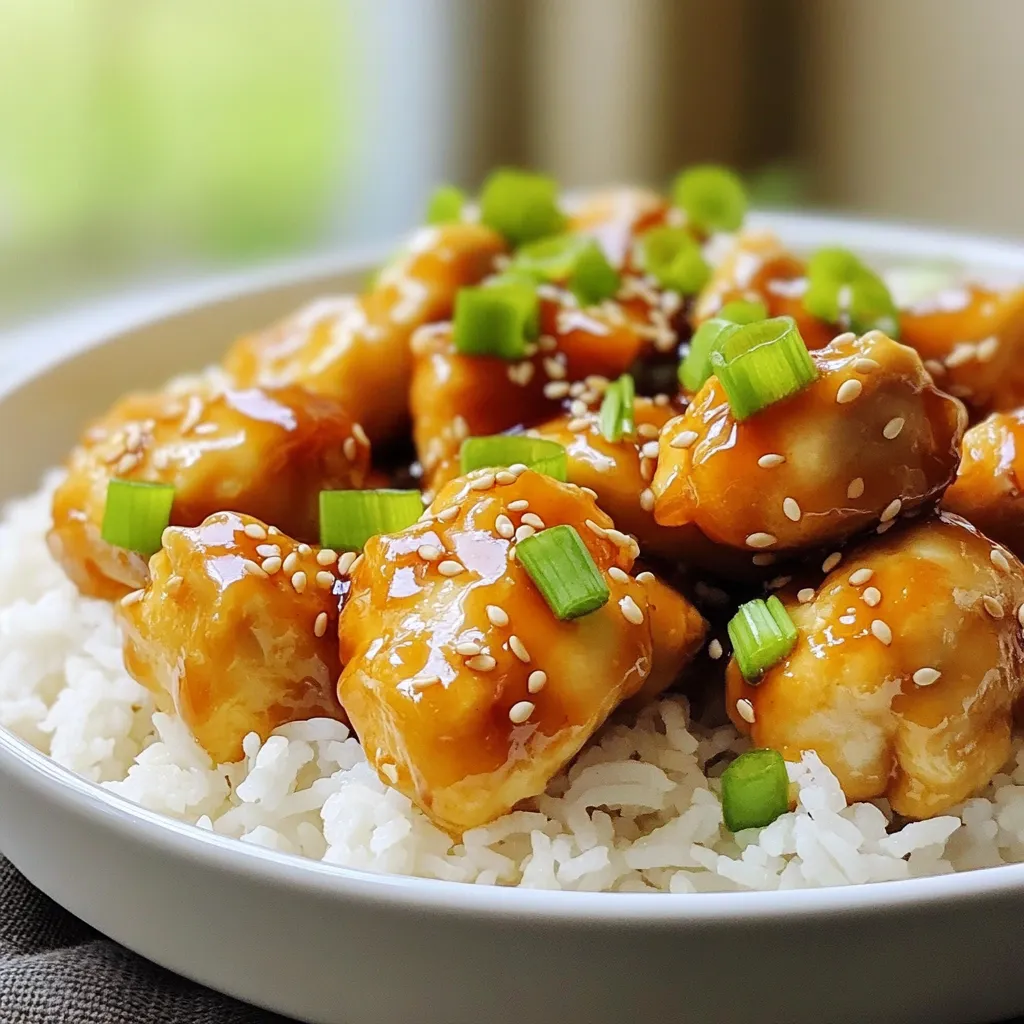
Craving sesame chicken but want to skip takeout? I’ve got you covered! My easy homemade recipe will give you that
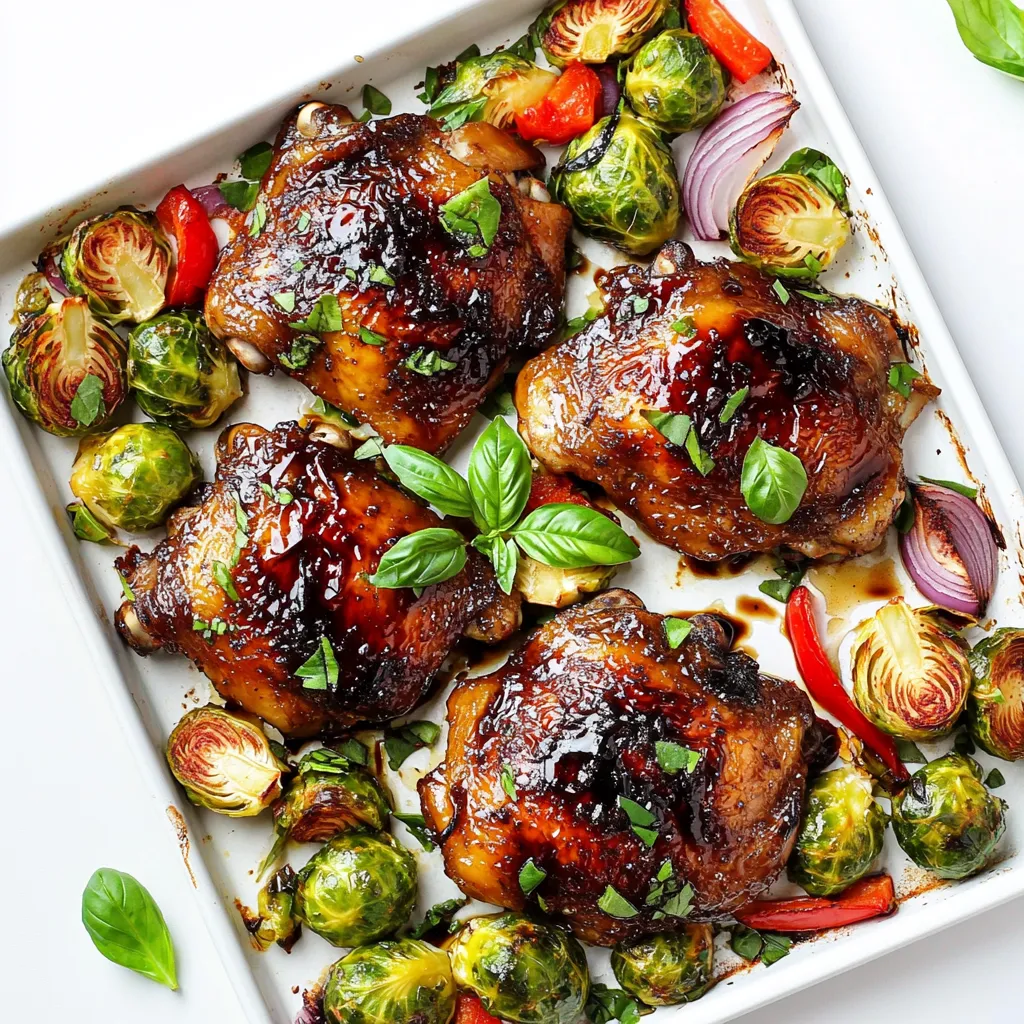
Are you ready to create a delicious meal that’s easy and full of flavor? My *Balsamic Glazed Chicken Thighs Sheet
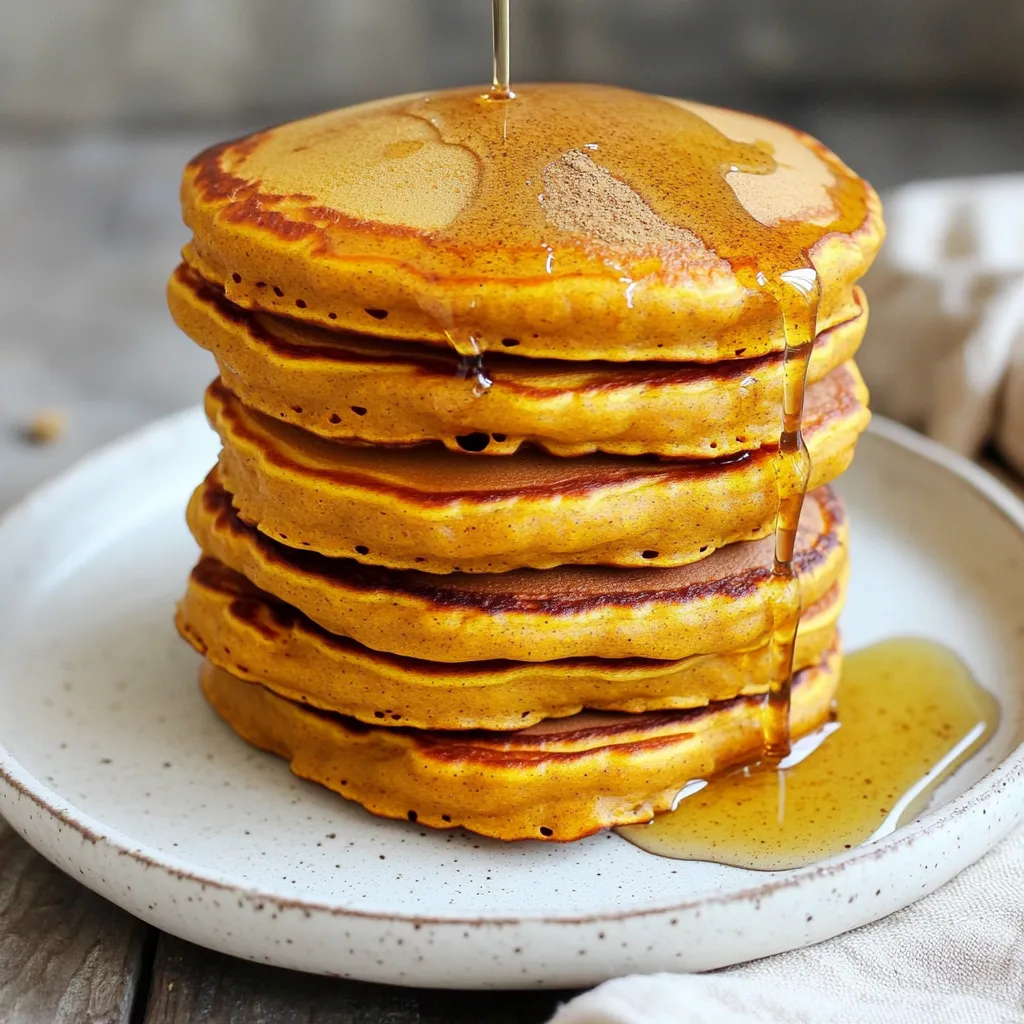
Are you ready to spice up your breakfast? These Pumpkin Spice Maple Pancakes are fluffy, flavorful, and the perfect fall
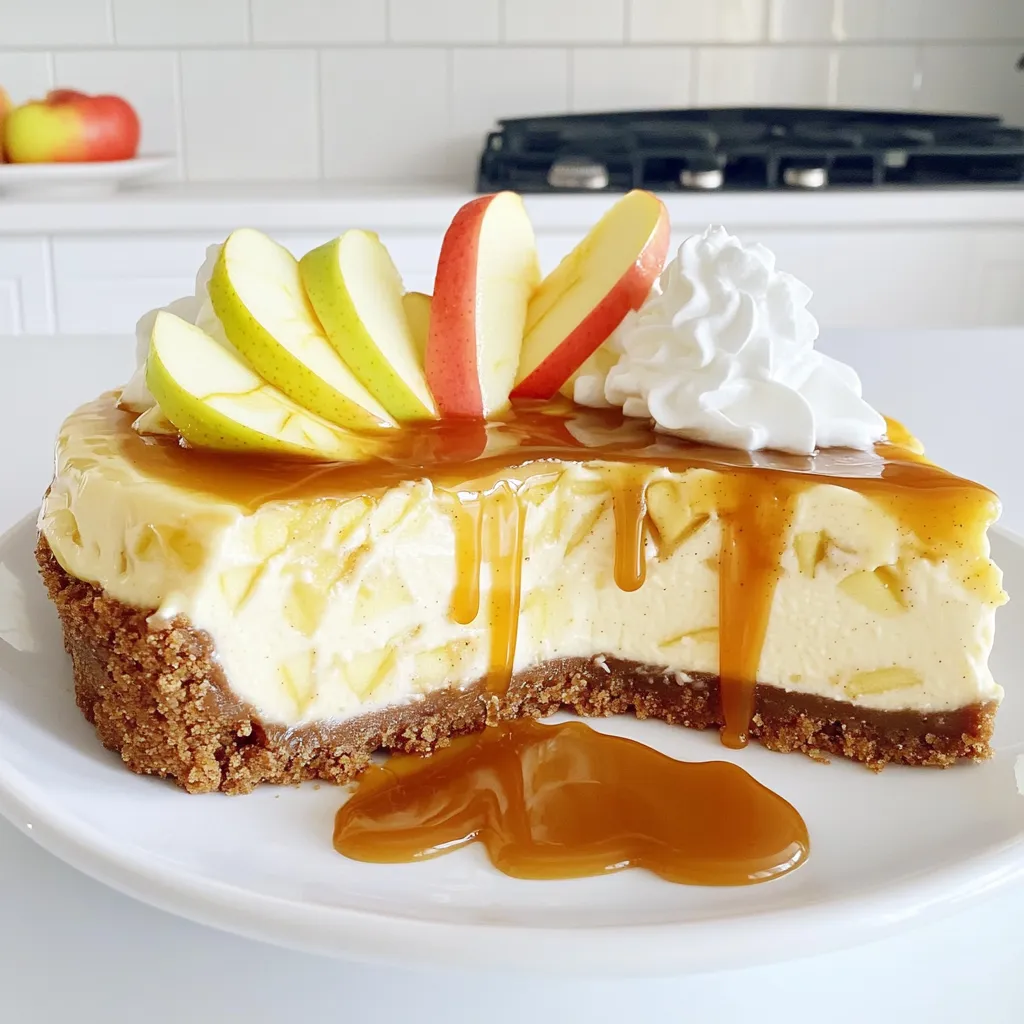
Craving a sweet treat that’s both creamy and fruity? This Apple Cheesecake with Caramel Drizzle is the answer! With a
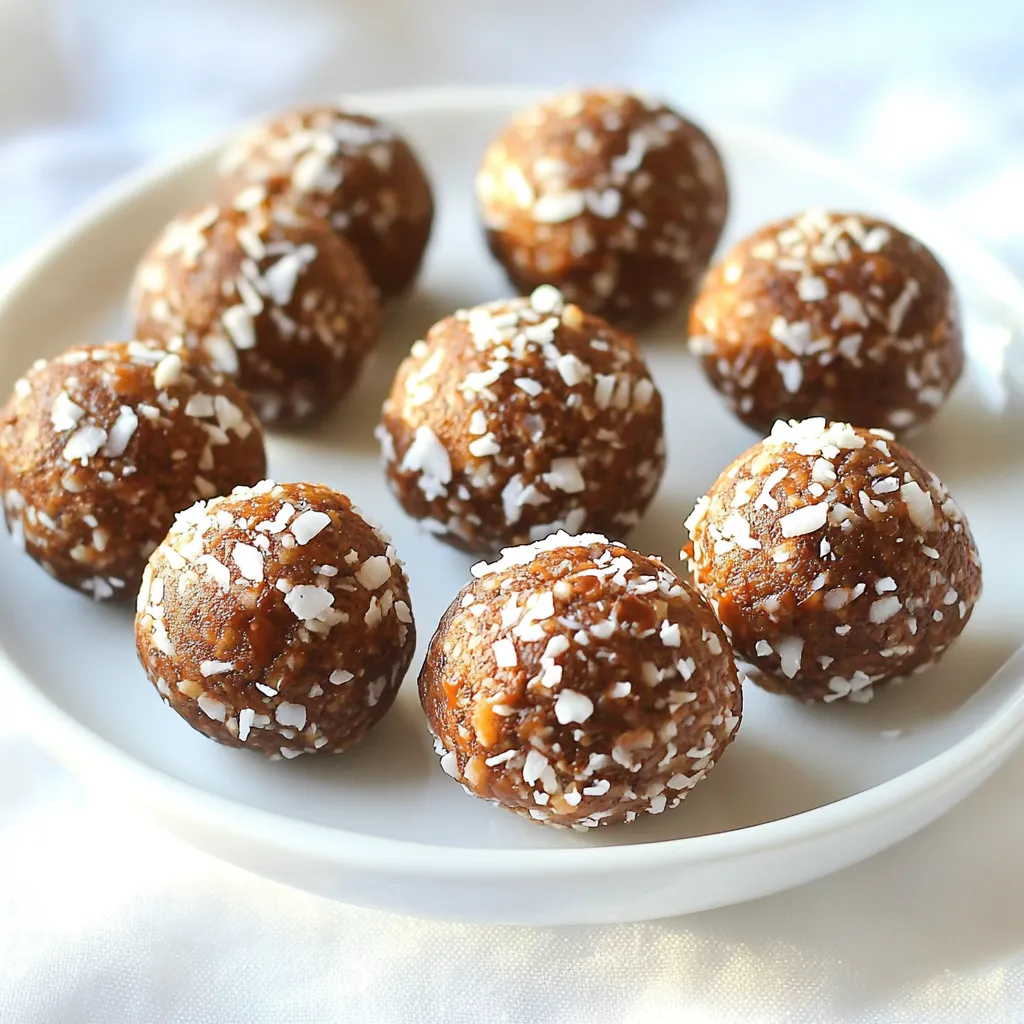
Are you craving a quick and healthy snack? These No Bake Chocolate Coconut Energy Balls are perfect for you! Packed
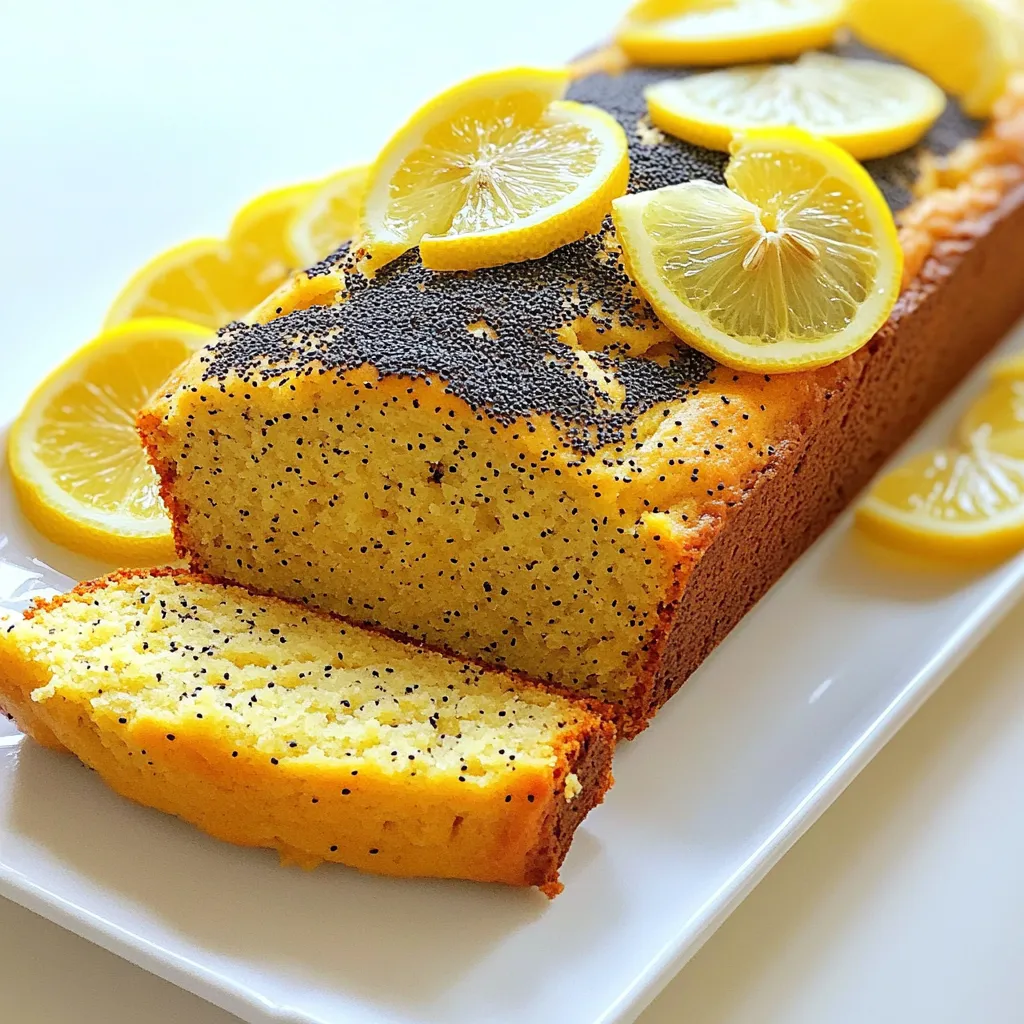
Are you craving a bright, tangy treat? This Lemon Poppy Seed Loaf Bakery Style recipe is just what you need!
