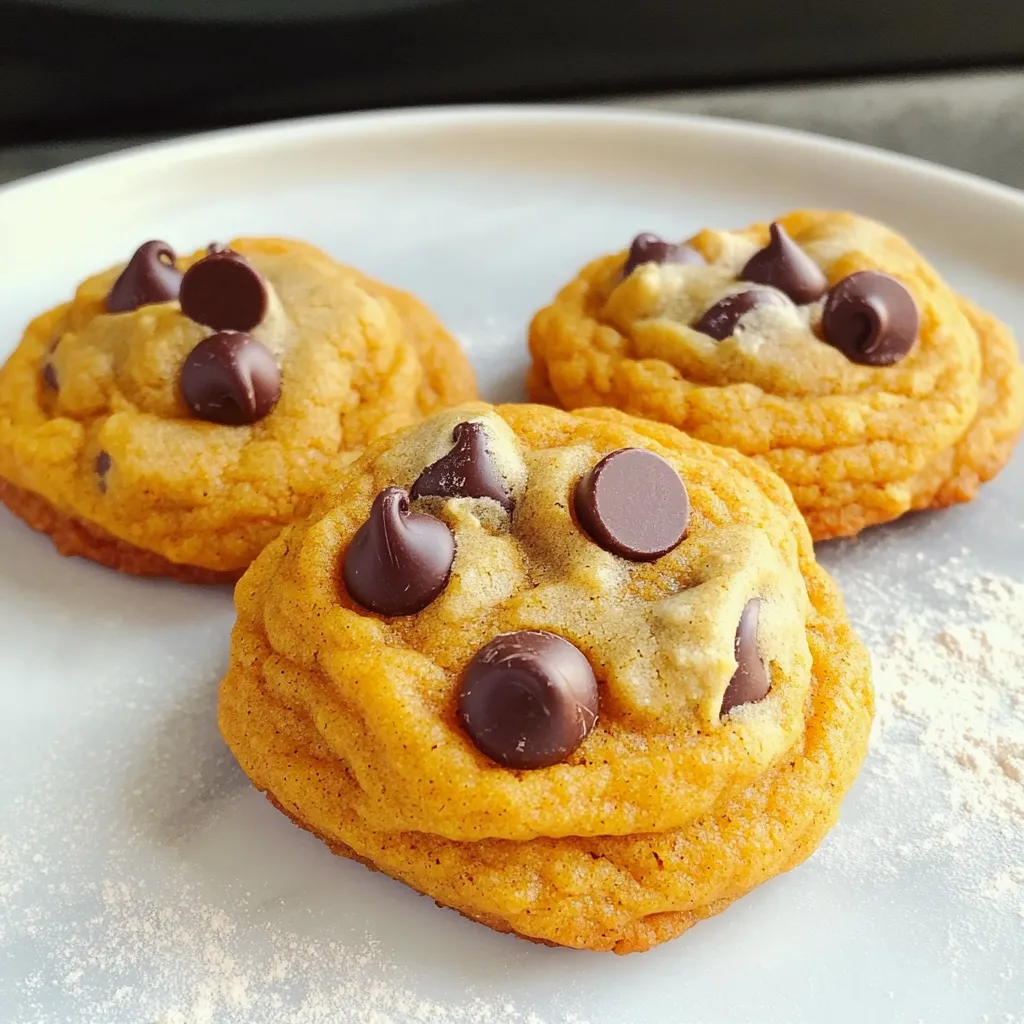
Chocolate Chip Pumpkin Cookies Delightful Fall Treat
Fall is here, and it’s time to indulge in the cozy flavors of the season! In this blog post, I’ll

Fall is here, and it’s time to indulge in the cozy flavors of the season! In this blog post, I’ll
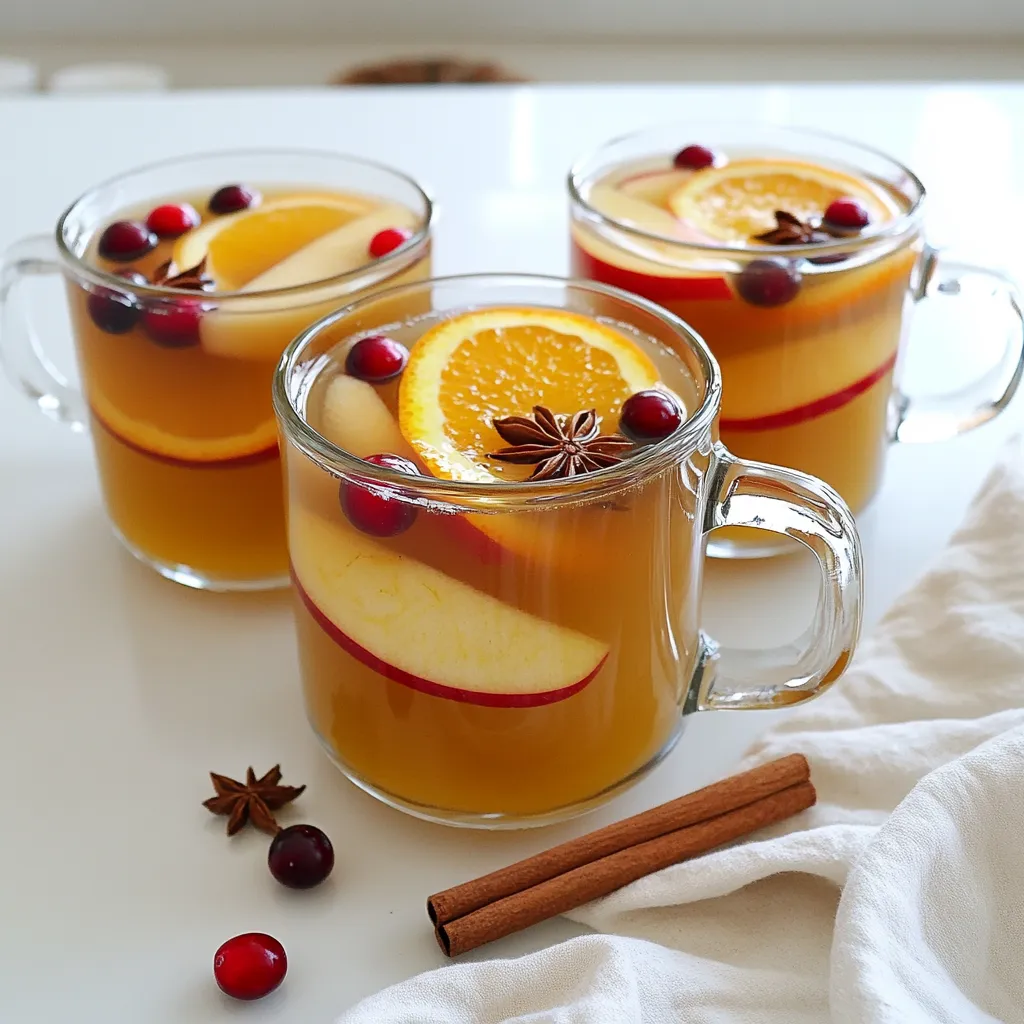
When the air turns crisp, there’s nothing better than a warm mug of mulled apple cider. This drink is not
Looking for a quick and tasty meal? The Lemon Garlic Chicken Orzo Skillet is the answer! This dish combines juicy
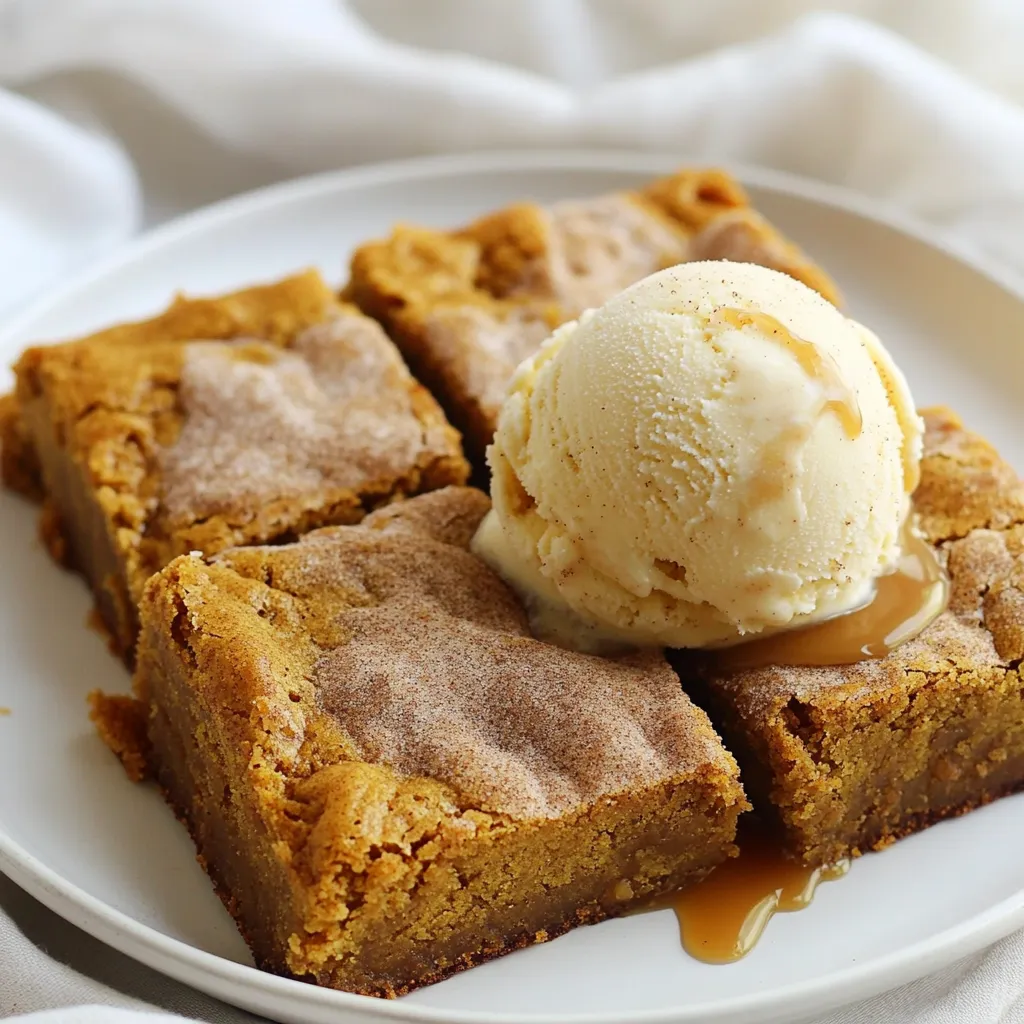
Fall is here, and it’s time to indulge in Pumpkin Snickerdoodle Blondies! These treats combine the cozy flavors of pumpkin
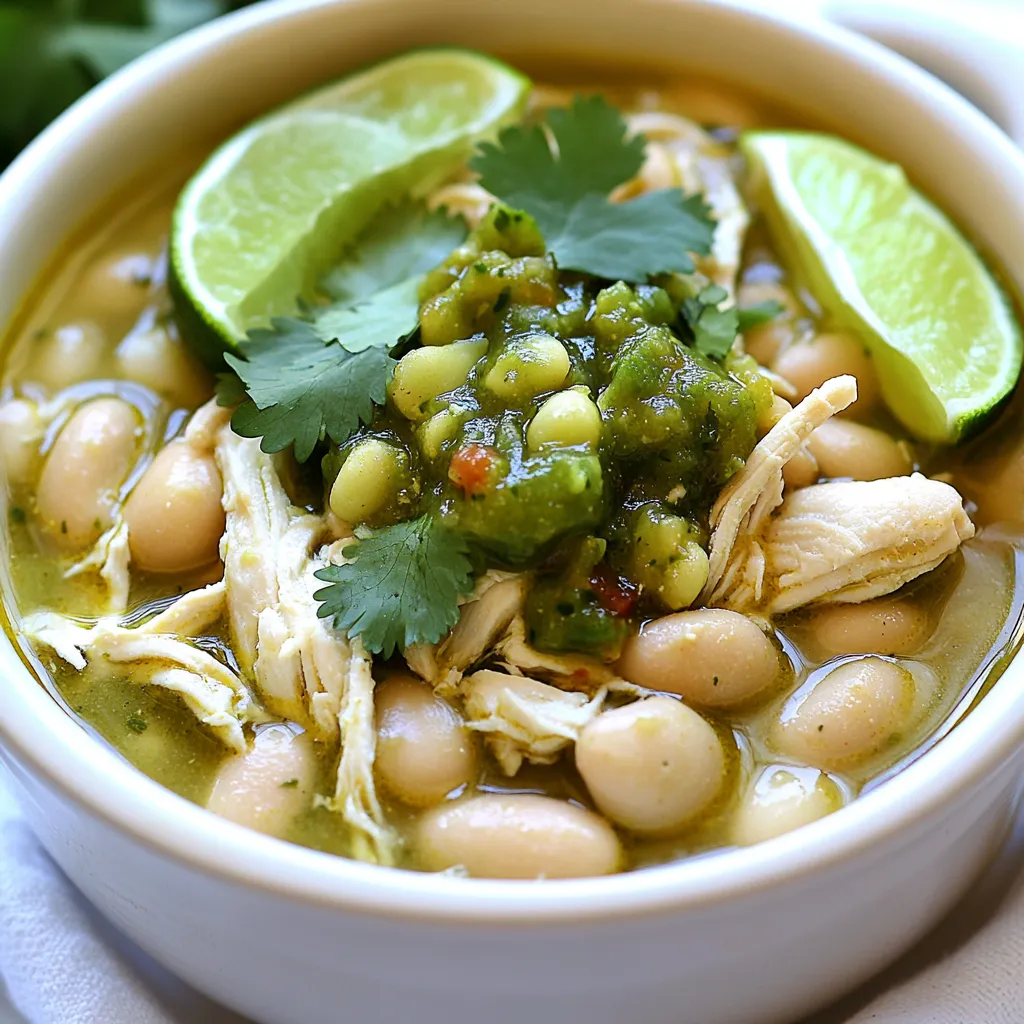
Welcome to my kitchen! Today, I’m sharing a hearty recipe for Slow Cooker White Chicken Chili Verde. This dish is
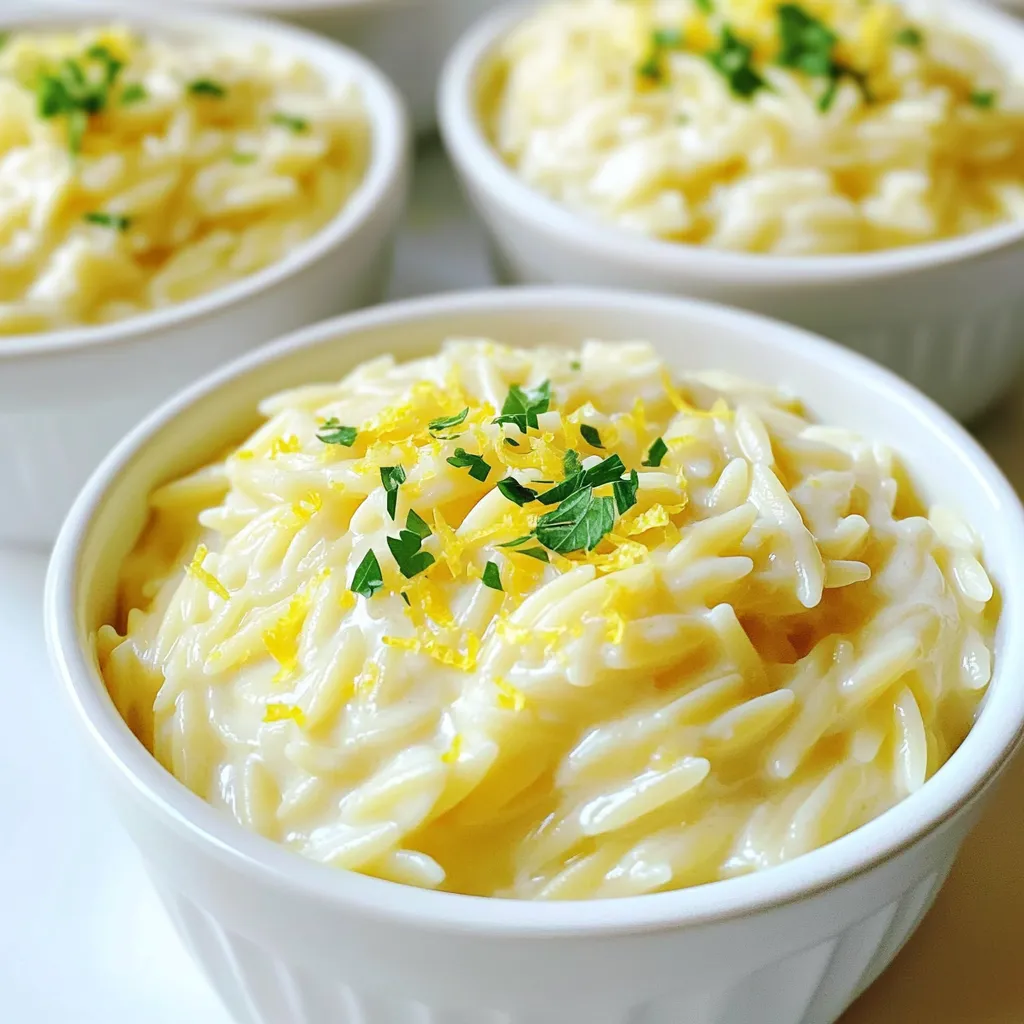
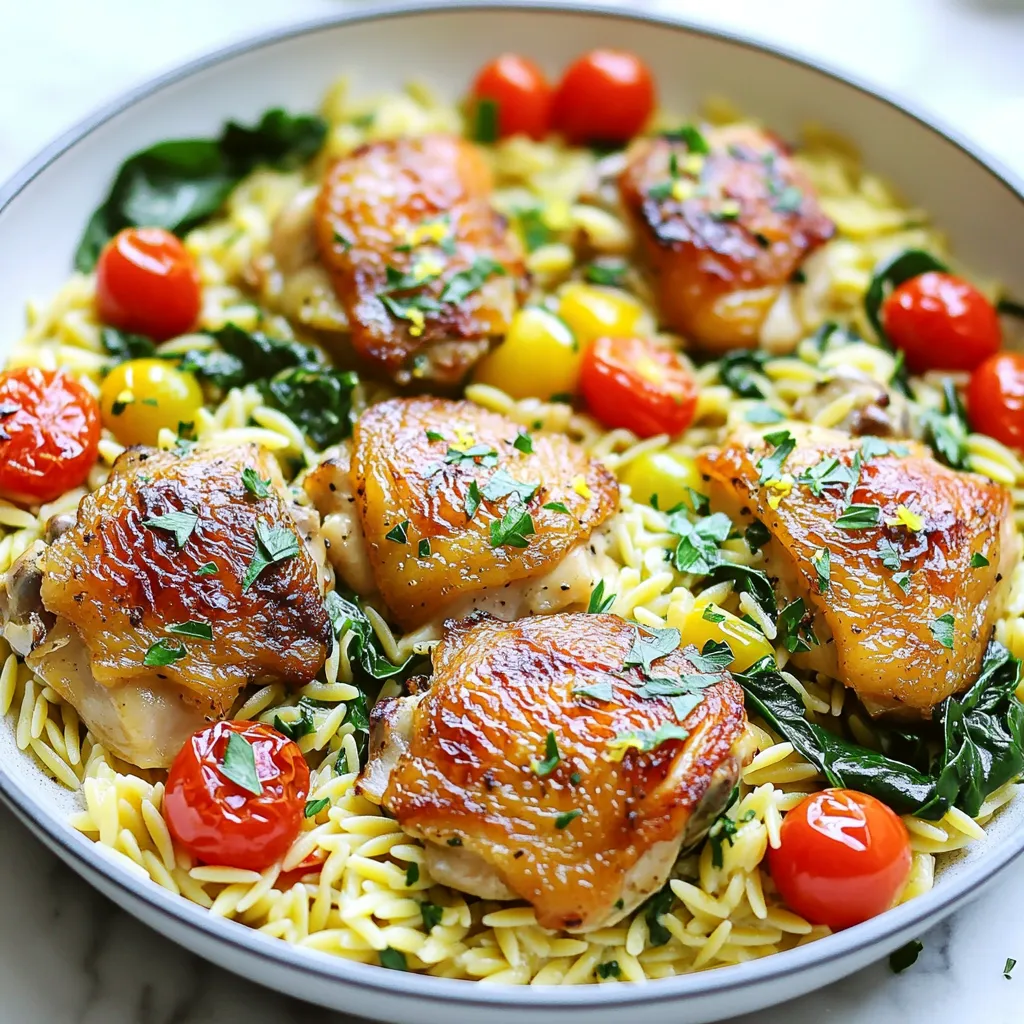
Welcome to the world of One-Pot Creamy Lemon Parmesan Orzo, a dish that balances rich flavor and easy prep! Imagine

Looking for a nutritious and tasty meal that screams fall? You’ve found it! My Sheet-Pan Roasted Fall Veggie Quinoa Bowls
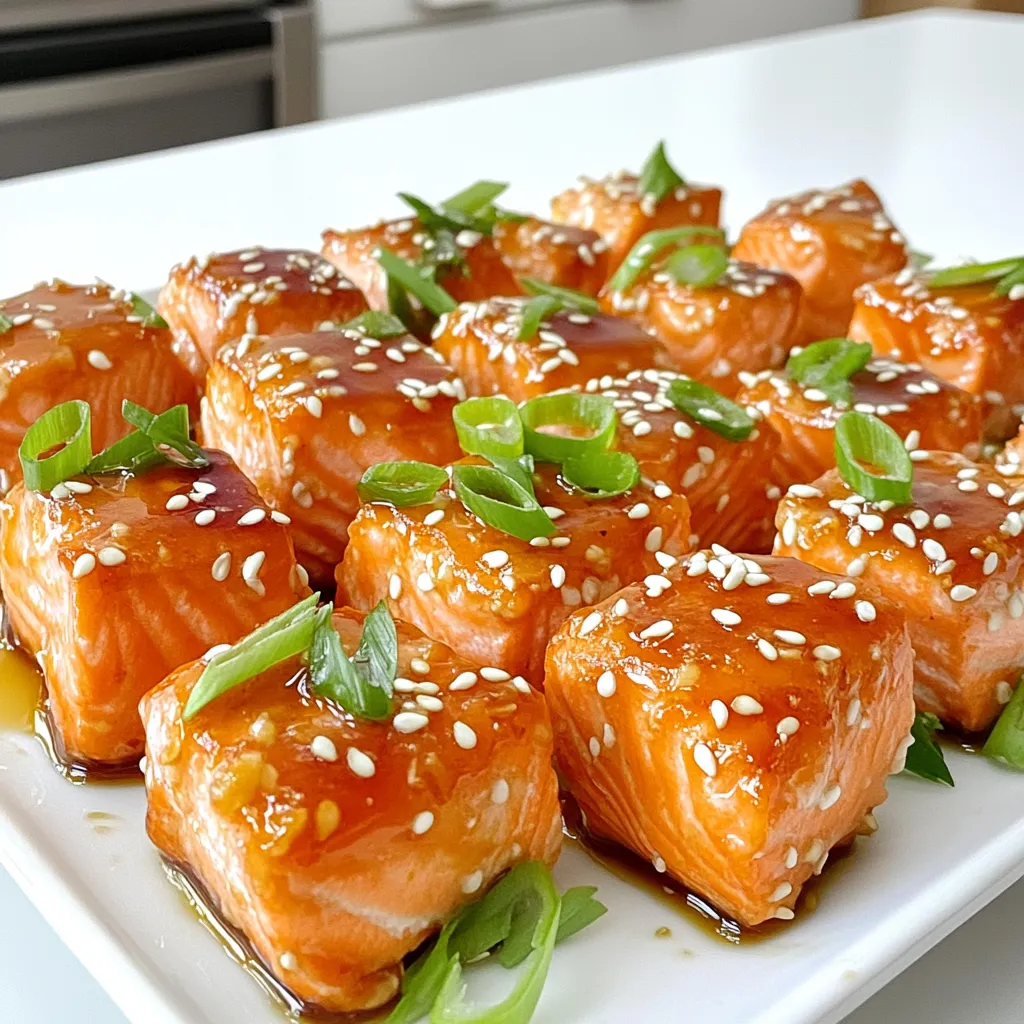
If you’re looking for a quick, tasty dinner, try my Air Fryer Crispy Teriyaki Salmon Bites. This dish packs a

Imagine cozying up with a Warm Maple Brown Sugar Latte that feels like a hug in a cup. This delightful

Fall is here, and that means it’s time for delicious pumpkin treats! I’m excited to share my No-Bake Pumpkin Cheesecake
