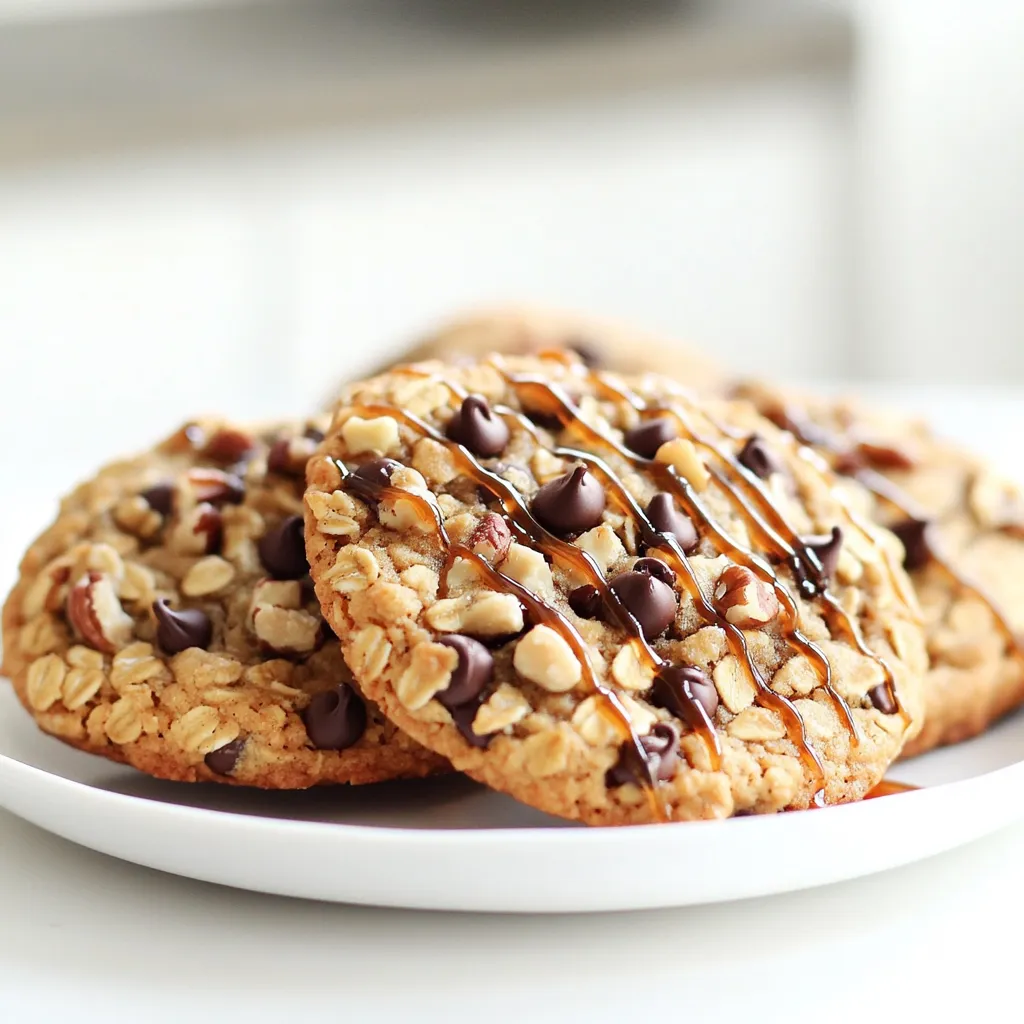
Maple Brown Sugar Oatmeal Cookies Delightful Treat
Get ready to treat yourself to the best Maple Brown Sugar Oatmeal Cookies! This recipe combines warm maple flavor with

Get ready to treat yourself to the best Maple Brown Sugar Oatmeal Cookies! This recipe combines warm maple flavor with
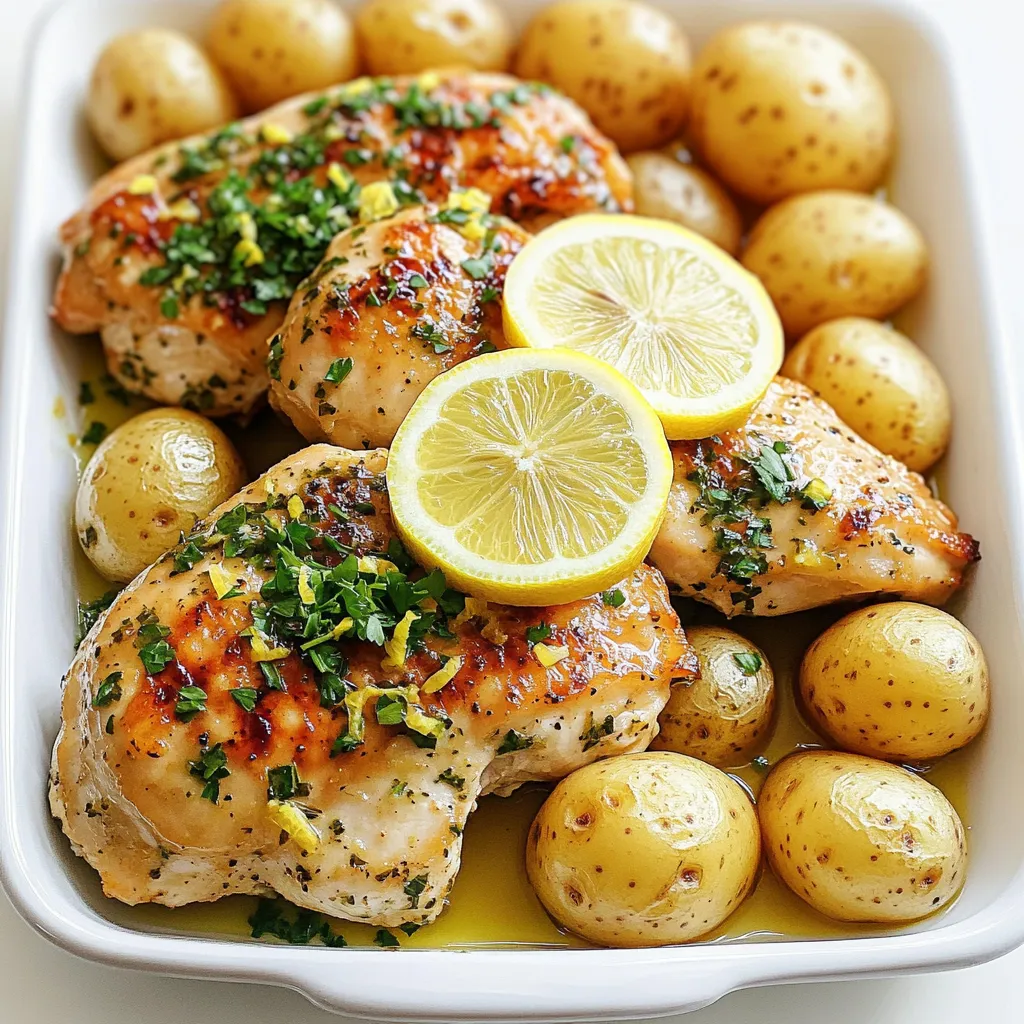
Get ready to impress your family with a simple yet delicious meal! My Lemon Herb Chicken and Potatoes Sheet Pan
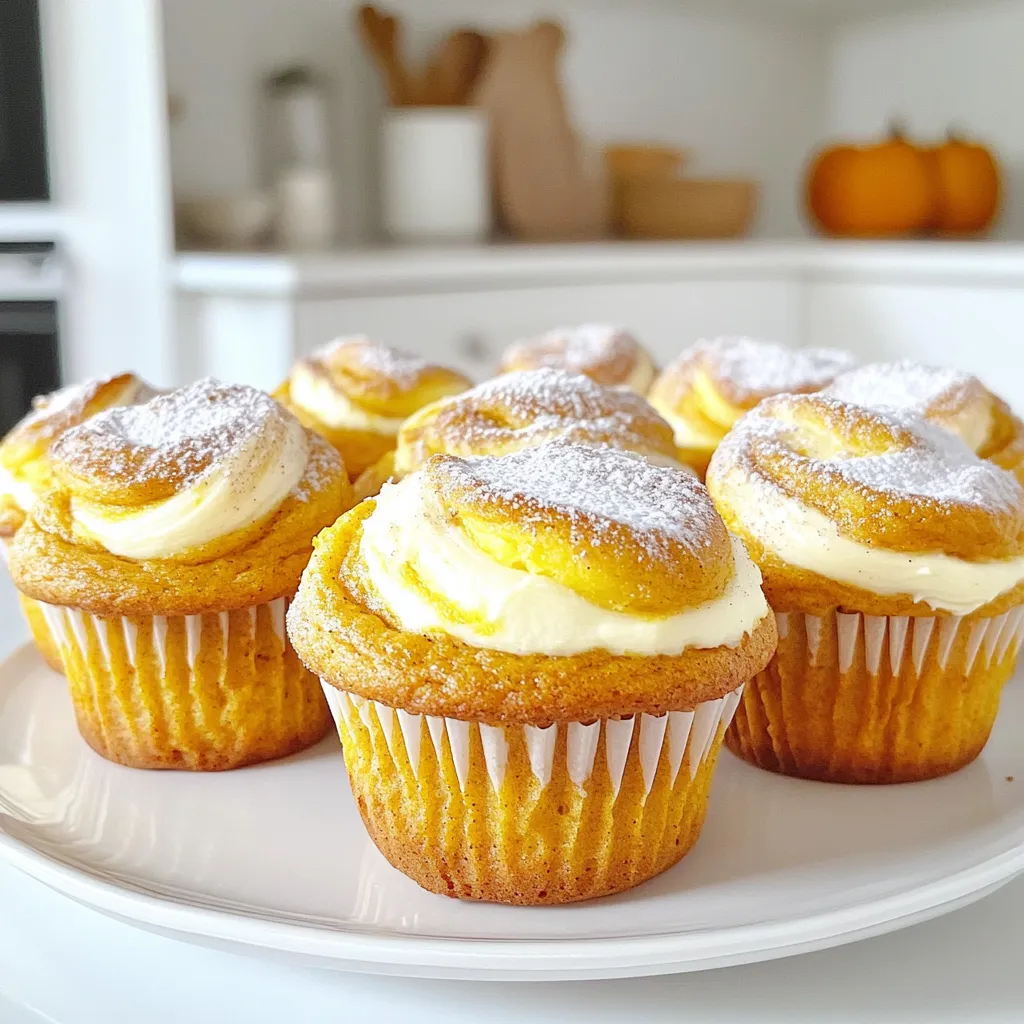
Get ready to savor the flavors of fall with my Delicious Pumpkin Cream Cheese Swirl Muffins! These muffins blend warm
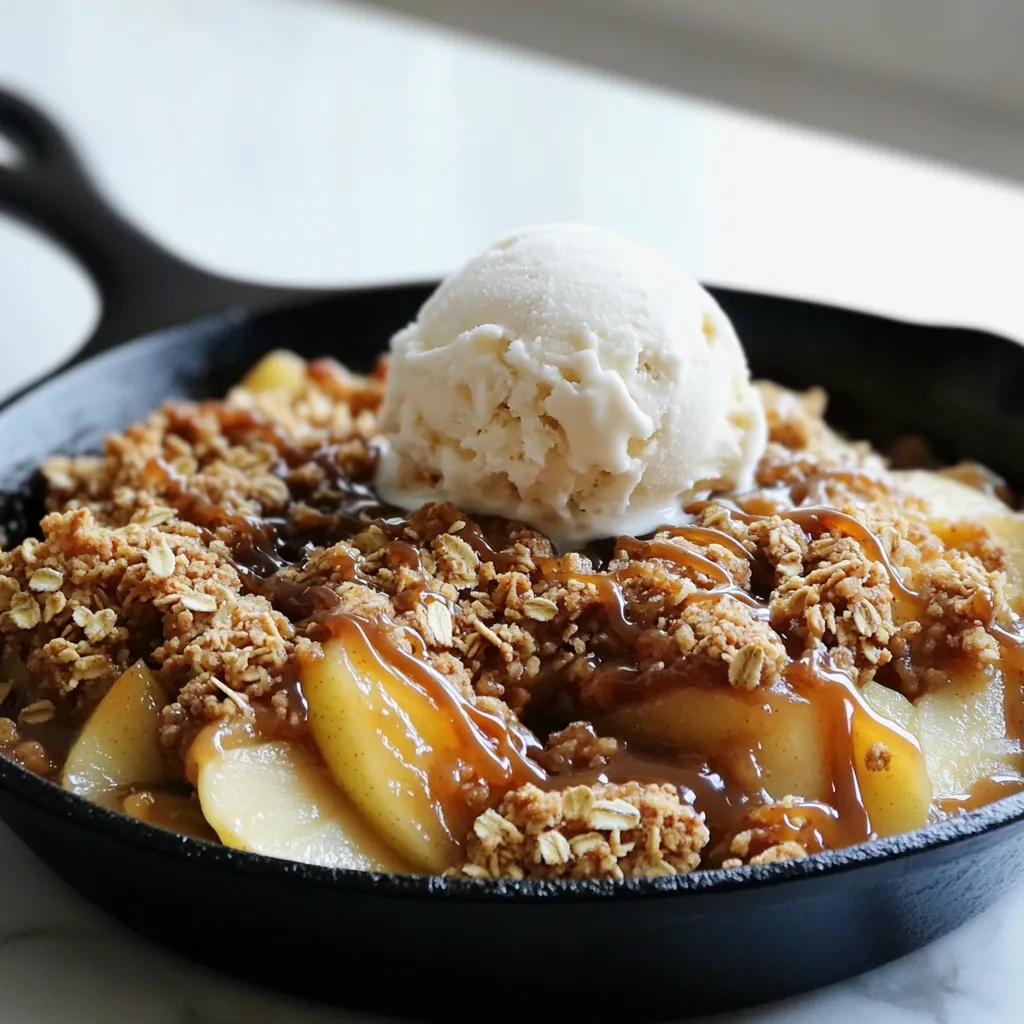
Craving a dessert that combines warm, spiced apples and a crunchy topping? Look no further! My Caramel Apple Crisp Skillet

Craving a fast and tasty meal? Try my Chili Crisp Egg Fried Rice! This dish brings a kick of heat
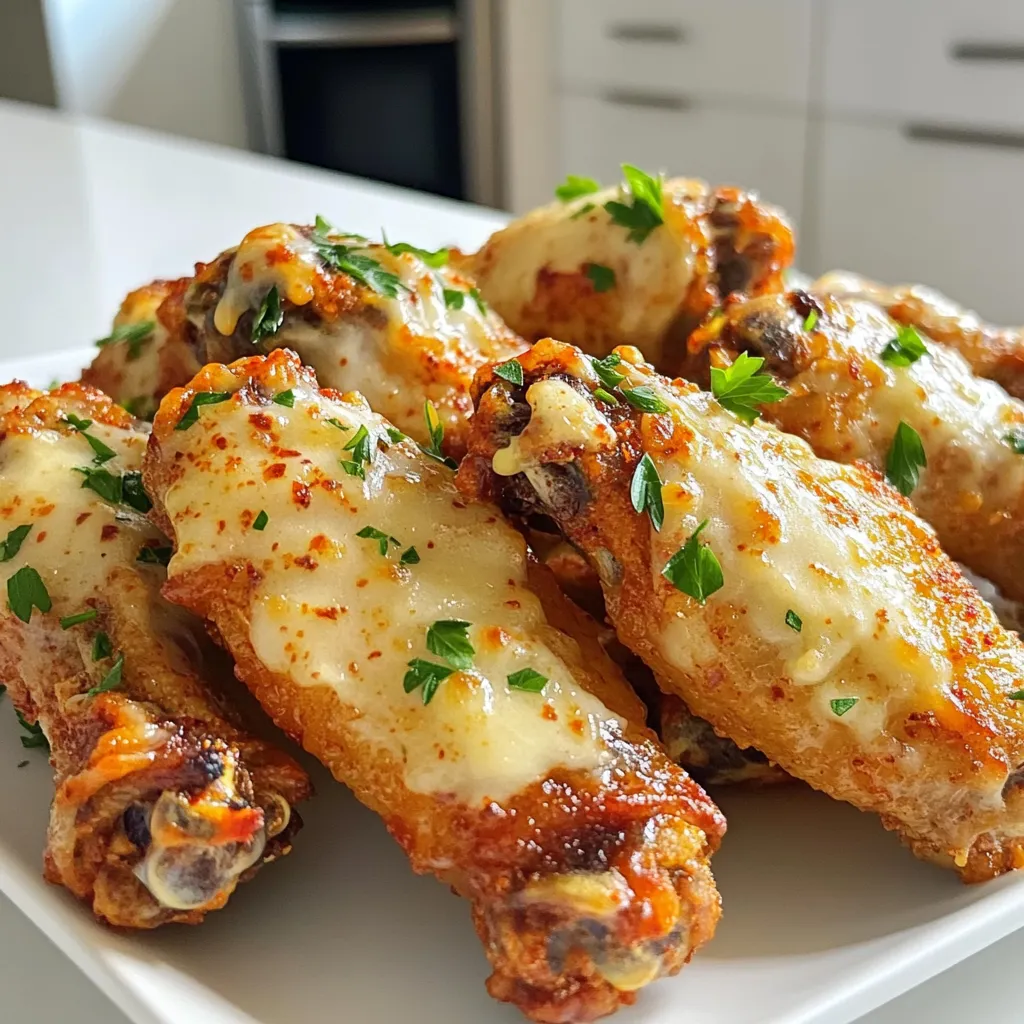
Love chicken wings? You’ll adore these Garlic Parmesan Chicken Wings made in an air fryer! They’re crispy, tasty, and easy
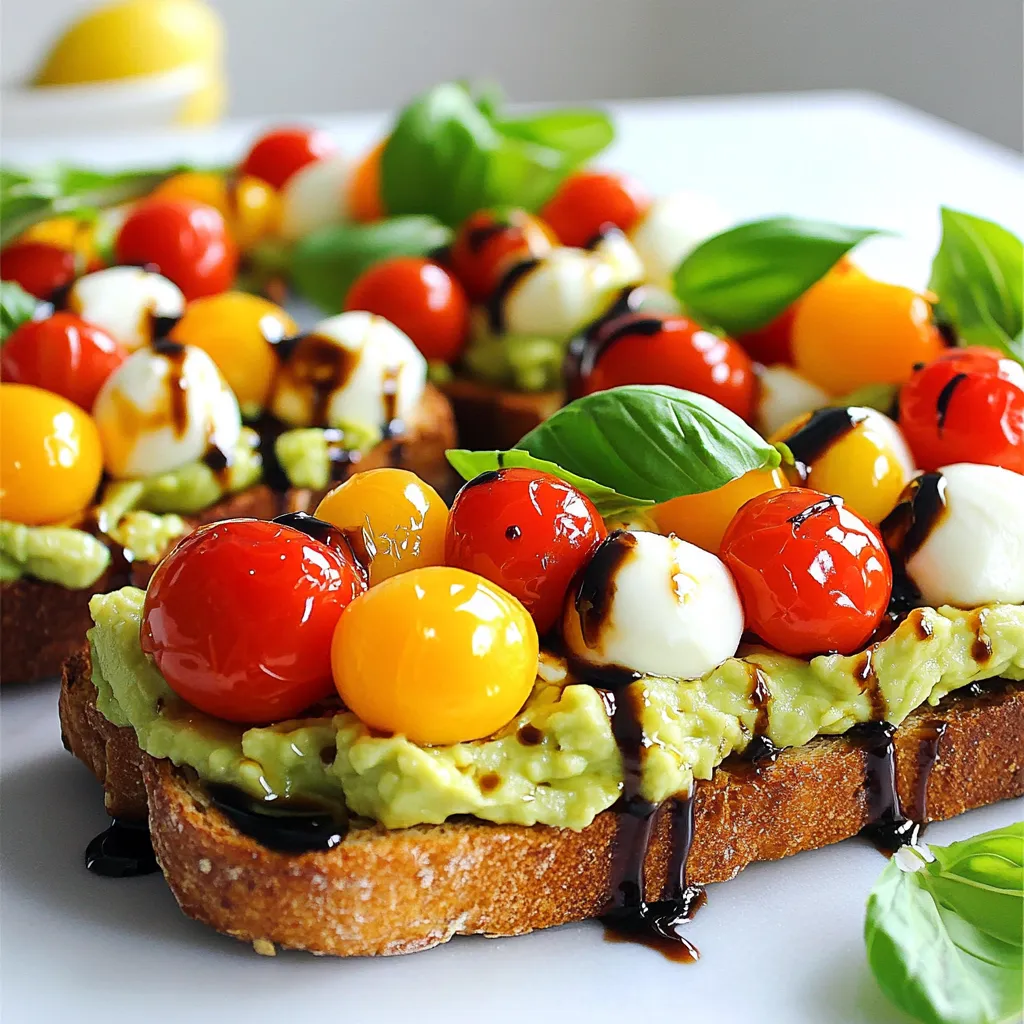
Looking for a quick, fresh meal that’s bursting with flavor? You found it! My Caprese Avocado Toast takes just 15
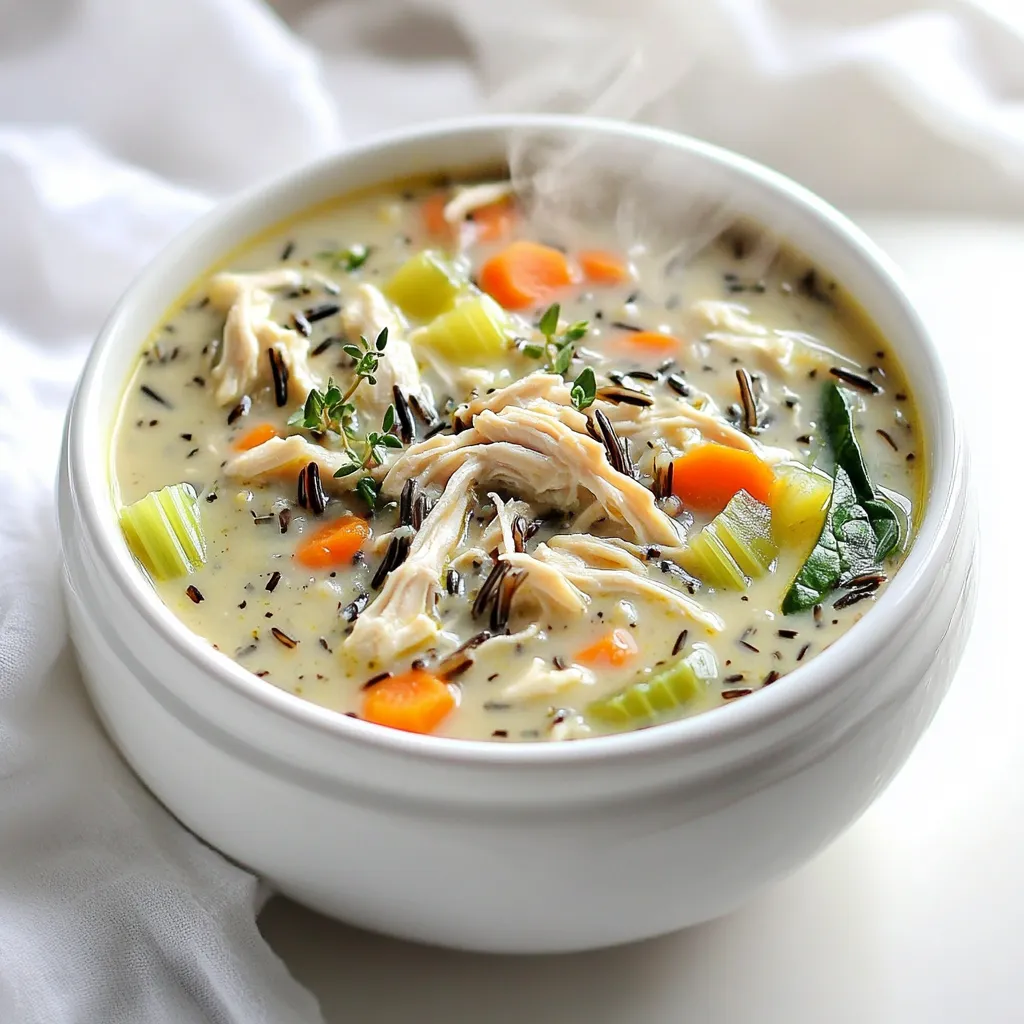
Are you ready to elevate your Slow Cooker Chicken & Wild Rice Soup? In this guide, I’ll share how to
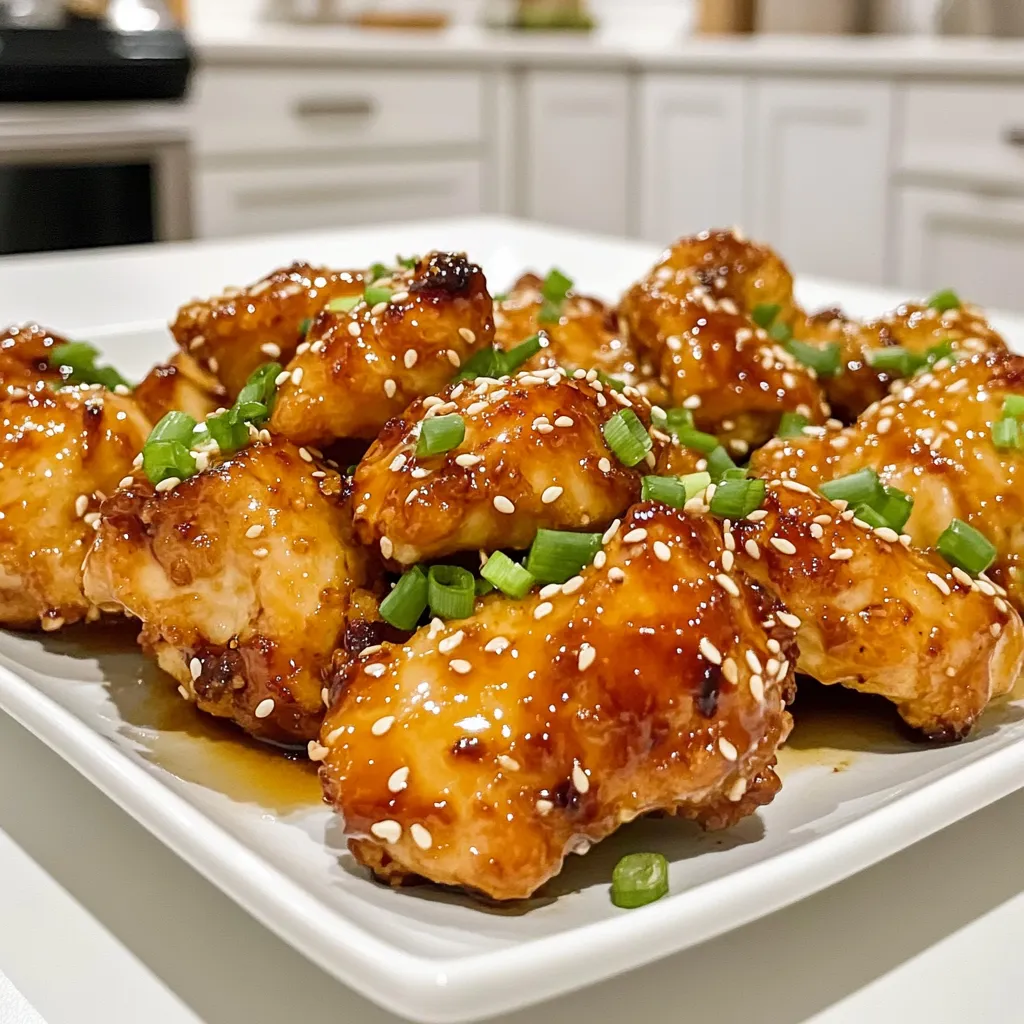
Are you ready to make a delicious meal that everyone will love? My Air Fryer Teriyaki Chicken Bites recipe is
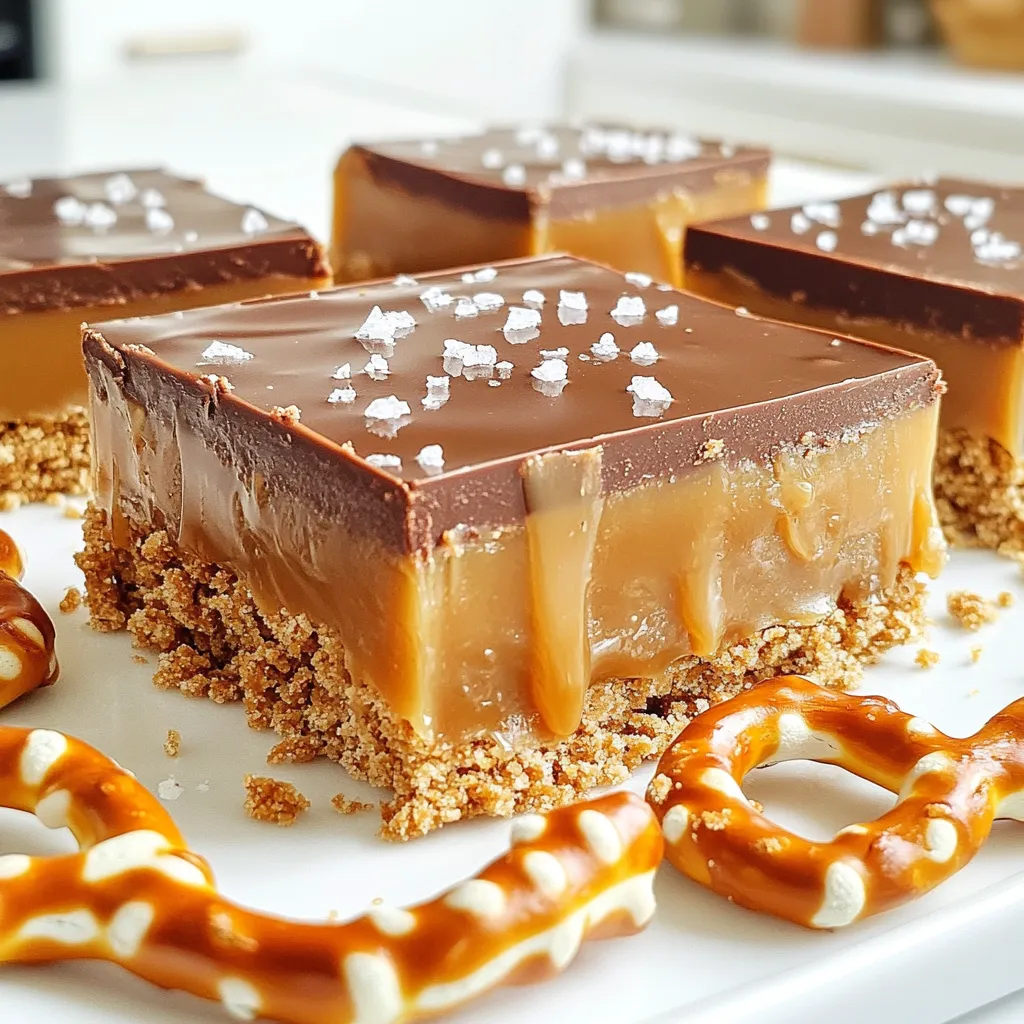
Craving a sweet and salty treat? Let me introduce you to my No-Bake Salted Caramel Pretzel Bars. These delicious bars
