
Slow Cooker Cranberry Balsamic Chicken Delicious Dish
If you’re craving a tasty meal that’s easy to make, you’ll love this Slow Cooker Cranberry Balsamic Chicken. I’ll guide

If you’re craving a tasty meal that’s easy to make, you’ll love this Slow Cooker Cranberry Balsamic Chicken. I’ll guide

Looking for a quick, tasty meal? You’ve come to the right place! This Minute Garlic Sesame Ramen combines simple ingredients

Are you ready to transform your Brussels sprouts into a mouthwatering dish? Maple Roasted Brussels Sprouts offer a delicious blend
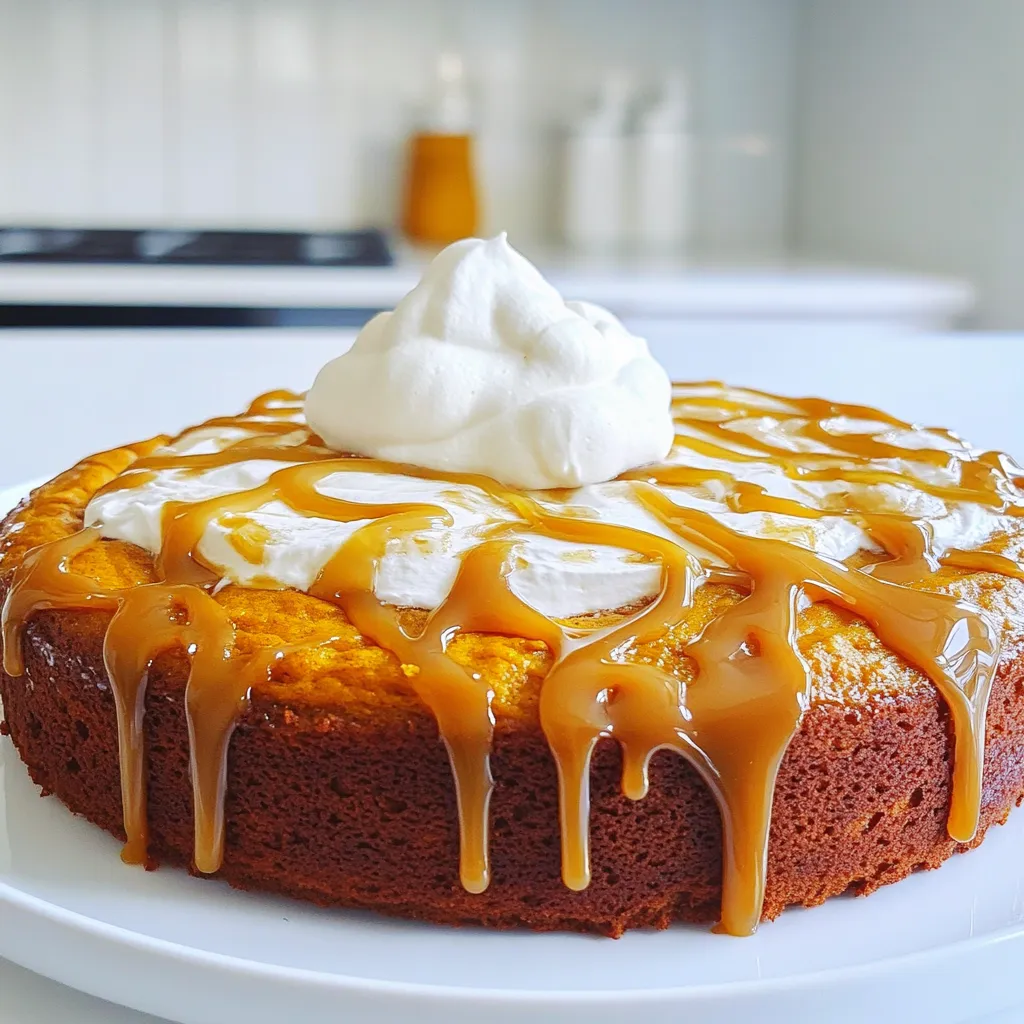
Get ready to indulge in the rich flavors of fall with my Pumpkin Caramel Butter Cake! This dessert combines warm
. It shows each step clearly and will help you get the perfect dish! Use a good Cajun seasoning mix. This boosts the dish's flavor. You can make your own by mixing paprika, cayenne, thyme, and garlic powder. Start with one tablespoon, then taste. If you want more heat, add a little more. For al dente pasta, cook penne for about 10-12 minutes. Stir it occasionally to keep it from sticking. Always check the pasta a minute or two before the time is up. This way, you get the perfect bite. Don't skip the browning of the sausage. This adds depth to your dish. Also, avoid overcooking the pasta. It can become mushy and lose its shape. Lastly, ensure you stir well after adding the broth and tomatoes. This helps all flavors blend together better. {{image_2}} You can switch up the sausage for different flavors. Try chicken sausage or turkey sausage for a leaner option. If you want more spice, use andouille sausage. You can also use gluten-free pasta if you need that. Just remember to cook it a bit less than regular pasta. To make this dish vegetarian, skip the sausage. You can add more veggies like mushrooms or zucchini instead. For the cream, use coconut milk or a cashew cream. This keeps the dish rich and tasty. You can still use the Cajun seasoning to keep all the bold flavors. Want more heat? Add cayenne pepper or crushed red pepper flakes to the mix. For less spice, reduce the Cajun seasoning. You can also use sweet bell peppers to balance the heat. Always taste as you go to find the right flavor for you. To keep your One Pot Cajun Sausage Pasta fresh, let it cool down. Once cool, place it in an airtight container. This helps prevent extra moisture, which can make the pasta soggy. Store the container in the fridge. It will stay good for up to three days. When you’re ready to eat, just follow the reheating instructions below. Reheat your pasta on the stove for the best texture. Pour the pasta into a pot and add a splash of water or broth. This helps bring back the creaminess. Heat it over medium-low heat, stirring often. If you prefer, you can use the microwave too. Just cover it and heat in short bursts, stirring in between. This way, it warms evenly. If you want to freeze the pasta, do it before adding the heavy cream. Freeze the pasta in single servings. Use airtight containers or freezer bags. Label them with the date. When you want to eat, thaw it overnight in the fridge. After thawing, add the cream and heat as described above. Freezing is a great way to enjoy this dish later! Yes, you can make this dish ahead of time. Cook the pasta and sauce as usual. Let it cool, then store it in an airtight container. It will keep well in the fridge for up to three days. When ready to eat, reheat it on the stove. Add a splash of broth to loosen it up if needed. This keeps the pasta from drying out. If you want a lighter option, you can use half-and-half or milk. For dairy-free, try coconut cream or cashew cream. These work well and still give a creamy texture. Adjust the amount to fit your taste. Just keep in mind that some options may change the flavor slightly. To kick up the heat, add more Cajun seasoning or a pinch of cayenne pepper. You can also mix in diced jalapeños for extra spice. If you prefer less heat, reduce the Cajun seasoning. Adding more cream can help cool it down too. Adjust the spices to find your perfect balance. This guide covered all you need to know for a great dish. We explored ingredients, tools, and clear cooking steps. You learned essential tips for flavor and texture. We discussed variations to match your taste and dietary needs. Finally, storage tips help keep your meal fresh. With this knowledge, you can make cooking fun and tasty. Enjoy your culinary adventure, and remember, practice makes perfect!](https://chellesrecipes.com/wp-content/uploads/2025/10/83b90cb4-a74b-4558-8fce-f42cf4dd64f4_U1.webp)
Are you ready to whip up a delicious meal with minimal effort? This One Pot Cajun Sausage Pasta is the

Looking for a delicious meal that’s easy to make? You’re in the right place! In this blog post, I’ll show

Looking for an easy and delicious weeknight meal? Let me introduce you to Marry Me Chicken Skillet. This dish combines

Craving a warm bowl of comfort? You’ll love my cheesy chicken broccoli soup! It’s rich, creamy, and packed with flavor.

If you’re searching for a warm, hearty meal, look no further than classic stuffed peppers! This easy and flavorful recipe

Looking for a fun and healthy breakfast? You’re in the right place! These High Protein Cottage Cheese Pancakes are not
