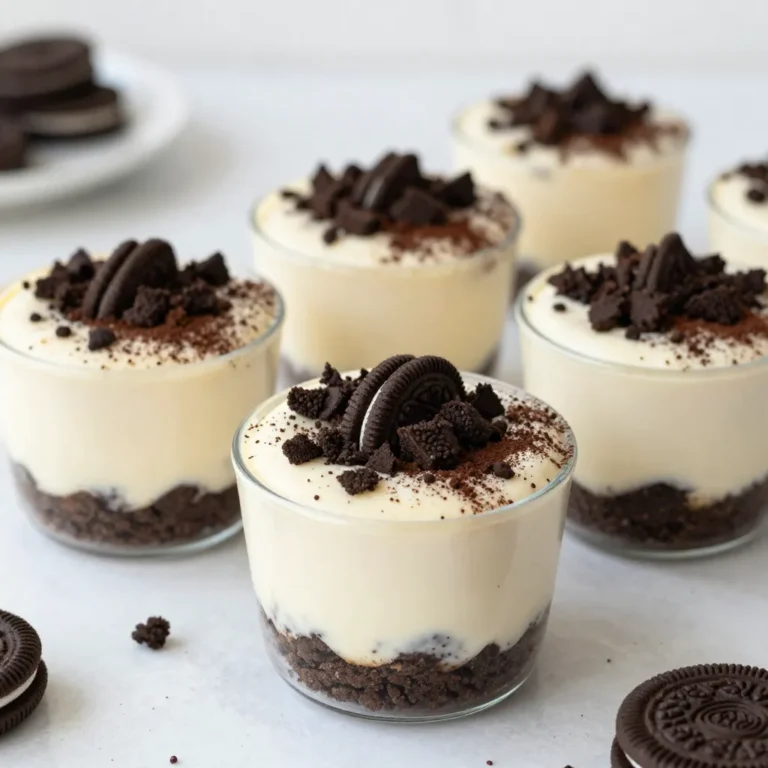
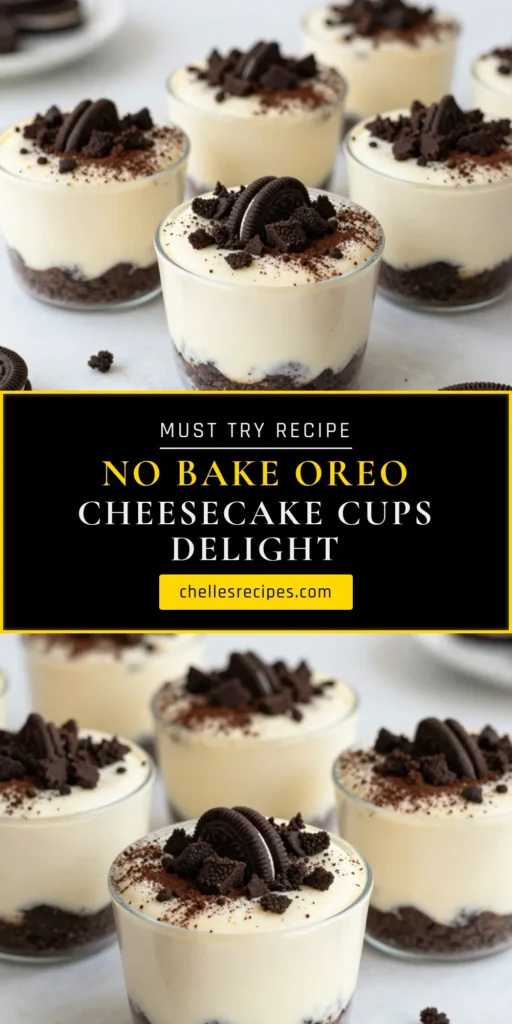
Craving a rich and creamy dessert that’s super easy to make? Let me introduce you to No-Bake Oreo Cheesecake Cups! These delightful treats combine a crunchy Oreo crust with a smooth cheesecake filling, all without the need for baking. Perfect for any occasion, these cups are a hit with both kids and adults. Join me as I guide you through this simple recipe that guarantees a sweet reward with every bite!
Why I Love This Recipe
- Easy to Make: This no-bake cheesecake is simple and quick, making it perfect for beginners and busy cooks alike.
- Decadent Flavor: The combination of cream cheese and Oreo cookies creates an indulgent dessert that everyone loves.
- Customizable: You can easily adjust the recipe by adding different toppings or mix-ins to suit your taste.
- Perfect for Any Occasion: These cheesecake cups are ideal for parties, gatherings, or a sweet treat any day of the week.
Ingredients
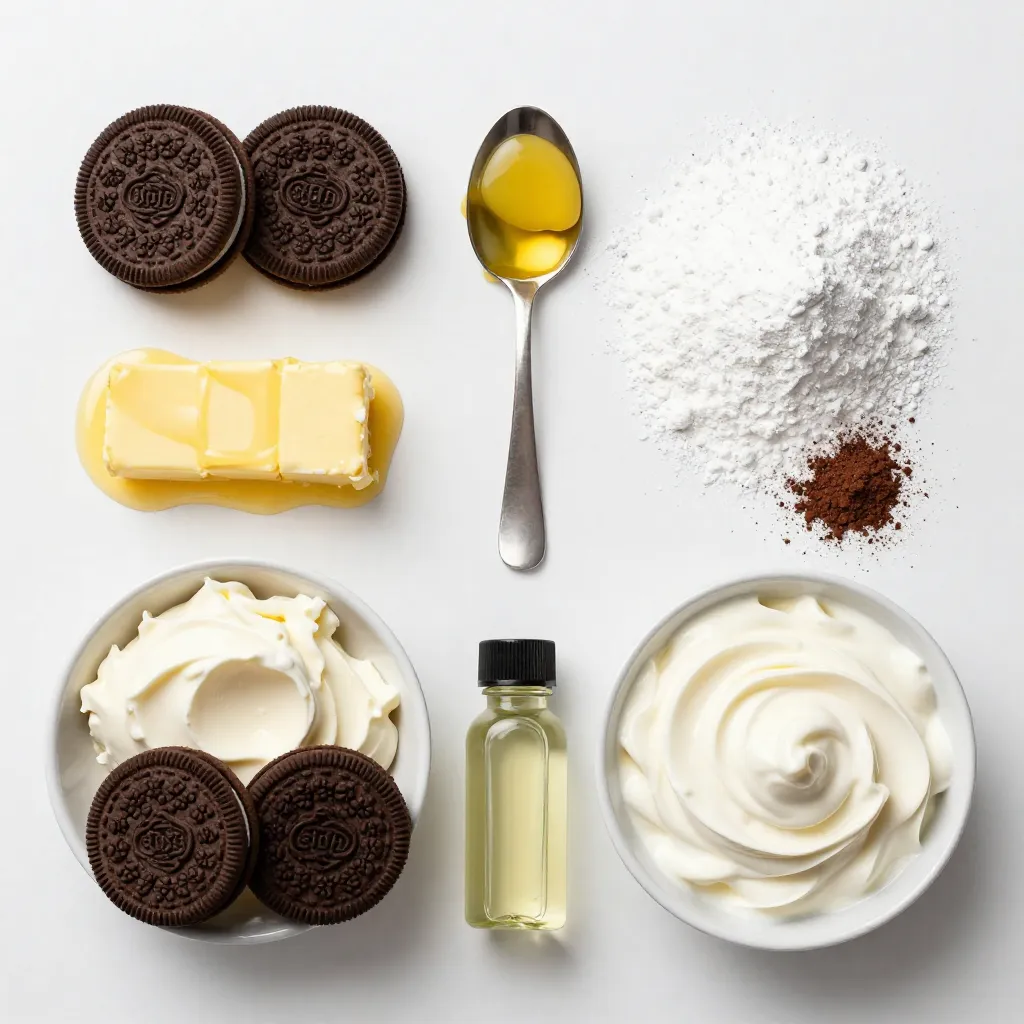
To make these No-Bake Oreo Cheesecake Cups, you need a few simple ingredients. Here’s what you’ll need:
- 24 Oreo cookies (15 for crust, 9 for filling and garnish)
- 4 tablespoons unsalted butter, melted
- 2 cups cream cheese, softened
- 1 cup powdered sugar
- 1 teaspoon vanilla extract
- 1 cup heavy whipping cream
- 1 tablespoon cocoa powder (optional for garnish)
Each ingredient plays a key role in creating a rich and creamy dessert. The Oreo cookies provide a delicious chocolate flavor and a crunchy texture. The unsalted butter helps bind the crust together. Cream cheese gives the filling its creamy consistency. Powdered sugar adds sweetness, and vanilla extract enhances the overall flavor. Finally, heavy whipping cream makes the cheesecake light and fluffy.
You can garnish with cocoa powder for a nice touch. This dessert is perfect for any occasion.
Step-by-Step Instructions
Prepare the Crust
To start, crush 15 Oreo cookies into fine crumbs. You can use a food processor for this. If you don’t have one, put the cookies in a sealed plastic bag and crush them with a rolling pin. This method makes it fun and easy! Next, mix the crumbs with 4 tablespoons of melted butter in a bowl until the mixture looks like wet sand.
Layer the Crust
Now, divide the Oreo mixture evenly into 6 to 8 small cups or jars. You want to press the crust down firmly. This step is key for a solid base. Don’t rush; make sure it’s packed well to hold the filling later.
Make the Cheesecake Filling
In a separate bowl, take 2 cups of softened cream cheese and beat it with an electric mixer until it’s smooth. Now, slowly add 1 cup of powdered sugar and 1 teaspoon of vanilla extract. Mix well until everything is combined and creamy.
Combine Mixtures
Next, whip 1 cup of heavy cream in another bowl until stiff peaks form. This gives your cheesecake a light and airy texture. Gently fold the whipped cream into the cream cheese mixture. Be careful not to deflate the cream. Then, fold in 9 crushed Oreo cookies for added crunch and flavor.
Layer the Filling
Spoon or pipe the cheesecake filling into the cups over the crust layer. Fill them to the top and smooth out the surface with a spatula. This part is where you can get creative!
Chill and Garnish
Finally, refrigerate the cups for at least 2 hours. This step is important for the cheesecake to set. Just before serving, crush the remaining 9 Oreos and sprinkle them on top. If you like, you can also dust with cocoa powder for a special touch. Enjoy your rich and creamy dessert!
Tips & Tricks
Perfecting the Cheesecake Texture
Using room temperature ingredients is key. When the cream cheese is soft, it blends better. This makes your filling smooth and creamy. Let your cream cheese sit out for about 30 minutes before mixing.
To achieve stiff whipped cream, start with cold heavy cream. Use a chilled mixing bowl and beaters. Whip the cream until it forms stiff peaks. This gives your cheesecake a light texture.
Serving Suggestions
You can present your cheesecake cups in fun ways. Use clear cups to show off the layers. Add a mint sprig or chocolate shavings on top for style.
Pair these cups with coffee or milk for a cozy treat. You can also serve them with fruit, like strawberries or raspberries, for a fresh touch.
Common Mistakes to Avoid
Avoid overmixing the filling. This can make your cheesecake dense. Mix just until combined for the best texture.
Insufficient chilling time is another mistake. Be sure to chill your cups for at least 2 hours. This helps them set properly and enhances the flavors.
Pro Tips
- Chill Your Ingredients: For a smoother cheesecake filling, ensure your cream cheese is at room temperature before mixing. This helps to avoid lumps and creates a creamy texture.
- Use a Piping Bag: For a more visually appealing presentation, use a piping bag to fill the cups with the cheesecake mixture. This allows for clean edges and a professional look.
- Experiment with Flavors: Feel free to add different flavor extracts, like almond or mint, to the cheesecake filling for a unique twist on the classic Oreo flavor.
- Perfect the Whip: When whipping the cream, make sure your bowl and beaters are cold. This helps achieve stiff peaks more easily and adds lightness to your cheesecake.
Variations
Flavor Variations
You can spice up your No-Bake Oreo Cheesecake Cups with different flavors. Adding extracts can change the taste. Mint extract gives a fresh twist. Chocolate extract adds more depth.
Flavored cream cheese is another great option. Use strawberry or caramel cream cheese for unique flavors. These small changes can make a big impact.
Alternative Garnishes
Switching up the garnish can also change the look and taste. Instead of Oreos, try using different cookies, like chocolate wafers or graham crackers. Each cookie brings a new flavor.
Adding fruit or nuts can create a nice texture contrast. Fresh berries or crushed nuts on top add color and crunch. This makes your dessert even more enjoyable.
Dietary Modifications
If you need gluten-free options, use gluten-free Oreos. This way, everyone can enjoy the dessert.
For vegans, you can substitute cream cheese with cashew cream or coconut cream. Use coconut whipped cream instead of heavy cream. These swaps keep the dessert rich and creamy without animal products.
Storage Info
Short-Term Storage
Store your No-Bake Oreo Cheesecake Cups in the fridge to keep them fresh. Use an airtight container or cover them with plastic wrap. This will help maintain their creamy texture and flavor. You should eat them within 3 to 5 days for the best taste.
Freezing the Cheesecake Cups
You can freeze these cheesecake cups for longer storage. To freeze, place them in a freezer-safe container. Make sure to leave some space for expansion. When you want to eat them, thaw them in the fridge overnight. This helps keep the texture smooth and creamy. Avoid microwaving them, as this can make them watery. Enjoy your delicious dessert even after freezing!
FAQs
How long do No-Bake Oreo Cheesecake Cups last?
No-Bake Oreo Cheesecake Cups stay fresh for about 3 to 5 days in the fridge. Store them in an airtight container to keep them safe from other smells. If you see any liquid forming on top or a change in color, it’s time to toss them. Freshness is key for the best taste.
Can I use low-fat cream cheese?
Yes, you can use low-fat cream cheese. The taste will be less rich, and the texture may be a bit firmer. This change can lead to a slightly different experience. If you want a lighter dessert, it’s a good option.
How do I adjust serving sizes?
To change the number of servings, you can scale the recipe up or down easily. For more cups, double the ingredients. For fewer, halve them. Use small cups for portion control. This method helps you manage how much you serve at one time, making it easy to enjoy without overdoing it.
This recipe for No-Bake Oreo Cheesecake Cups covers all the key steps. We made a delicious crust and creamy filling using simple ingredients. Remember to enjoy experimenting with flavors and toppings. Pay attention to the tips to get it just right. With a little care, you can create a tasty treat. These desserts are great for sharing and can fit many diets. So, gather your ingredients and get started on this easy, fun desser

Decadent No-Bake Oreo Cheesecake Cups
Ingredients
- 24 cookies Oreo cookies
- 4 tablespoons unsalted butter, melted
- 2 cups cream cheese, softened
- 1 cup powdered sugar
- 1 teaspoon vanilla extract
- 1 cup heavy whipping cream
- 1 tablespoon cocoa powder (optional for garnish)
Instructions
- Prepare the Crust: Crush 15 Oreo cookies into fine crumbs using a food processor or by placing them in a sealed plastic bag and crushing with a rolling pin.
- Mix the Crust: In a mixing bowl, combine the crushed Oreos with the melted butter. Mix until the crumbs are evenly coated and resemble wet sand.
- Layer the Crust: Divide the Oreo mixture evenly among the bottom of 6 to 8 small cups or jars, pressing down firmly to create a crust layer.
- Make the Cheesecake Filling: In a separate bowl, beat the softened cream cheese with an electric mixer until smooth and creamy. Gradually add the powdered sugar and vanilla extract, mixing until well combined.
- Whip the Cream: In another bowl, whip the heavy cream until stiff peaks form. This will add lightness to your cheesecake.
- Combine Mixtures: Gently fold the whipped cream into the cream cheese mixture until fully incorporated. Then, fold in 9 crushed Oreo cookies for added texture.
- Layer the Filling: Spoon or pipe the cheesecake filling into the cups over the crust layer, filling them to the top and smoothing out the surface.
- Chill: Refrigerate the cups for at least 2 hours, or until set.
- Garnish and Serve: Just before serving, crush the remaining 9 Oreos and sprinkle on top of each cheesecake cup. If desired, dust with cocoa powder for an extra touch.
