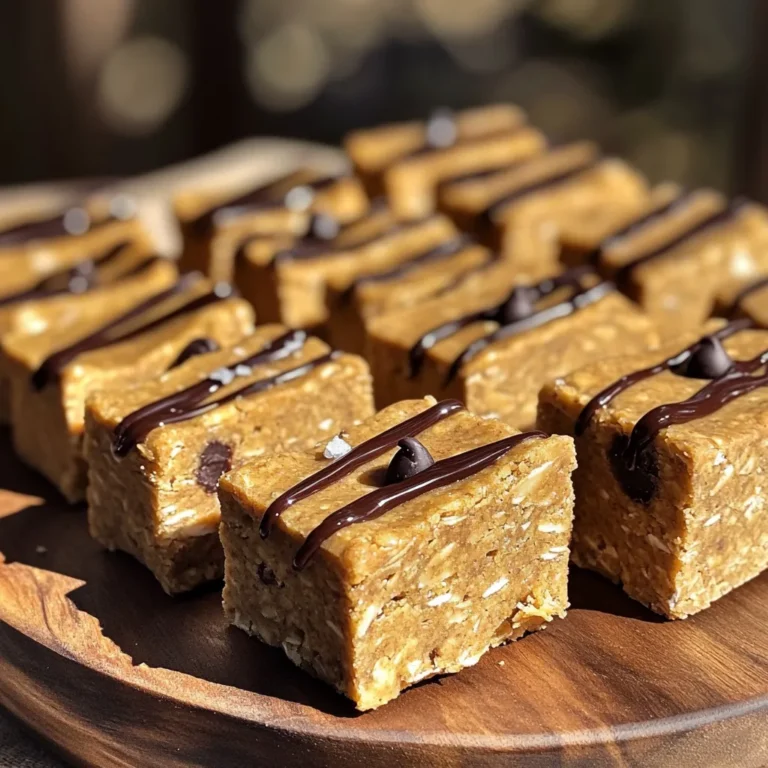
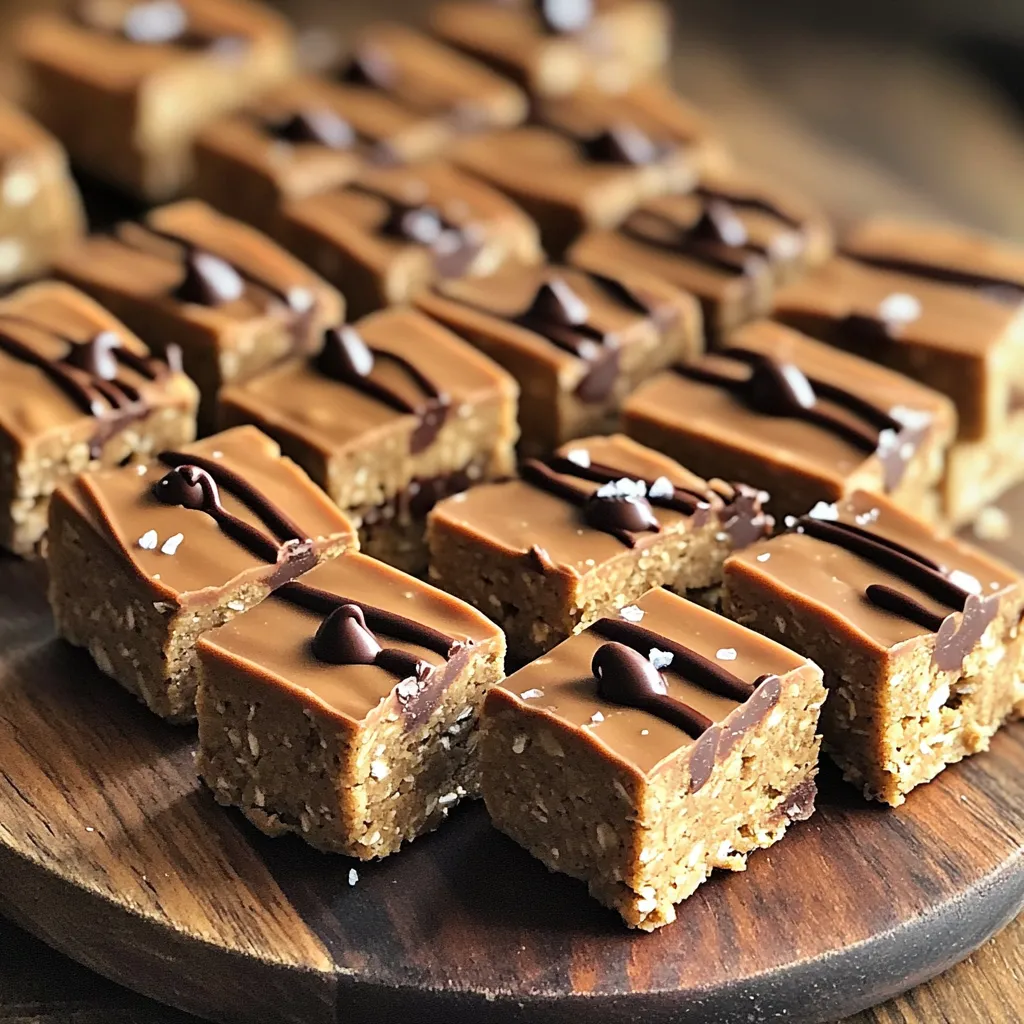
Looking for a guilt-free treat that packs a protein punch? You’re in the right place! These No-Bake Cookie Dough Protein Bars are easy to make and taste amazing. With simple ingredients you probably have at home, these bars are not only delicious but also healthy. I’ll guide you through every step, from mixing to storing. Let’s dive in and whip up this fun, tasty snack!
Ingredients
List of Ingredients
- 1 cup almond flour
- 1 cup rolled oats
- 1/2 cup vanilla protein powder
- 1/2 cup almond butter (or peanut butter)
- 1/4 cup honey (or maple syrup)
- 1/4 cup mini chocolate chips
- 1 teaspoon vanilla extract
- A pinch of sea salt
Ingredient Substitutions
You can easily swap almond flour for oat flour if you prefer. If you want a nut-free option, use sunflower seed butter instead of almond butter. Maple syrup works just as well as honey, especially for vegan diets. For a lower sugar option, try using a sugar-free chocolate chip brand.
Nutritional Benefits of Ingredients
These ingredients pack a punch of nutrition. Almond flour is high in healthy fats and protein. Rolled oats provide fiber, which helps with digestion. Vanilla protein powder adds muscle-building protein. Almond butter gives you healthy fats and vitamins. Honey adds natural sweetness and antioxidants. Mini chocolate chips bring joy and a little treat without too much sugar. Overall, these bars are not just tasty; they are a smart choice for a healthy snack.
Step-by-Step Instructions
Preparation Overview
To make No-Bake Cookie Dough Protein Bars, you need just a few simple steps. Gather all your ingredients first. This will help you stay organized. You will mix dry and wet ingredients, then press them into a pan. It’s quick and easy, perfect for busy days.
Detailed Mixing Instructions
1. In a large bowl, combine the almond flour, rolled oats, and vanilla protein powder. Mix these dry ingredients well.
2. Next, add the almond butter, honey, vanilla extract, and a pinch of sea salt. Stir until everything is mixed. The mixture will be sticky, but that’s okay.
3. Now, fold in the mini chocolate chips. Make sure they spread evenly throughout the dough. This adds a nice sweet touch.
Pressing and Setting the Bars
1. Line an 8×8 inch baking pan with parchment paper. Leave some paper hanging over the sides. This will help you lift the bars out later.
2. Transfer the cookie dough mixture into the pan. Use a spatula or your hands to press it down firmly. Make sure it spreads evenly across the bottom.
3. Place the pan in the fridge for at least one hour. This will help the bars firm up nicely.
4. After they set, lift the bars out using the parchment paper. Cut them into squares or rectangles. Enjoy your tasty protein bars!
Tips & Tricks
How to Achieve the Perfect Texture
To get that great texture, use fine almond flour. This helps keep the bars soft yet firm. Mix your dry and wet ingredients well. A sticky mixture means you’re on the right track. Press the mixture firmly into the pan. This step is key for the bars to hold together nicely.
Common Mistakes to Avoid
One common mistake is not measuring the almond flour or oats properly. Too much or too little can change the texture. Another mistake is not pressing the mixture down firmly. This can lead to crumbly bars. Finally, don’t skip chilling the bars. This helps them firm up and makes them easier to cut.
Enhancing Flavor and Presentation
To boost flavor, try adding a pinch of cinnamon or nutmeg. You can also mix in dried fruit or nuts for added crunch. For presentation, arrange the bars on a colorful plate. Drizzling melted chocolate over the top looks amazing. A sprinkle of sea salt on top can elevate the taste.
Variations
Flavor Options (e.g., Add-ins and Spices)
You can make these no-bake cookie dough protein bars even tastier. Try adding nuts like walnuts or pecans. You can also mix in dried fruit, like cranberries or raisins. If you love spice, add a sprinkle of cinnamon. It gives a warm flavor that’s perfect for any day.
Dietary Adjustments (e.g., Vegan, Gluten-Free)
Making these bars fit your diet is easy. To make them vegan, swap honey for maple syrup. Use a plant-based protein powder to keep it vegan too. For gluten-free bars, use certified gluten-free oats. This way, everyone can enjoy these delicious snacks without worry.
Customized Sweeteners
You can change the sweetener to fit your taste. If you want less sugar, use stevia or monk fruit. These options give you sweetness without extra calories. You can also adjust how much you add. Taste the mixture, and add more if you like it sweeter.
Storage Info
Best Practices for Storing Protein Bars
To keep your no-bake cookie dough protein bars fresh, store them in an airtight container. You can use a glass or plastic container with a tight lid. Make sure to place parchment paper between layers if you stack them. This prevents sticking and keeps them nice. Always store the bars in the fridge. This helps them stay firm and tasty.
Freezing Instructions for Longevity
If you want to save some bars for later, freezing is a great option. Wrap each bar in plastic wrap. Then, place them in a freezer bag or container. Make sure to label the bag with the date. They will last for about three months in the freezer. When you are ready to eat one, just take it out and let it thaw in the fridge for a few hours.
How Long Do They Last?
These protein bars can last up to a week in the fridge. After that, they may start to lose their texture and taste. If you freeze them, they will stay fresh much longer. Always check for any signs of spoilage, like an off smell or change in texture. Enjoy your healthy snack option while it’s at its best!
FAQs
Can I use a different type of protein powder?
Yes, you can use any protein powder. For example, try chocolate or plant-based protein. Just keep in mind that flavors will change. If you choose chocolate protein, your bars will taste like chocolate cookie dough. Adjust the sweetness if needed, as some powders are sweeter than others.
How do I make these bars more filling?
To make these bars more filling, add nuts or seeds. Chopped almonds or sunflower seeds work well. You can also add a scoop of nut butter. This adds healthy fats and protein, making the bars more satisfying. Another option is to increase the almond flour or oats. This way, you can balance texture and keep them delicious.
Are these suitable for meal prep?
Absolutely! These bars are perfect for meal prep. They store well in an airtight container. Keep them in the fridge for up to a week. You can also freeze them for longer storage. Just cut them into squares before freezing. This makes it easy to grab a bar when you need a quick snack.
In this blog post, we explored how to make protein bars. We reviewed ingredients and substitutions, as well as their nutritional benefits. I shared clear steps for mixing and pressing the bars. We discussed tips for perfect texture and flavor. You learned about variations for dietary needs and flavor options. Lastly, we covered storage methods to keep your bars fresh.
Now, you are ready to create your own protein bars. Enjoy experimenting with flavors and find what you like best!

