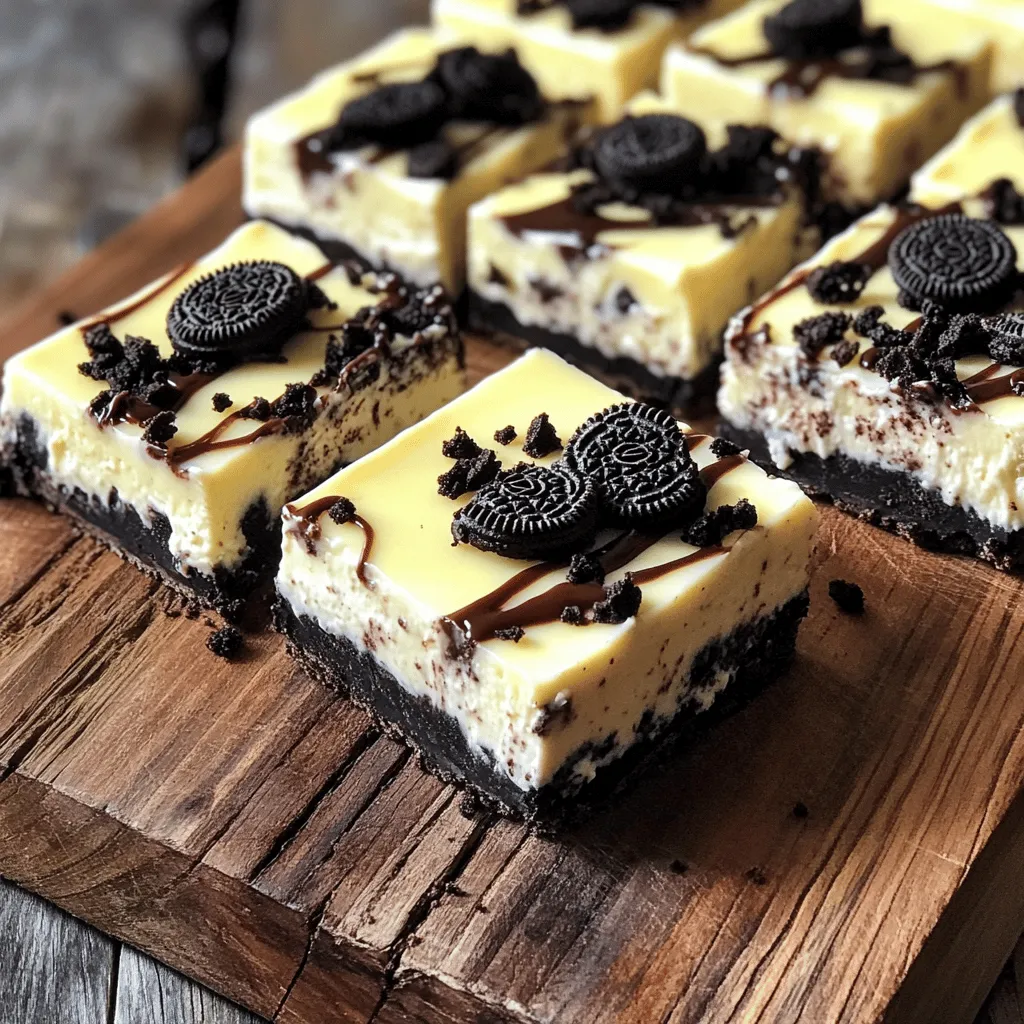
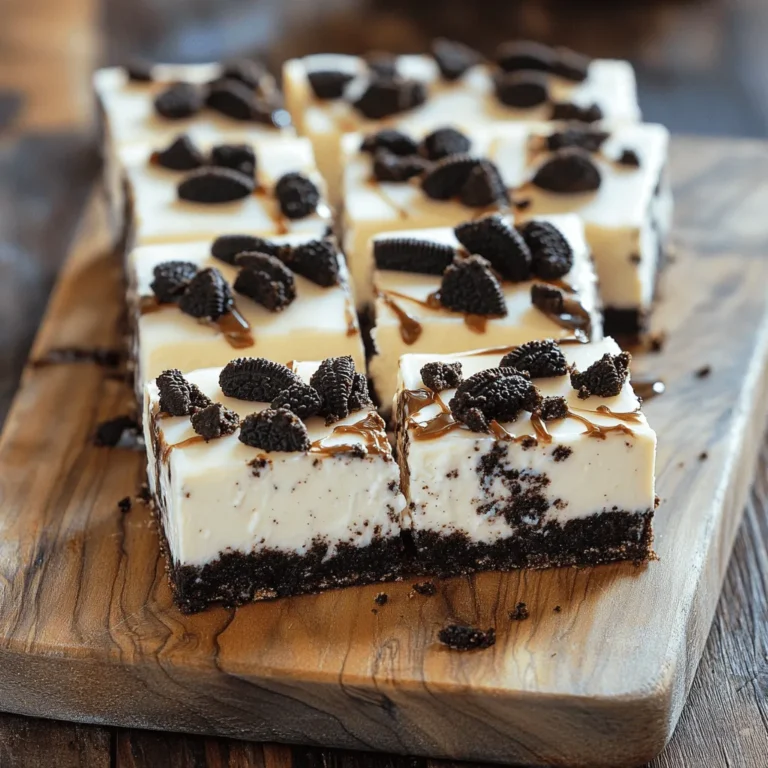
Are you ready for a dessert that’s as easy as it is delicious? These No-Bake Oreo Cheesecake Bars are your new go-to! With just a handful of simple ingredients and no oven required, you’ll have a sweet treat ready in no time. Whether for a party or a simple family treat, these bars are sure to impress. Let’s dive into this quick and easy delight that will satisfy your cravings!
Ingredients
Main Ingredients
- 24 Oreo cookies, crushed
- 4 tablespoons unsalted butter, melted
- 16 oz cream cheese, softened
- 1 cup powdered sugar
Additional Components
- 1 teaspoon vanilla extract
- 1 cup heavy whipping cream
- 12 Oreo cookies, chopped (for filling)
- Extra Oreo cookies for garnish
The main ingredients make this recipe simple and fun. I love using Oreo cookies because they add a rich chocolate flavor. The crushed cookies mixed with butter create a tasty crust.
Cream cheese is key to a smooth filling. Make sure your cream cheese is soft for easy mixing. The powdered sugar adds sweetness, balancing the rich cream cheese.
Now, for the additional components. Vanilla extract brings warmth to the flavor. Heavy whipping cream is crucial for that light, fluffy texture. Chopped Oreo cookies in the filling add extra crunch and chocolate goodness.
Don’t forget the extra Oreos for garnish! They make the bars look great and taste amazing.
Step-by-Step Instructions
Preparing the Crust
To start, combine 24 crushed Oreo cookies with 4 tablespoons of melted butter. Mix until the crumbs are evenly coated. This step is key for a tasty crust. Next, press the mixture firmly into the bottom of a 9×9-inch baking dish. Use the back of a measuring cup to make it compact. After that, refrigerate the crust for about 15 minutes to set.
Making the Cheesecake Filling
In a large mixing bowl, beat 16 ounces of softened cream cheese until smooth. This makes the base of your filling creamy and rich. Gradually add 1 cup of powdered sugar and 1 teaspoon of vanilla extract. Mix until everything is fully blended. The filling should be sweet with a nice vanilla flavor.
Whipping the Cream
In a separate bowl, whip 1 cup of heavy cream until it forms stiff peaks. This step adds fluffiness to your cheesecake filling. Gently fold the whipped cream into the cream cheese mixture. Be careful not to deflate the cream. The mixture should remain light and airy for the best texture.
Assembling the Bars
Now, stir in 12 chopped Oreo cookies into the cheesecake mixture. This adds extra flavor and texture. Spread the cheesecake mixture evenly over the set crust in your baking dish. Smooth the top with a spatula to make it look nice.
Chilling the Bars
Cover the dish and refrigerate for at least 4 hours or until the bars are set. This chilling time is important for the bars to hold together. Before serving, garnish the top with extra crushed Oreos. This adds a nice touch and extra crunch.
Tips & Tricks
Achieving the Perfect Texture
To make sure your cheesecake bars are smooth and creamy, start with room temperature cream cheese. Cold cream cheese can lead to lumps. Mix it well until it is nice and smooth. When you whip the heavy cream, beat it until it forms stiff peaks. Then, fold it gently into the cream cheese mixture. This keeps the airiness of the whipped cream, giving your bars a light and fluffy texture.
Enhancing Flavor
For the best taste, always use high-quality vanilla extract. It makes a big difference in flavor. You can also add a twist by drizzling chocolate or caramel on top before serving. This not only adds flavor but also makes the dessert look extra special. Feel free to get creative with toppings or mix-ins, like nuts or sprinkles.
Presentation Suggestions
How you serve your cheesecake bars can make them even better. I love to use a decorative platter to display them. Drizzling chocolate sauce over the top adds a beautiful touch. You can also sprinkle crushed Oreos on top for that extra crunch and visual appeal. This small detail makes your dessert look gourmet and inviting. Enjoy serving these delightful bars!

Variations
Adding Different Flavors
You can make your no-bake Oreo cheesecake bars even more exciting. Try using mint Oreos for a fresh, minty taste. The mint adds a fun twist that many love. You can also incorporate a fruit puree into the filling. A berry puree can give your bars a sweet and fruity kick. Just mix it in after you whip the cream.
Dietary Adjustments
If you need dietary changes, I have you covered. You can make these bars gluten-free by using gluten-free Oreos. They taste just as good! Also, if you want a dairy-free option, substitute cream cheese with a dairy-free alternative. There are many brands that work well. You won’t lose any flavor with these swaps.
Size and Serving Options
Serving size can change the whole vibe of your dessert. For fun, use mini dessert cups to create individual servings. They are cute and perfect for parties. If you want a family-style dessert, cut the bars into larger pieces. This way, everyone can share and enjoy. No matter how you serve them, these bars will shine on your table.
Storage Info
Refrigeration Guidelines
To keep your No-Bake Oreo Cheesecake Bars fresh, store them in an airtight container in the refrigerator. This way, they will stay delicious and creamy. They can last up to a week. If you have leftovers, enjoy them over the next few days!
Freezing Instructions
If you need to save some bars for later, you can freeze them. Wrap the bars tightly and freeze for up to 2 months. When you’re ready to enjoy them, thaw the bars in the refrigerator before serving. This helps them keep their great taste and texture.
Tips for Maintaining Freshness
To avoid ice crystals, wrap the bars tightly in plastic wrap. This will help keep them fresh and tasty. You can also use parchment paper to line the dish. This makes it easy to remove the bars when you’re ready to serve them. Enjoy your easy and delightful dessert!
FAQs
Can I make No-Bake Oreo Cheesecake Bars ahead of time?
Yes, you can prepare them 1-2 days in advance for convenience. This makes them great for gatherings or busy weeks. Just store them in the fridge until you’re ready to serve.
How do I know when the cheesecake bars are set?
The cheesecake bars should feel firm to the touch. If they don’t jiggle in the center, they’re ready to enjoy. This ensures they hold their shape when cut.
What’s the best way to cut the cheesecake bars?
Use a sharp knife to get clean edges. Dipping the knife in hot water helps it glide through the bars smoothly. Wipe the blade between cuts for neat slices.
How do I fix a runny cheesecake filling?
Make sure your whipping cream is whipped to stiff peaks. This gives the filling its body. Be gentle when folding the whipped cream into the cream cheese mix. This keeps the texture light.
Can I use a different type of cookie for the crust?
Yes, you can use other chocolate sandwich cookies or even graham crackers. Each option will give a different taste and texture, which is fun to explore.
The No-Bake Oreo Cheesecake Bars are simple and fun to make. You learned about key ingredients, step-by-step instructions, helpful tips, and tasty variations. With a crunchy crust and creamy filling, they make a perfect treat. Remember, you can adjust flavors and serve them your way. Store leftovers in the fridge or freezer to keep them fresh. Enjoy creating these delicious bars for any occasion!


