Looking for a snack that’s both savory and satisfying? You’re in the right place! Loaded potato skins are the perfect treat to enjoy during game night, parties, or even a cozy evening at home. Thin, crispy potato shells topped with rich cheese, crispy bacon, and fresh toppings will steal the show. Let’s dive into this flavorful recipe that will make your taste buds dance with joy!
Ingredients
List of Ingredients
- 4 large russet potatoes
- 1 cup shredded sharp cheddar cheese
- 1/2 cup crumbled feta cheese
- 1/2 cup cooked bacon bits (or crispy chickpeas for vegetarians)
- 1/4 cup sour cream
- 2 green onions, sliced
- 1 tablespoon olive oil
- 1 teaspoon garlic powder
- 1 teaspoon paprika
- Salt and pepper to taste
- Fresh parsley for garnish
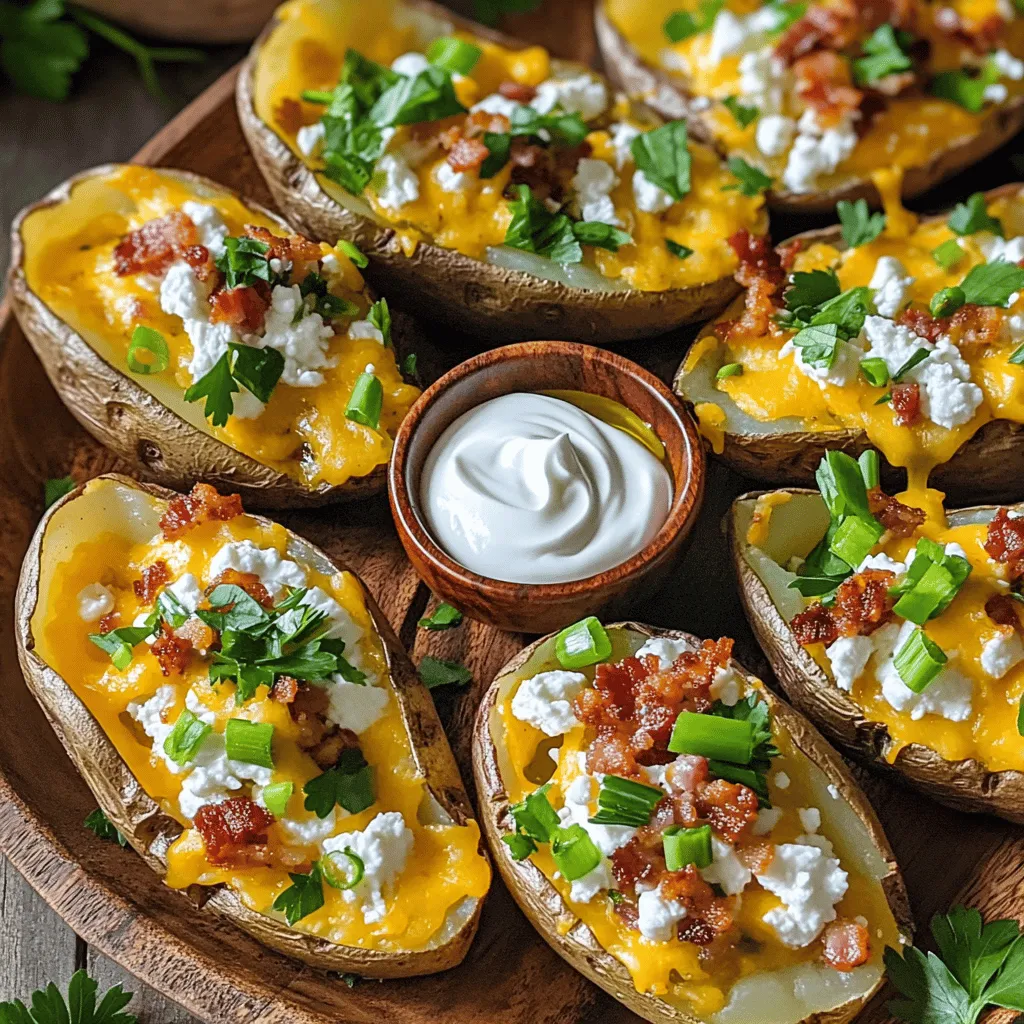
To make loaded potato skins, you need simple, fresh ingredients. Start with russet potatoes. They have a nice texture for holding fillings. Next, gather sharp cheddar and feta cheese. These add rich, creamy flavors.
For added crunch, use cooked bacon bits. If you prefer a vegetarian option, try crispy chickpeas. They give a nice bite and work well with the other flavors. Sour cream adds a cool touch, while green onions give a fresh pop.
Don’t forget the olive oil, garlic powder, and paprika. These seasonings enhance every bite. Lastly, use salt and pepper to taste. Fresh parsley is perfect for garnishing your tasty snack.
This combination of ingredients makes loaded potato skins savory and satisfying. You will want to share, but they are so good, you might keep them all for yourself!
Step-by-Step Instructions
Preparation Steps
- Preheat your oven to 400°F (200°C).
- Wash the potatoes well and dry them.
- Use a fork to poke holes in each potato.
- Rub the potatoes with olive oil, salt, and pepper.
- Place them directly on the oven rack and bake for 45-50 minutes.
- Check if they are tender by piercing with a fork.
- Let the potatoes cool for a few minutes.
- Cut each potato in half lengthwise.
- Scoop out some flesh, leaving enough to hold the skin.
Filling and Baking
- In a bowl, mix the scooped potato flesh with cheese and bacon bits.
- Add garlic powder and paprika, then stir everything well.
- Fill each potato skin with the cheesy mixture.
- Place the filled skins on a baking sheet.
- Bake them again for 10-15 minutes until the cheese melts.
- Remove from the oven and top with sour cream and green onions.
- Garnish with fresh parsley for a nice touch.
These steps create a delicious snack. Enjoy every bite of your loaded potato skins!
Tips & Tricks
Cooking Tips
- Ensuring potatoes are perfectly baked: Start with large russet potatoes. Wash them well and dry them. Prick each potato with a fork. This lets steam escape while baking. Bake them at 400°F (200°C) for 45-50 minutes. They should be tender when pierced.
- Tips for a crispy skin: For crispy skin, rub the potatoes with olive oil. Sprinkle with salt and pepper before baking. After scooping out the flesh, bake the skins again. This extra baking gives them a nice crunch.
Flavor Combinations
- Suggested ingredient additions: You can mix in different cheeses. Try gouda or pepper jack for a twist. Add jalapeños for some heat. You can also top them with diced tomatoes or avocado.
- Seasoning tips for enhanced flavor: Use garlic powder and paprika to boost taste. Feel free to add herbs like thyme or rosemary. A squeeze of lime juice can brighten the dish. Experiment with different spices to find your favorite mix.
Variations
Vegetarian Options
You can easily make loaded potato skins vegetarian. Instead of using bacon bits, try crispy chickpeas. They give a nice crunch and flavor. You can also add toppings like black beans, corn, or diced peppers. These options add color and taste. Fresh herbs like cilantro or basil also brighten the dish.
Flavor Alternatives
Cheese is key in loaded potato skins. You can mix it up with different types. Try pepper jack for a spicy kick. Or use mozzarella for a milder taste. Adding spicy jalapeños or hot sauce gives a nice heat. If you love extra flavor, consider adding smoked paprika or onion powder. Each choice enhances the taste and makes your snack unique.
Storage Info
Refrigeration
To store your loaded potato skins, let them cool first. Place them in an airtight container. This keeps them fresh and safe. They last in the fridge for about 3 to 4 days. If you want to keep them longer, consider freezing.
Reheating
When you are ready to eat your leftovers, reheating is key. Preheat your oven to 350°F (175°C). Place the skins on a baking sheet. Bake them for about 10 to 15 minutes. This warms them up without making them soggy. You can also use the microwave if you are in a hurry. Just warm them for about 1 to 2 minutes. However, the oven gives a better texture and taste. Enjoy your tasty snack again!
FAQs
Common Questions
Can I make loaded potato skins in advance?
Yes, you can prepare the potato skins ahead of time. Bake the potatoes and scoop out the flesh. Store the skins in the fridge. Fill them just before baking.
How can I freeze loaded potato skins?
To freeze, fill the potato skins and place them on a tray. Freeze until solid, then pack them in a freezer bag. They can last for up to three months.
What sides pair well with loaded potato skins?
You can serve them with a crisp salad, fresh veggies, or a zesty dip. These sides balance the rich flavors of the skins.
Additional Inquiries
How to prevent soggy skins?
To keep the skins crispy, make sure to bake them long enough. Avoid overloading them with filling. Also, baking them again after filling helps.
Are there gluten-free options for loaded potato skins?
Yes! Most ingredients for loaded potato skins are gluten-free. Just ensure any added toppings, like sauces, are gluten-free.Remember the key steps: bake, fill, and serve. Don’t forget to try out different cheese and toppings for fun flavors. Store leftovers well to enjoy later. If you have queries, check the FAQs for quick answers. Enjoy your cooking and share this recipe with friends and family!