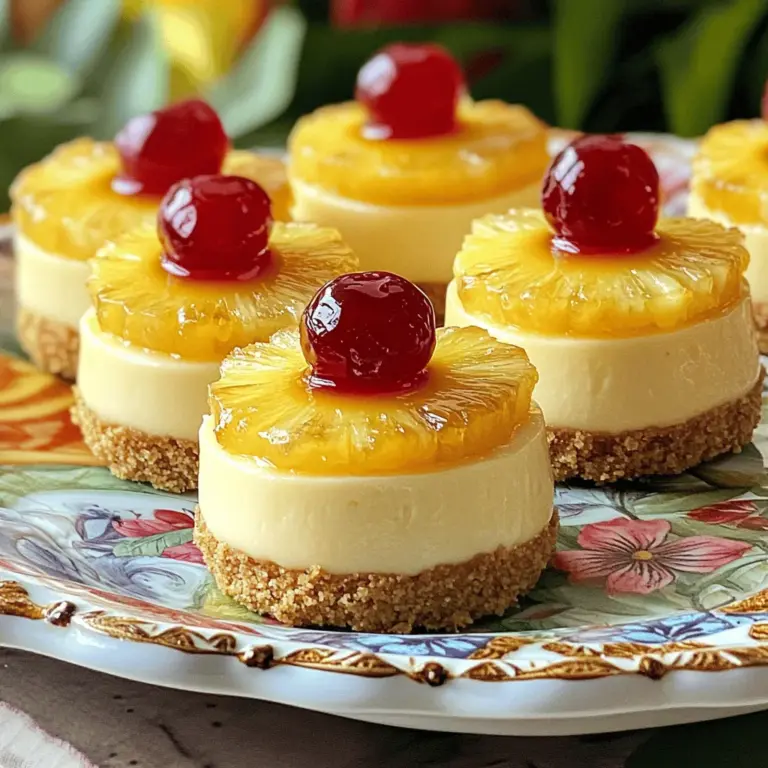
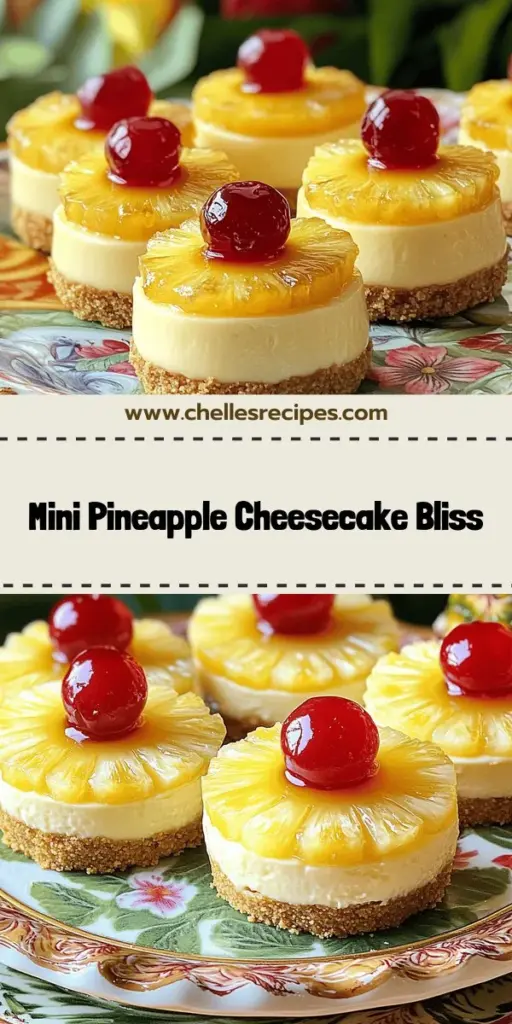
Craving a sweet treat that’s both cute and delicious? These Mini Pineapple Upside-Down Cheesecakes are a perfect choice. They blend creamy cheesecake with tropical flavors for a dessert that’s sure to impress. In this article, I’ll share everything you need—from the best ingredients to simple step-by-step instructions. Plus, I’ll reveal tips, variations, and storage ideas to make your mini cheesecakes a hit. Let’s dive into this delightful recipe!
Ingredients
Detailed Ingredient List
To create Mini Pineapple Upside-Down Cheesecakes, you will need the following ingredients:
- 1 cup graham cracker crumbs
- 1/4 cup unsalted butter, melted
- 2 tablespoons brown sugar
- 1 (8 oz) package cream cheese, softened
- 1/2 cup powdered sugar
- 1 teaspoon vanilla extract
- 1 cup heavy whipping cream
- 1/2 cup crushed pineapple, drained
- Pineapple rings (fresh or canned, for topping)
- Maraschino cherries (for garnish)
When selecting ingredients, freshness matters. Choose ripe pineapples if you go for fresh. Look for smooth cream cheese without lumps. For the best graham cracker crumbs, use whole crackers and crush them yourself.
If you have dietary restrictions, there are great substitutions. For a gluten-free crust, use gluten-free graham crackers. You can swap out cream cheese for a vegan cream cheese for a dairy-free option. Instead of heavy cream, use coconut cream for a different flavor.
For those watching sugar intake, consider using a sugar substitute in place of powdered sugar. These swaps help everyone enjoy this treat without missing out!
Step-by-Step Instructions
Preparing the Crust
Start by mixing the graham cracker crumbs, melted butter, and brown sugar in a medium bowl. Use a fork to combine them well. The mixture should look like wet sand. Next, take this mixture and press it firmly into the bottom of your muffin tins. I like to use paper liners for easy serving.
Now, preheat your oven to 350°F (175°C). Bake the crusts for about 5 to 7 minutes. They should turn a light golden color. Once baked, remove them from the oven and let them cool completely.
Making the Cheesecake Filling
In a large mixing bowl, beat the softened cream cheese until it is smooth. This step is key for a creamy texture. Gradually add the powdered sugar and continue to mix until everything is well combined. Then, stir in the vanilla extract for extra flavor. Finally, add the drained crushed pineapple and mix until evenly blended.
Assembling the Mini Cheesecakes
Spoon the cheesecake filling over the cooled crusts in the muffin tins. Make sure to distribute it evenly. For a fun touch, place a pineapple ring on each cheesecake. Top it off with a maraschino cherry in the center. This step not only looks great but adds a burst of flavor.
To ensure even distribution of the filling, I recommend using a small ice cream scoop. This will help keep the portions uniform for all your mini cheesecakes.
Tips & Tricks
Common Mistakes to Avoid
- Overmixing the filling: This can make your cheesecake dense. Mix just until smooth.
- Not allowing crust to cool before adding the filling: If the crust is warm, it can melt the filling. Always wait for it to cool completely.
- Skipping the chilling time: This is key for a perfect set. Be sure to chill for at least four hours, or overnight for best results.
Presentation Tips
- Creative serving ideas for mini cheesecakes: Arrange them on a decorative platter. You can also use clear jars for a fun twist.
- Suggested garnishes for enhanced appearance: Fresh mint leaves or extra crushed pineapple add color and flavor. A sprinkle of toasted coconut looks great too.
- Plating methods to impress guests: Use a drizzle of caramel or chocolate sauce on the plate. It makes the dish look gourmet. Serve with a small scoop of vanilla ice cream on the side for extra delight.

Variations
Flavor Enhancements
You can easily enhance the flavors of mini cheesecakes. One fun option is adding coconut. Shredded coconut gives a delicious tropical taste. It pairs well with pineapple, making each bite even more delightful.
You might want to try different fruits for toppings. Mango and kiwi are great choices. They bring fresh color and flavor. Just make sure they are ripe for the best taste.
If you need a gluten-free option, use almond flour instead of graham crackers. Mix it with melted butter and a bit of sugar. This crust is just as tasty!
Miniature Serving Suggestions
For parties, consider making bite-sized versions. Use mini muffin tins for the perfect size. Guests will love popping these mini treats in their mouths.
You can also use different containers. Ramekins or jars work well for individual servings. They look cute and are easy to serve.
Another great idea is creating a cheesecake sampler platter. Mix different flavors and toppings on one tray. Your friends will enjoy trying a variety of mini cheesecakes.
Storage Info
Proper Storage Techniques
To store leftover mini cheesecakes, use an airtight container. This helps keep them fresh. Place parchment paper between layers if stacking. This prevents sticking. Store them in the fridge for up to five days. The cheesecakes will stay tasty and creamy.
Freezing Instructions
You can freeze mini cheesecakes for later enjoyment. First, wrap each cheesecake in plastic wrap. Then, place them in a freezer-safe bag. They can freeze for up to three months. When ready to enjoy, remove them from the freezer. Let them thaw in the fridge overnight. This keeps the texture nice. Freezing may change the flavor slightly, but they will still be delicious.
FAQs
How do I know when cheesecake is set?
You can tell a cheesecake is set by looking for a few signs. First, the edges will look firm, while the center will have a slight jiggle. This jiggle means it will firm up as it cools. The cheesecake should also look shiny and smooth on top, without cracks. Chilling is vital. Let it chill for at least four hours, or overnight for the best texture.
Can I make mini cheesecakes ahead of time?
Yes, you can make mini cheesecakes ahead of time. I recommend making them up to two days before you plan to serve. Just store them in the fridge in an airtight container. For events, you can prepare the crust and filling a day in advance. Assemble them the night before for easy serving.
Are mini cheesecakes suitable for dietary restrictions?
Mini cheesecakes can fit many dietary needs with a few swaps. For vegan options, use coconut cream instead of heavy cream and a non-dairy cream cheese. For gluten-free diets, substitute regular graham crackers with gluten-free ones. If you need sugar-free options, try using a sugar substitute like stevia in place of powdered sugar.
What can I use instead of heavy cream?
You have options if you need to replace heavy cream. Whole milk and butter can be a good mix for a lighter version. You can also use coconut cream for a dairy-free alternative. Each option changes the flavor and texture. Coconut cream adds a tropical taste, while milk keeps it light.
You learned how to make mini pineapple upside-down cheesecakes from start to finish. I shared tips for choosing great ingredients and avoiding common mistakes. Remember, allowing time for the crust to cool is key. You can even swap ingredients for dietary needs, making this dessert fun for everyone.
Try adding different toppings or serving styles to impress your guests. Enjoy your delicious mini cheesecakes and feel free to make them your own!

