
Do you love the sweet, warm taste of Krispy Kreme doughnuts? What if I told you that you can make them at home? With just a few simple ingredients and easy steps, you can whip up your very own batch of these tasty treats. In this blog post, I’ll show you how to create soft, fluffy doughnuts and a rich glaze that will impress everyone. Let’s dive in and get started!
Ingredients
Main Ingredients for Doughnuts
To make these delightful homemade doughnuts, you’ll need:
- 2 ¼ teaspoons active dry yeast
- ¾ cup whole milk, warmed
- ¼ cup granulated sugar
- ⅓ cup unsalted butter, melted
- 1 large egg
- 1 teaspoon vanilla extract
- 4 cups all-purpose flour
- ½ teaspoon salt
- Vegetable oil for frying
These ingredients work together to create a soft, fluffy dough that rises beautifully.
Ingredients for the Glaze
The glaze makes these doughnuts shine and adds sweetness. For the glaze, gather:
- 2 cups powdered sugar
- ¼ cup milk
- 1 teaspoon vanilla extract
This simple mixture turns your doughnuts into a treat everyone loves.
Substitutions and Additions
You can customize your doughnuts easily. Here are some ideas:
- Use almond milk instead of whole milk for a dairy-free option.
- Swap granulated sugar with coconut sugar for a different flavor.
- Add spices like nutmeg or cinnamon to the dough for extra warmth.
- Try using different extracts like almond or maple in the glaze for a twist.
Feel free to experiment and make these doughnuts your own!
Step-by-Step Instructions
Preparing the Dough
To start, grab a small bowl. Mix the warm milk and yeast. Let it sit for 5-10 minutes. You want it to look foamy. In a larger bowl, whisk the granulated sugar and melted butter together. Then, add the egg and vanilla extract. Mix until it’s well combined. Next, pour the foamy yeast mixture into this bowl. Stir it gently until everything blends well. Now, add two cups of flour and the salt. Mix until a soft dough forms.
Now, let’s knead! Sprinkle some flour on your counter. Place the dough on it and knead for about 5-7 minutes. You want it to be smooth and elastic. After that, place the dough in a greased bowl. Cover it with a towel and let it rise. Find a warm spot and let it sit for 1-2 hours. It should double in size.
Cutting and Shaping the Doughnuts
Once the dough has risen, it’s time to shape it! Punch it down gently to release the air. Roll it out to about ½-inch thick. Now, grab a doughnut cutter or two round cutters. Cut out your doughnut shapes and place them on a floured baking sheet. Don’t forget to reuse any scraps to make more doughnuts! Cover them with a towel again and let them puff up for another 30-45 minutes.
Frying Instructions
Now for the fun part—frying! Heat vegetable oil in a deep pot or fryer to 350°F (175°C). Carefully add a few doughnuts at a time. Fry each one for about 1 minute on each side. You want them golden brown. Once fried, use a slotted spoon to take them out. Place them on a wire rack to cool.
While they cool, let’s make the glaze! Mix powdered sugar, milk, and vanilla extract until smooth. Once the doughnuts are warm, dip the tops in the glaze. Let the excess glaze drip off. Place them back on the rack to set. Enjoy your homemade Krispy Kreme doughnuts!
Tips & Tricks
Achieving the Perfect Light and Fluffy Texture
To get that light and fluffy doughnut, let the dough rise well. The yeast needs time to work magic. Warmth helps a lot too. If your kitchen is cold, find a cozy spot. You can even use an oven set to low heat to help the dough rise. Kneading is key; it builds gluten. Knead until the dough feels smooth and soft. Don’t rush this step.
Common Mistakes to Avoid
One big mistake is using hot milk. It can kill the yeast. Always make sure the milk is warm, not hot. Another mistake is not letting the dough rise enough. If it doesn’t double in size, your doughnuts will be dense. Also, don’t overcrowd the pot when frying. Fry a few at a time for even cooking. Lastly, remember to let excess oil drip off before glazing.
Presentation Tips
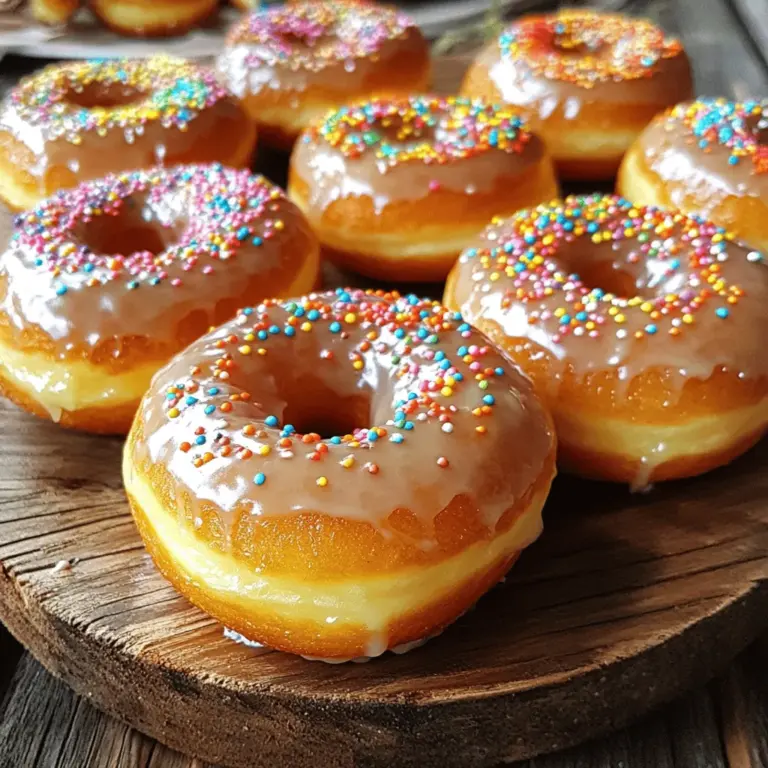
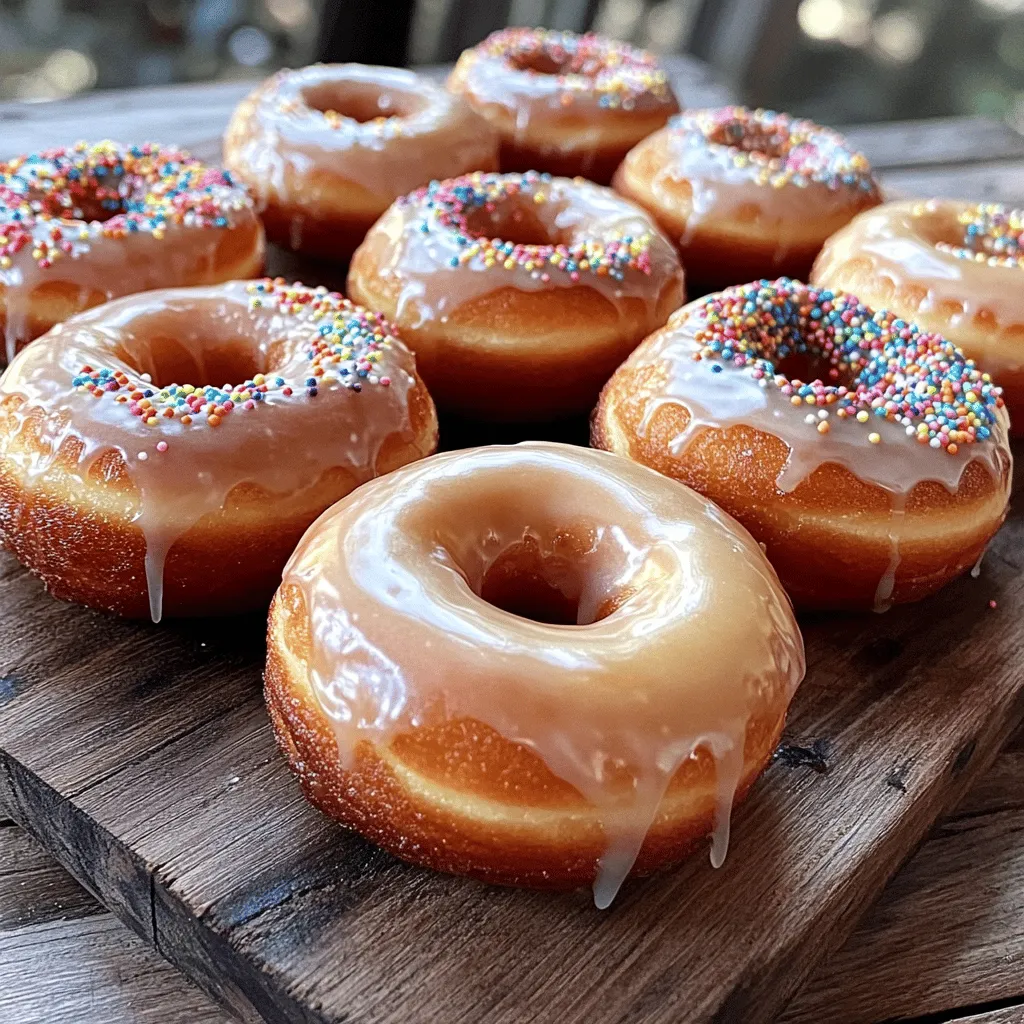
For a gorgeous display, use a nice platter. Arrange the doughnuts in a circle or a fun pattern. Add colorful sprinkles for a pop of joy. You can drizzle some chocolate on top for extra flair. Fresh fruit slices can also add a lovely touch. When you present your doughnuts well, they taste even better! Enjoy every bite of your homemade treats.
Variations
Flavor Variations for the Glaze
You can change the glaze to match your taste. Try adding flavors like:
- Chocolate: Mix in cocoa powder for a rich chocolate glaze.
- Maple: Use maple syrup instead of milk for a sweet twist.
- Coffee: Add brewed coffee for a unique coffee-flavored glaze.
These simple changes can make each batch special. Experiment with your favorite flavors!
Alternative Doughnut Flavors
You don’t have to stick to classic doughnuts. Here are some fun ideas:
- Cinnamon Sugar: Roll warm doughnuts in a mix of sugar and cinnamon.
- Lemon Zest: Add lemon zest to the dough for a fresh taste.
- Pumpkin Spice: Mix in pumpkin puree and spices for a fall favorite.
These flavors can brighten your day. They add a personal touch to your doughnuts!
Toppings and Fillings Ideas
Toppings and fillings can take your doughnuts to the next level. Here are some fun ideas:
- Sprinkles: Add colorful sprinkles for a festive look.
- Chocolate Drizzle: Drizzle melted chocolate on top for a treat.
- Fruit Preserves: Fill doughnuts with fruit jams or creams for a burst of flavor.
You can mix and match these to create your perfect doughnut. Have fun with your creations and make them your own!
Storage Info
How to Store Leftover Doughnuts
To keep your doughnuts fresh, store them in an airtight container. This helps keep the glaze intact. Place a piece of parchment paper between layers to avoid sticking. Store them at room temperature for up to two days. If you live in a warm area, the fridge is a better option. The cold can change the texture, but it keeps them safe.
Freezing Doughnuts for Later Use
If you want to save doughnuts for later, freezing is a great choice. Let the doughnuts cool completely after frying. Wrap each doughnut tightly in plastic wrap. Then, place them in a freezer-safe bag or container. They can last up to three months in the freezer. To enjoy, thaw them overnight in the fridge.
Reheating Tips
Reheat doughnuts before serving for the best taste. The microwave works well, but use it carefully. Heat each doughnut for about 10 seconds. This warms them without making them tough. For a crispier texture, use the oven. Preheat it to 350°F (175°C) and bake for about 5 minutes. Enjoy your warm, homemade doughnuts!
FAQs
Can I use a different type of flour?
Yes, you can use other types of flour. However, all-purpose flour gives the best results. If you want a gluten-free version, try a gluten-free all-purpose blend. Be aware that this might change the doughnut’s texture. You may also need to adjust your liquid amounts when using different flours.
How can I make these doughnuts healthier?
You can make your doughnuts healthier by swapping some ingredients. Here are some ideas:
- Use whole wheat flour instead of all-purpose flour.
- Replace sugar with a natural sweetener like honey or maple syrup.
- Use applesauce in place of some butter for moisture.
These swaps can help reduce calories while keeping doughnuts tasty.
What are some common issues when making doughnuts at home?
Some common issues include:
- Doughnuts not rising properly: This can happen if the yeast is old or the milk is too hot.
- Doughnuts being greasy: Ensure your oil is hot enough, around 350°F (175°C).
- Doughnuts being too dense: This may occur from over-kneading or not enough rising time.
Pay attention to these tips for better results.
Creating homemade doughnuts is fun and rewarding. We covered the key ingredients and step-by-step instructions, leading to perfect doughnuts. I shared tips for a light texture and common mistakes to avoid. You learned about flavor variations and how to store leftovers.
Homemade doughnuts offer endless possibilities to explore, and I hope you feel inspired to try making your own. Enjoy the process and the tasty results!

