-min.png)
-min.png)
-min.png)
-min.png)
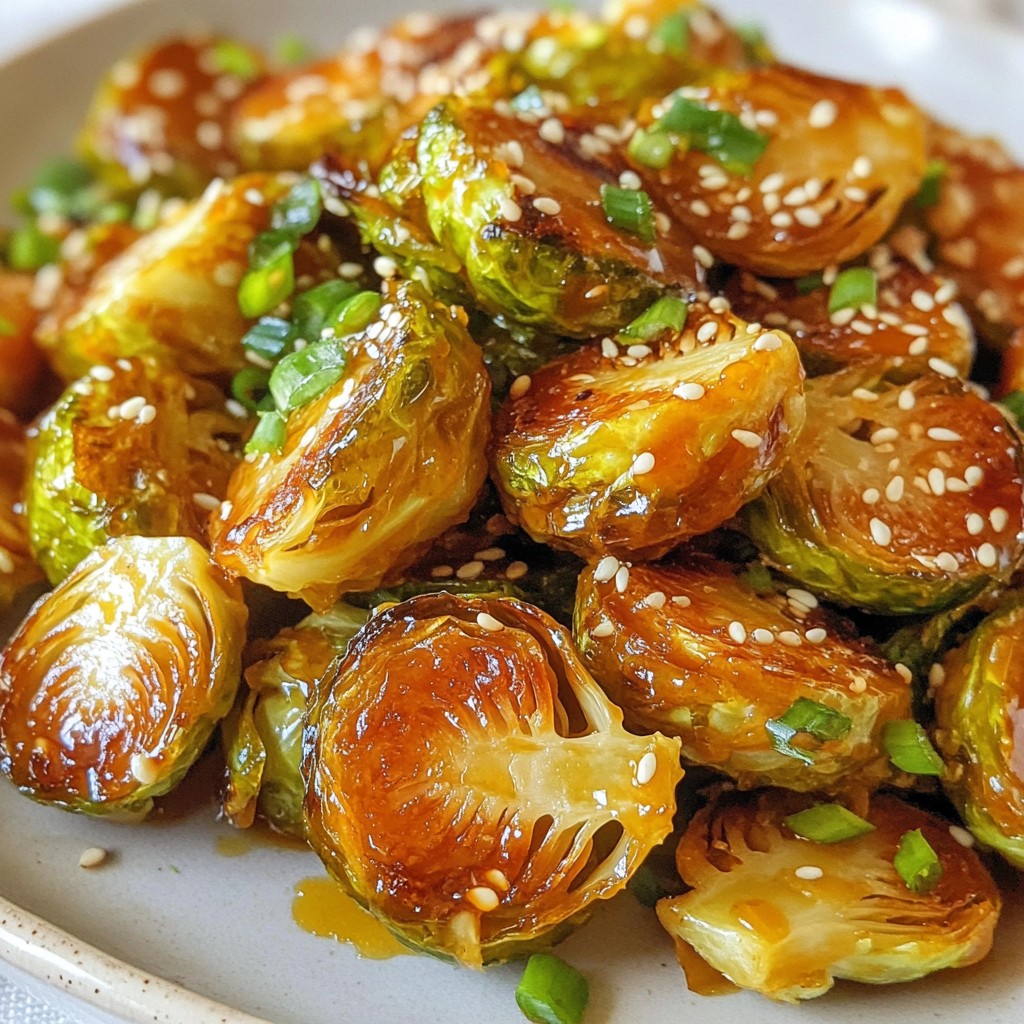
Honey Sriracha Brussels Sprouts Flavorful and Crunchy Dish
A deliciously spicy and sweet side dish featuring roasted Brussels sprouts coated in a honey-Srirach...
Today's Special
A deliciously spicy and sweet side dish featuring roasted Brussels sprouts coated in a honey-Sriracha glaze.
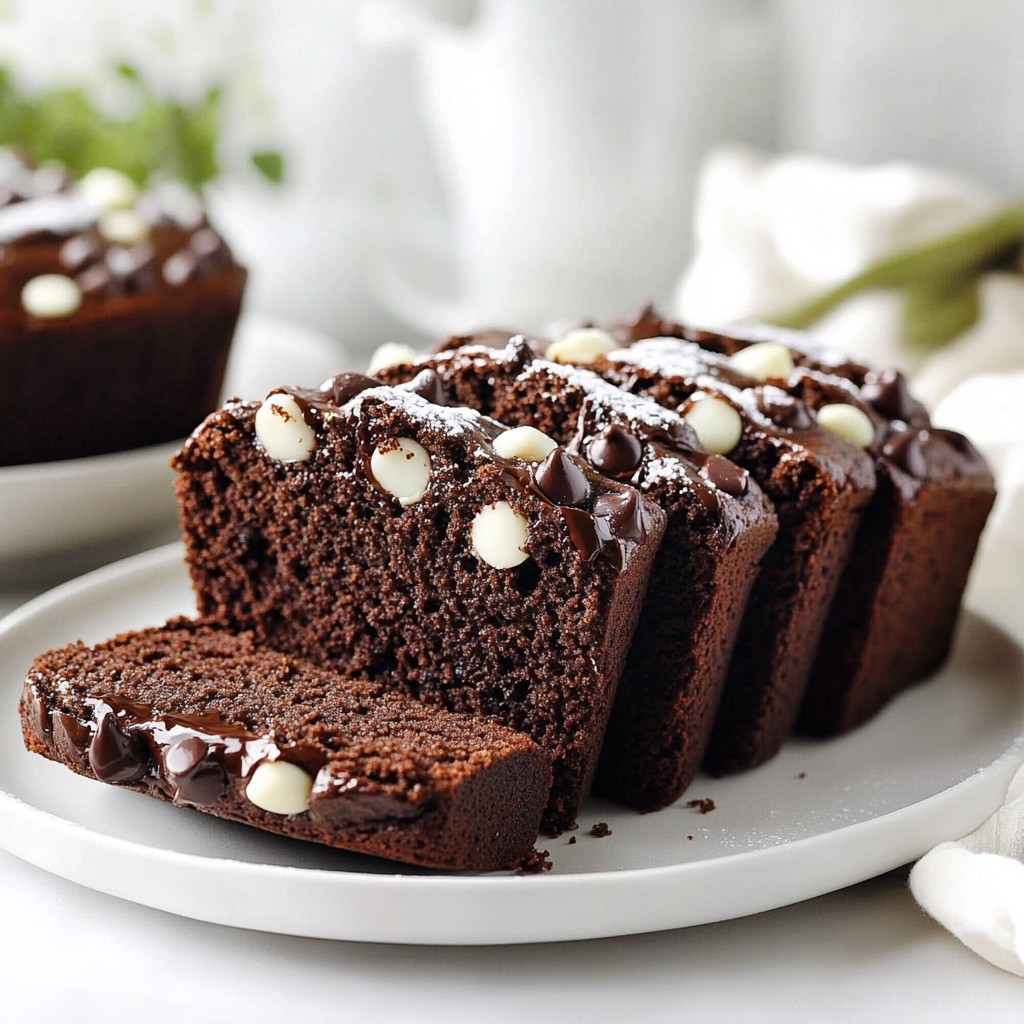
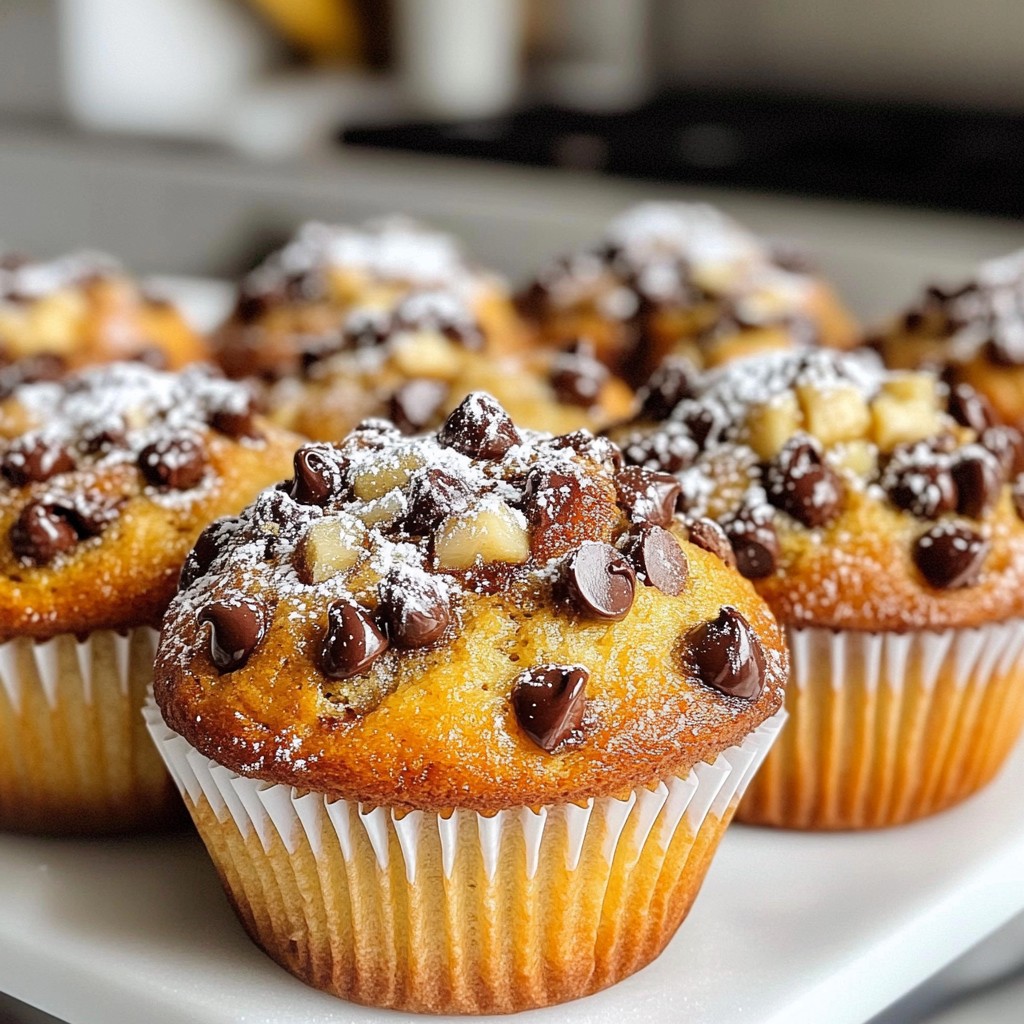
Indulge in our collection of irresistible dessert recipes! From decadent chocolate treats to light and fruity delights, discover sweet creations that will satisfy every craving and make every occasion special!
More Desserts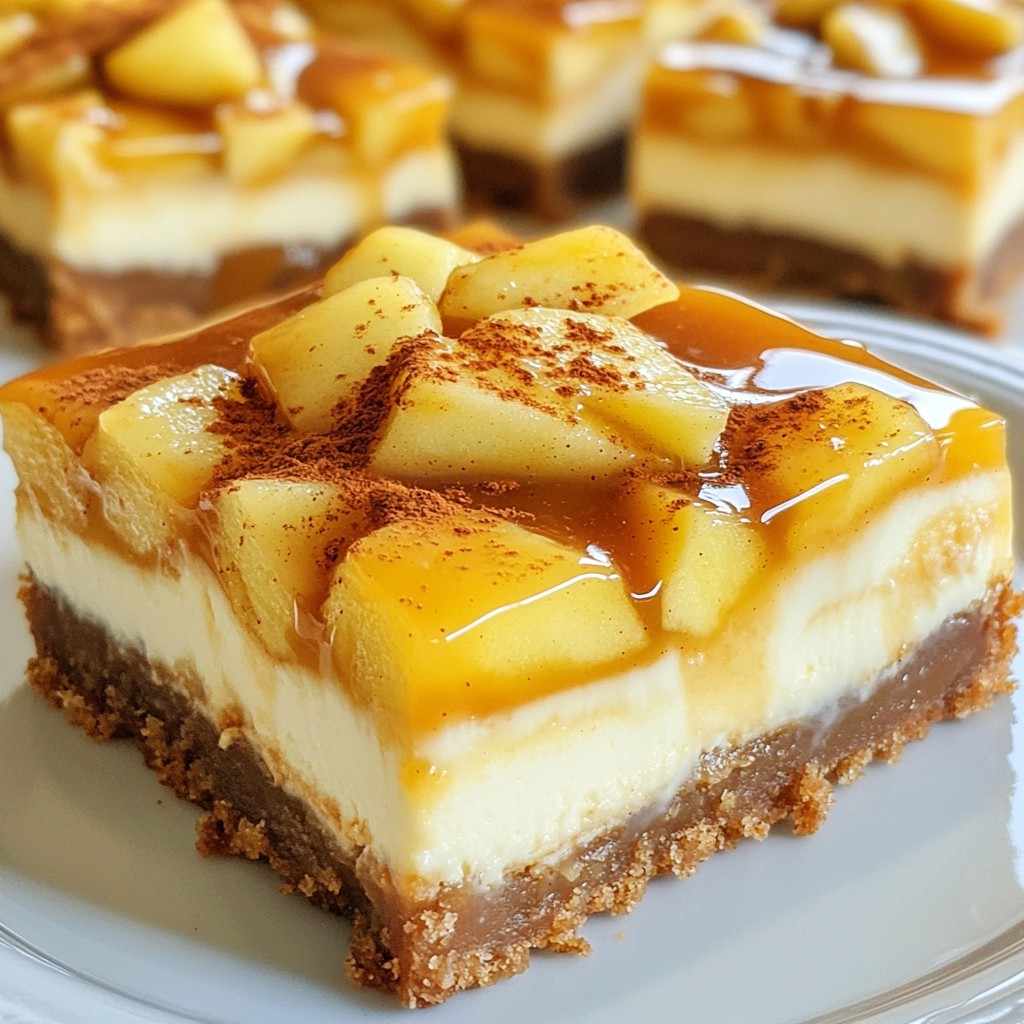


What are you craving?
Explore our delicious collection of recipes organized by category

Discover delicious dinner recipes that bring joy to your table! From quick weeknight meals to impressive family feasts, explore our collection of savory dishes that make every dinner time memorable!
More Dinners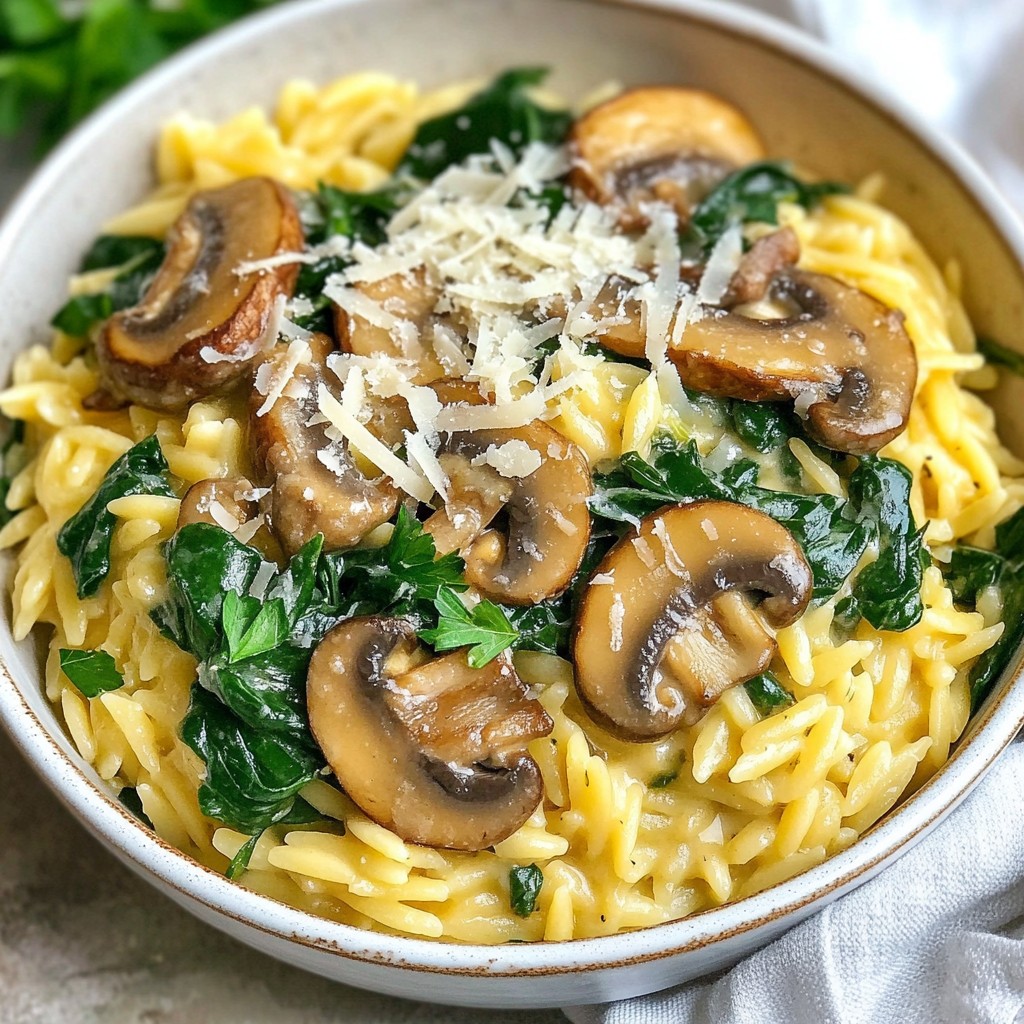


Nice to meet you!
Rosie Taylor, Founder & Recipe Developer, created chellesrecipes to share innovative and delicious recipes.
Learn More About MeLooking for something?
Fresh from the kitchen
Check out our newest additions - tried, tested, and absolutely delicious!
A deliciously spicy and sweet side dish featuring roasted Brussels sprouts coated in a honey-Srirach...
A rich and creamy dish featuring orzo pasta, mushrooms, and spinach, perfect for a comforting meal.
A delicious and hearty chili made with chicken, white beans, and a creamy broth.
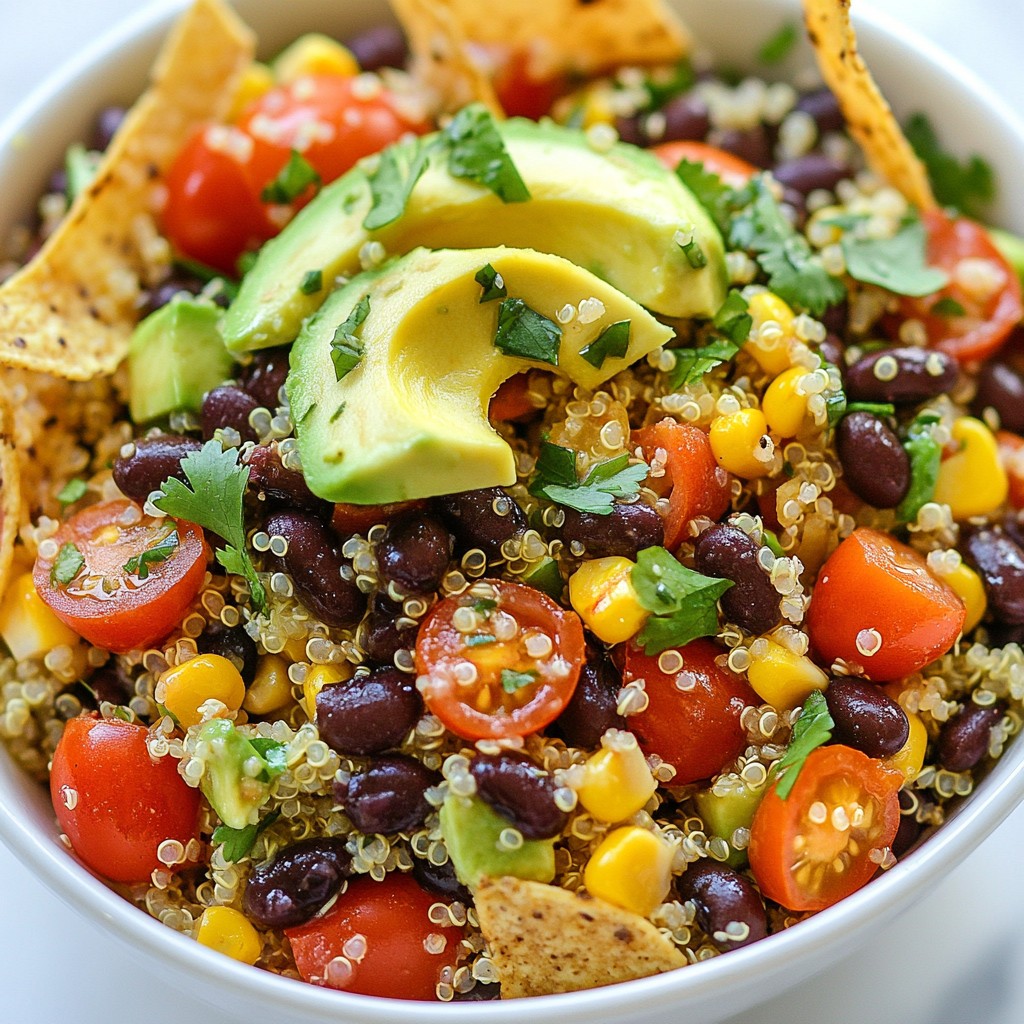
A refreshing and nutritious salad featuring quinoa, black beans, and fresh vegetables, perfect for a...
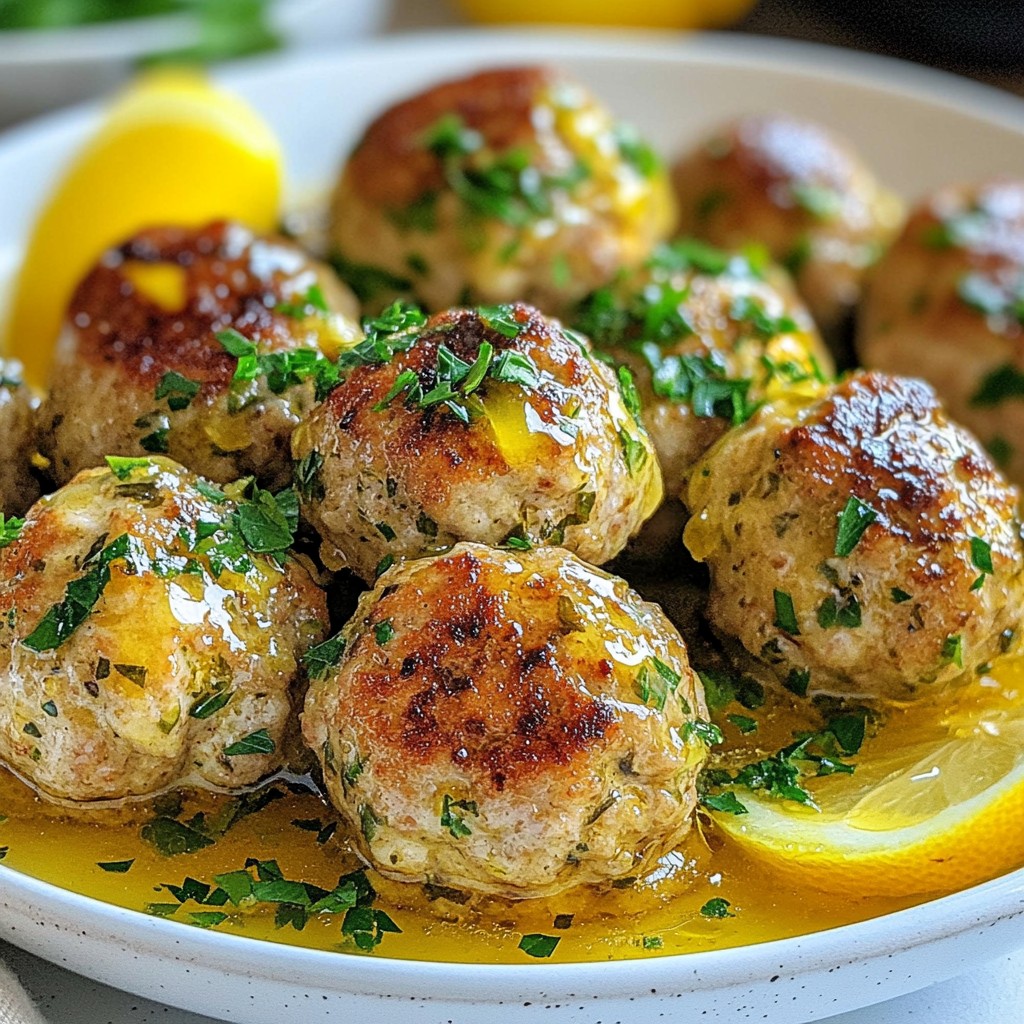
Delicious turkey meatballs infused with garlic, herbs, and a buttery sauce.
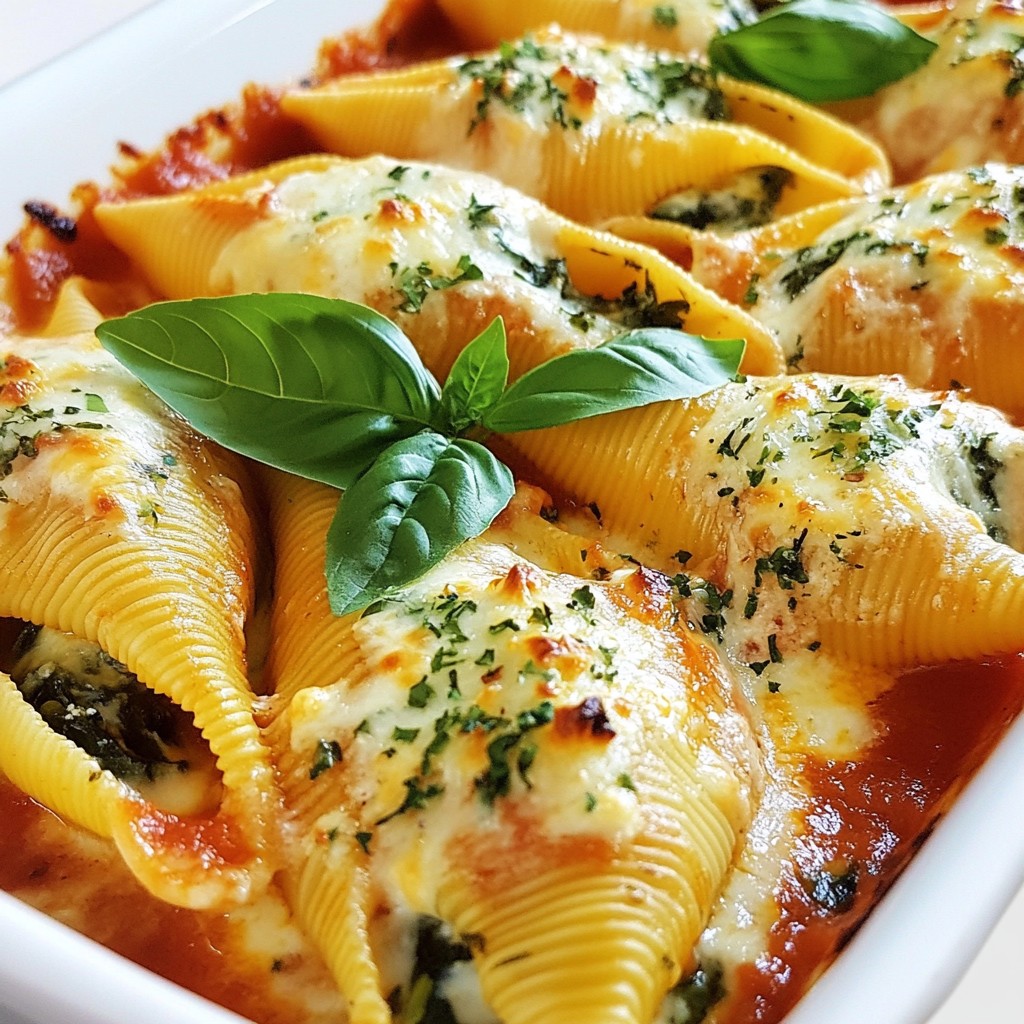
A delicious and creamy dish featuring jumbo pasta shells stuffed with a cheesy spinach and ricotta f...