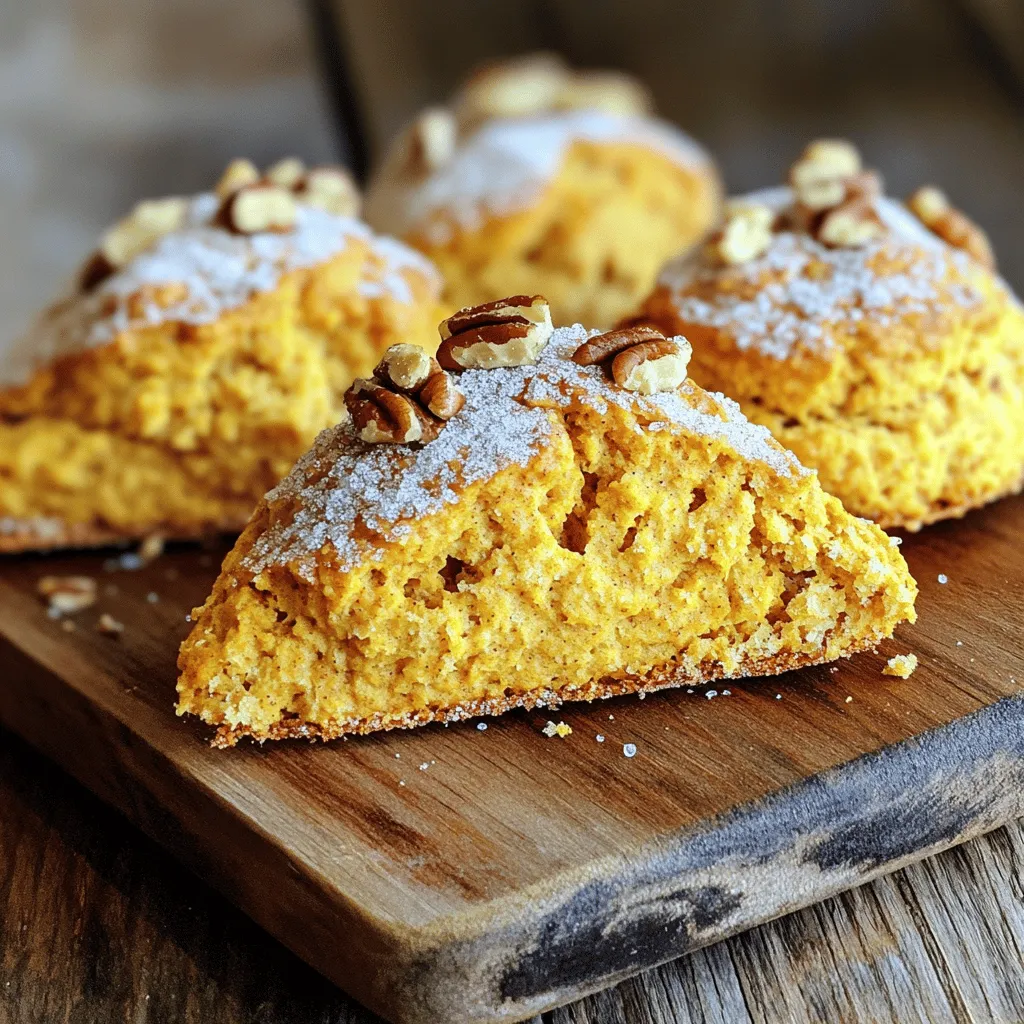
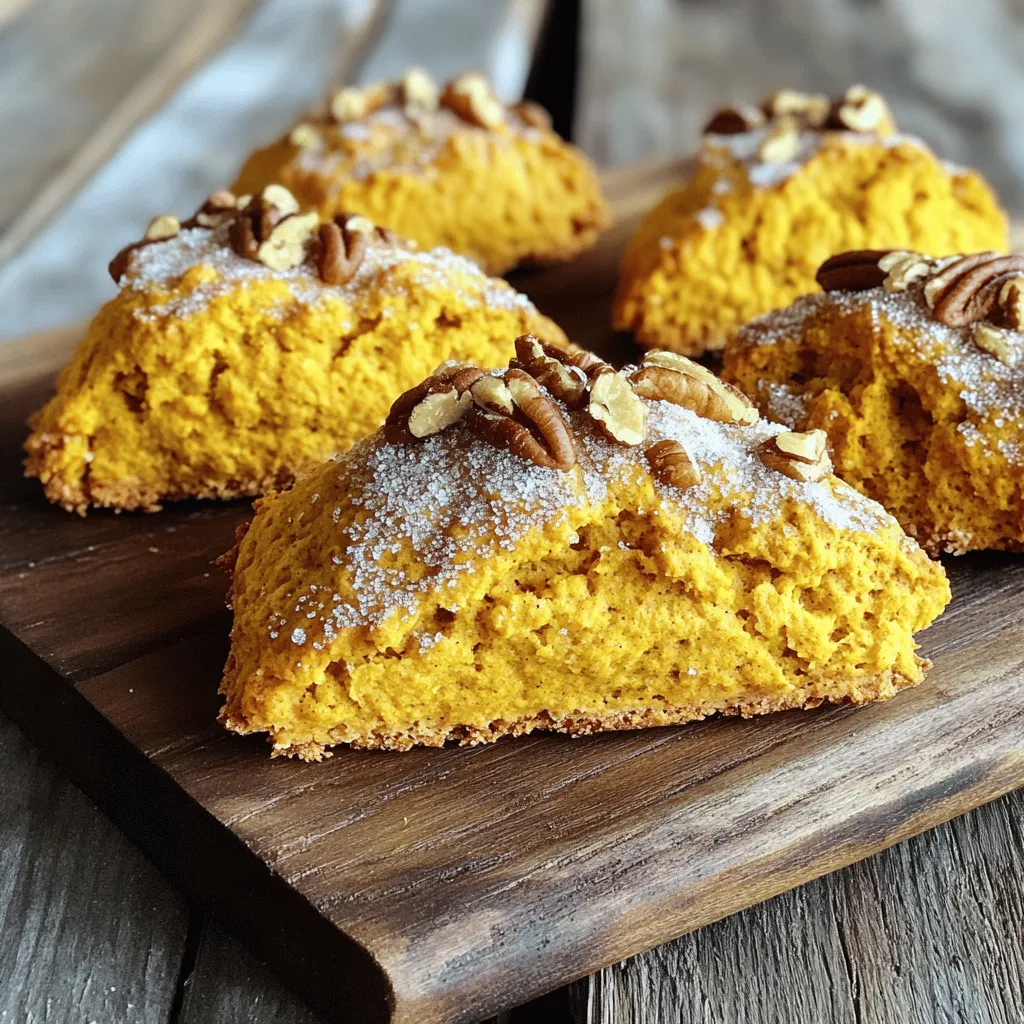
Fall is here, and so are the warm, comforting flavors of pumpkin spice! If you crave a tasty treat that brings the season to life, these Pumpkin Spice Scones will be your new favorite. With simple ingredients and easy steps, you’ll create a batch that’s perfect for cozy mornings or festive gatherings. Join me in baking these delightful scones that everyone will love! Let’s dive in!
Ingredients
Here are the ingredients you need for pumpkin spice scones:
– 2 cups all-purpose flour
– 1/2 cup granulated sugar
– 1 tablespoon baking powder
– 1 teaspoon ground cinnamon
– 1/2 teaspoon ground ginger
– 1/4 teaspoon ground nutmeg
– 1/4 teaspoon ground cloves
– 1/2 teaspoon salt
– 1/2 cup unsalted butter, cold and cubed
– 1/2 cup canned pumpkin puree
– 1/4 cup heavy cream
– 1 large egg
– 1 teaspoon vanilla extract
– Optional: 1/4 cup chopped pecans or walnuts
– Optional: Coarse sugar for sprinkling on top
Each ingredient plays a key role. The flour gives structure, while sugar adds sweetness. Baking powder helps the scones rise. The spices bring warm, fall flavors. Cold butter creates a flaky texture, and pumpkin puree keeps them moist. Heavy cream and egg bind everything together, making a rich dough.
You can add nuts for crunch. A sprinkle of coarse sugar on top gives a sweet finish. This combination makes every bite delightful.
Step-by-Step Instructions
Preparation Steps
1. Preheat your oven to 400°F (200°C). Line a baking sheet with parchment paper.
2. In a large bowl, whisk together:
– 2 cups all-purpose flour
– 1/2 cup granulated sugar
– 1 tablespoon baking powder
– 1 teaspoon ground cinnamon
– 1/2 teaspoon ground ginger
– 1/4 teaspoon ground nutmeg
– 1/4 teaspoon ground cloves
– 1/2 teaspoon salt
3. Add 1/2 cup of cold, cubed unsalted butter to the dry mix. Cut it in until the mix looks like coarse crumbs.
Mixing the Wet Ingredients
1. In a separate bowl, mix together:
– 1/2 cup canned pumpkin puree
– 1/4 cup heavy cream
– 1 large egg
– 1 teaspoon vanilla extract
2. Pour this wet mix into the dry ingredients. Add in nuts if you want to. Stir gently until just combined, but don’t overmix.
Shaping and Baking the Scones
1. Turn the dough onto a lightly floured surface. Shape it into a circle about 1 inch thick.
2. Cut into wedges or use a biscuit cutter for nice shapes.
3. Place the scones on the baking sheet, leaving space between them. You can sprinkle coarse sugar on top for extra crunch.
4. Bake for 15-20 minutes. They are done when golden brown and a toothpick comes out clean.
Enjoy making these delightful pumpkin spice scones!
Tips & Tricks
Baking Tips
Using cold butter is key to great scones. Cold butter helps create flaky layers. When the butter melts in the oven, it steams and puffs the dough. This gives you that light and airy texture that makes scones special. Make sure your butter is cold and cut into small cubes.
Preventing overmixing is also important. When you mix too much, the scones become tough. After adding the wet ingredients, stir gently. Only mix until you see no dry flour. This keeps the scones tender and soft.
Serving Suggestions
Pumpkin spice scones pair well with many toppings. A dollop of whipped cream or a smear of butter enhances their flavor. You can also add a drizzle of maple syrup for some sweetness.
For drinks, try serving them with coffee or chai tea. These warm beverages match the cozy fall flavors of the scones. Hot apple cider is another great option. It brings out the pumpkin spice notes beautifully.
Variability & Substitutions
You can swap ingredients for dietary needs. If you need gluten-free scones, use a gluten-free flour blend. For dairy-free options, substitute coconut cream for heavy cream.
You can also change up the flavors. Adding chocolate chips gives a sweet twist. Dried cranberries add a tart contrast. Try nuts like pecans for extra crunch. These variations make the scones fun and unique.
Variations
Flavor Enhancements
You can easily change the flavor of pumpkin spice scones. Add spices like cardamom or allspice. These spices give a warm and cozy touch. You could also mix in different nuts or seeds. Chopped pecans or walnuts add a nice crunch. Try sunflower seeds or pumpkin seeds for a different twist. Each addition brings a unique flavor to the scones.
Dietary Variants
If you need gluten-free pumpkin spice scones, swap the all-purpose flour with a gluten-free blend. Many brands offer good options that work well in baking. For vegan scones, replace the heavy cream with almond milk or coconut cream. Use a flax egg instead of a regular egg. This option keeps your scones tasty while meeting dietary needs.
Holiday-Themed Scones
Make your scones festive with fun add-ins. Dried fruits, like cranberries or apricots, can add a sweet surprise. You could also sprinkle some chocolate chips for a treat. For a seasonal touch, use caramel sauce or maple glaze on top. These ideas make your scones perfect for sharing at holiday events.
Storage Info
How to Store Scones
To keep your pumpkin spice scones fresh, store them in an airtight container. This helps maintain their soft texture. Make sure to let them cool completely before placing them in the container. If they are still warm, they may become soggy. You can store them at room temperature for up to two days. For longer storage, put them in the fridge. Scones stay fresh for about a week in the fridge.
Freezing Scones
You can freeze scones before or after baking. To freeze before baking, shape the dough and cut it into wedges. Place the wedges on a baking sheet and freeze them until solid. After that, transfer them to a freezer bag. They can stay frozen for up to three months. When you want to bake them, preheat your oven and bake from frozen, adding a few extra minutes to the time.
To freeze baked scones, let them cool first. Wrap each scone in plastic wrap, then place them in a freezer bag. This keeps them fresh and prevents freezer burn. Thaw baked scones overnight in the fridge or at room temperature for a few hours.
Reheating Tips
To reheat scones, the best method is using the oven. Preheat your oven to 350°F (175°C). Place the scones on a baking sheet and cover them loosely with foil. Heat for about 10 minutes. This keeps them warm without making them soggy.
You can also use a microwave, but it may make them soft. If you use the microwave, heat them in short bursts. Check them often so they don’t become too chewy. Enjoy your scones warm for the best taste!
FAQs
Common Questions
How do I know when my scones are done?
You can tell scones are done when they turn golden brown. Insert a toothpick into a scone; it should come out clean. If it has wet dough, bake for a few more minutes. Keep an eye on them to avoid overbaking.
Can I make the dough ahead of time?
Yes, you can make the dough ahead. Wrap it in plastic wrap and place it in the fridge. Use it within 24 hours for the best results. When you are ready to bake, let the dough rest for a few minutes before shaping.
Ingredient Questions
Can I use fresh pumpkin instead of canned?
Yes, you can use fresh pumpkin. Just cook and puree it until smooth. Make sure to drain any excess water to keep the dough from being too wet. This will help your scones stay light and fluffy.
What can I replace for heavy cream?
You can replace heavy cream with whole milk or almond milk. If you want a thicker texture, use coconut cream. Each option adds a unique flavor but keeps your scones delicious.
Baking Questions
How can I get a flaky texture in my scones?
To achieve a flaky texture, use cold butter. Cut it into the flour until it resembles crumbs. Avoid overmixing the dough; mix just until combined. This keeps the air pockets needed for fluffiness.
Why are my scones dense?
Dense scones often result from overmixing or using too much liquid. Ensure you measure ingredients correctly and mix gently. Using cold ingredients helps create the light texture we love in scones.
To make delicious pumpkin spice scones, we covered key ingredients, clear steps, and helpful tips. You learned how to mix dry and wet elements for the best flavor. We also explored fun variations and proper storage methods. Remember, baking is a skill you can improve with practice. Enjoy your scones, and share them with friends or family. Making scones can be a joyful experience. Happy baking!