As the leaves turn golden and the air becomes crisp, pumpkin emerges as a beloved staple of the fall season. This vibrant, versatile squash is not only celebrated for its culinary uses but also for its ability to evoke feelings of warmth and nostalgia. From lattes to pies, pumpkin has become synonymous with autumn festivities. Among the many delightful pumpkin-infused treats, Pumpkin Paradise Cookies stand out as a perfect blend of flavors and textures that will enchant your taste buds and fill your home with the comforting aromas of the season.
These cookies are more than just a seasonal snack; they are a celebration of fall’s bounty. With a soft and chewy texture, each bite offers a harmonious balance of sweetness and spice, making them an irresistible addition to any autumn gathering or cozy evening at home. The distinctive combination of rich pumpkin puree, warm spices, and the delightful crunch of nuts creates a cookie that feels both indulgent and wholesome. Whether enjoyed fresh out of the oven with a cup of tea or packaged as thoughtful gifts for friends and family, Pumpkin Paradise Cookies have an appeal that transcends age and occasion.
Understanding the Ingredients
To create these scrumptious cookies, it is essential to understand the key ingredients that contribute to their unique flavor profile and texture. Here’s a closer look at the components that make Pumpkin Paradise Cookies a true delight.
Canned Pumpkin Puree
The star ingredient of these cookies is undoubtedly the canned pumpkin puree. Packed with nutrients, pumpkin is rich in vitamins A and C, as well as fiber, making it not just a tasty addition but a healthy one as well. Its smooth texture and earthy flavor provide a moist base for the cookies, ensuring they remain soft and chewy after baking. When selecting pumpkin puree, opt for 100% pure pumpkin without any added sugars or spices for the best results.
Sugars: Granulated and Brown
The recipe calls for a combination of granulated sugar and brown sugar, each playing a distinct role in the final product. Granulated sugar contributes to the overall sweetness and helps the cookies spread during baking. In contrast, brown sugar introduces moisture and a hint of caramel flavor due to its molasses content. This combination not only enhances the taste but also creates a tender cookie with a slightly chewy center.
Unsalted Butter
Using unsalted butter is crucial in baking, as it allows for better control over the cookie’s saltiness. One of the highlights of this recipe is the technique of browning the butter, which intensifies its flavor, adding a nutty richness that complements the pumpkin and spices beautifully. Browning the butter involves melting it over medium heat until it turns a golden brown color and develops a fragrant aroma. This step is essential for elevating the cookies from good to extraordinary.
Spices: Cinnamon, Nutmeg, and Ginger
The aromatic trio of cinnamon, nutmeg, and ginger is what truly sets these cookies apart. Each spice contributes its own unique flavor profile:
– Cinnamon brings warmth and sweetness, enhancing the overall flavor of the cookie.
– Nutmeg adds a subtle earthiness with its slightly sweet and nutty notes, providing depth.
– Ginger introduces a zesty kick that balances the sweetness of the sugars and pumpkin.
These spices not only create a tantalizing aroma while baking but also evoke the essence of fall, making each bite a comforting experience.
Fresh Ingredients for Optimal Flavor
When it comes to baking, freshness matters. Using fresh spices and high-quality ingredients will significantly affect the flavor and texture of your cookies. For the best results, ensure your baking ingredients are fresh and stored properly. This attention to detail will elevate your Pumpkin Paradise Cookies, ensuring they are bursting with flavor.
Preparation and Cooking Techniques
Creating the perfect Pumpkin Paradise Cookies involves careful preparation and a few essential cooking techniques. Here’s a step-by-step breakdown of the process to help you achieve cookie perfection.
Precise Measurements and Ingredient Temperatures
Baking is a science, and precise measurements are crucial for success. Ensure you have a reliable kitchen scale or measuring cups and spoons to accurately measure your ingredients. Additionally, allow your butter and eggs to come to room temperature before mixing; this will help create a smooth batter and ensure even baking.
Preheating the Oven
Preheating your oven is a vital step in baking. It ensures that the cookies bake evenly and achieve the desired texture. Preheat your oven to the temperature specified in the recipe, ideally at least 15 minutes before you plan to bake. This way, your cookies will start cooking immediately once you place them in, resulting in a perfect rise and spread.
Browning the Butter
Browning the butter is a technique that enhances the flavor of your cookies. To brown the butter, place it in a saucepan over medium heat. Stir frequently until it melts, then watch closely as it begins to foam. After a few minutes, the butter will turn a golden brown color and develop a nutty aroma. Remove it from the heat promptly to prevent burning, and let it cool slightly before using it in your dough. This step not only adds depth to the flavor but also contributes to the cookies’ overall richness.
Mixing Wet and Dry Ingredients
When combining your ingredients, it is essential to do so in the right order. Start by creaming the browned butter with the sugars until light and fluffy. This process incorporates air into the mixture, leading to a lighter cookie. Next, add the canned pumpkin and eggs, mixing until well combined. In a separate bowl, whisk together the dry ingredients, including flour, baking soda, and spices. Gradually add the dry mixture to the wet ingredients, stirring until just combined. Be careful not to overmix, as this can lead to tough cookies.
Baking Tips
Knowing when your cookies are perfectly baked can be tricky. Look for visual cues: the edges should be set and slightly golden, while the centers may still appear soft. Allow the cookies to cool on the baking sheet for a few minutes before transferring them to a wire rack to cool completely. This resting period will help them firm up without becoming dry.
The Alluring Brown Butter Frosting
To take your Pumpkin Paradise Cookies to the next level, consider topping them with brown butter frosting. This decadent frosting is made by browning butter, then mixing it with powdered sugar, milk, and vanilla extract until smooth and creamy. The flavor profile of brown butter frosting mirrors that of the cookies, creating a delightful harmony between the two. Its rich, nutty sweetness complements the warm spices of the cookies, making each bite a truly indulgent experience.
—
By mastering these initial steps and understanding the foundational ingredients, you are well on your way to creating your own batch of Pumpkin Paradise Cookies. The combination of flavors and textures, paired with the warmth of the spices and the richness of the brown butter, will undoubtedly make this recipe a seasonal favorite. Stay tuned for the next part, where we will delve deeper into the frosting technique and other tips to elevate your baking experience.
Step-by-Step Guide to Making the Frosting
To elevate your Pumpkin Paradise Cookies, a delicious frosting is essential. This step-by-step guide will help you create a creamy, flavorful frosting that perfectly complements the spiced pumpkin flavor.
Ingredients for the Frosting:
– 1 cup unsalted butter, softened to room temperature
– 4 cups powdered sugar
– 1 teaspoon vanilla extract
– 2-4 tablespoons milk (adjust for consistency)
– A pinch of salt
Instructions:
1. Prepare the Butter: Ensure your butter is at the right temperature. It should be soft but not melted. Leave it out for about 30 minutes prior to starting. This is crucial as it allows the butter to cream beautifully, resulting in a light and airy frosting.
2. Cream the Butter: In a large mixing bowl, use an electric mixer to beat the softened butter on medium speed until it is light and fluffy, about 2-3 minutes.
3. Incorporate Powdered Sugar: Gradually add the powdered sugar, one cup at a time. Mix on low speed initially to avoid a sugar cloud, then increase to medium speed. The frosting will become thick and creamy.
4. Add Flavor and Consistency: Once all the powdered sugar is mixed in, add the vanilla extract and a pinch of salt. Begin adding the milk, one tablespoon at a time, mixing well after each addition until you reach your desired consistency. The frosting should be spreadable but not too runny.
5. Variations: For a twist on the classic frosting, consider adding spices like cinnamon or nutmeg, or extracts like almond or maple. A tablespoon of cocoa powder can transform your frosting into a chocolate delight. Mix these in after adding the vanilla for an extra layer of flavor.
Importance of the Right Butter Temperature
Using butter at the right temperature is vital for achieving the perfect frosting. If the butter is too cold, it won’t blend well with the powdered sugar, resulting in a lumpy texture. If it’s too warm, the frosting will be too soft and might not hold its shape. Properly softened butter helps create air pockets during mixing, leading to a fluffy and creamy consistency that spreads beautifully on your cookies.
Achieving the Desired Consistency with Powdered Sugar and Milk
The consistency of your frosting can make or break your cookie experience. If your frosting is too thick, it can be difficult to spread; too runny, and it may slide off your cookies. Start with the recommended amount of milk, adding more as needed. A good rule of thumb is to aim for a consistency similar to that of peanut butter—thick yet spreadable. Remember, you can always add more powdered sugar if it becomes too runny, so it’s better to err on the side of caution.
Suggestions for Variations in Frosting Flavors
– Spiced Frosting: Add 1 teaspoon of pumpkin pie spice to the frosting for an extra kick of fall flavor.
– Maple Frosting: Substitute half of the vanilla extract with maple extract for a warm, sweet flavor that pairs beautifully with pumpkin cookies.
– Chocolate Frosting: For a decadent chocolate frosting, mix in 1/2 cup of cocoa powder and adjust the milk accordingly to achieve the right consistency.
– Citrus Zest: Adding lemon or orange zest can create a refreshing contrast to the sweetness of the cookies.
Serving and Presentation Ideas
Once your Pumpkin Paradise Cookies are frosted, it’s time to think about presentation. Here are some creative ways to display your delicious treats:
Creative Ways to Display the Cookies
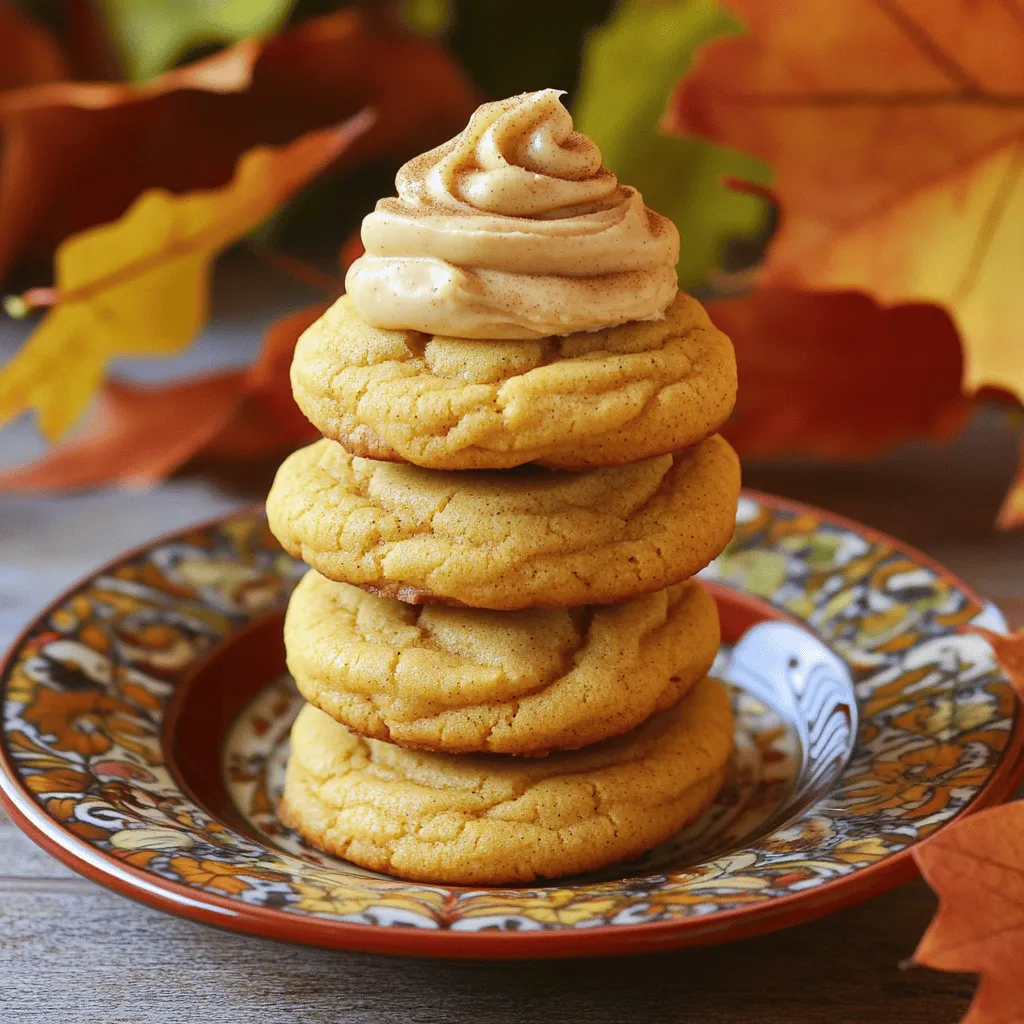
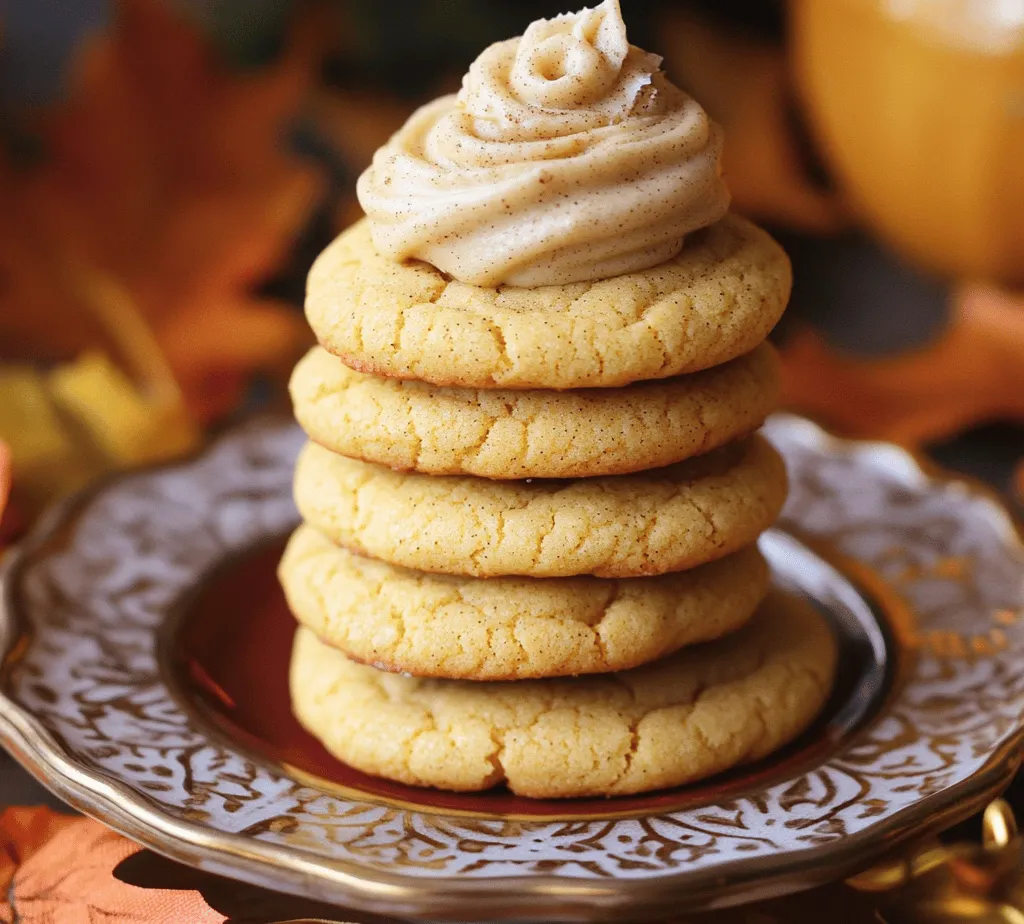
1. Decorative Plates: Stack your cookies on decorative plates that embody the fall theme. Consider using plates in rich autumn colors like orange, brown, and gold.
2. Fall-Themed Garnishes: Surround the cookies with fall-themed garnishes such as miniature pumpkins, colorful leaves, or even a sprinkle of cinnamon sticks.
3. Drizzle Technique: For added visual appeal, use a fork to drizzle a contrasting frosting or chocolate over the top of the cookies. This technique not only enhances presentation but also adds a delightful extra layer of flavor.
Pairing Suggestions
Pair your Pumpkin Paradise Cookies with beverages that complement their flavors. Here are a few ideas:
– Coffee: A warm cup of spiced coffee or a latte can enhance the cozy feeling of enjoying these cookies.
– Tea: Chai tea or herbal teas with hints of cinnamon or ginger can be lovely companions.
– Milk: A classic choice, milk balances out the sweetness of the cookies and complements the pumpkin flavor.
Nutritional Information
Understanding the nutritional value of your Pumpkin Paradise Cookies can help you enjoy them as part of a balanced diet. Here’s a breakdown of their nutritional benefits:
Nutritional Breakdown
– Calories: Approximately 150 calories per cookie (depending on size and frosting).
– Fat: Contains healthy fats from butter; about 7 grams per cookie.
– Carbohydrates: Roughly 20 grams, mainly from the pumpkin and sugar.
– Fiber: Thanks to the pumpkin, each cookie can provide about 1 gram of dietary fiber.
Portion Sizes and Serving Suggestions
When enjoying Pumpkin Paradise Cookies, moderation is key. Consider serving them as part of a dessert platter during gatherings or alongside fruit for a healthier balance. For a special occasion, you could present them in smaller sizes to allow guests to sample a variety of desserts.
Fitting into a Balanced Diet
These cookies can be enjoyed as an occasional treat. They provide a taste of the fall season while incorporating pumpkin, which is rich in vitamins A and C, fiber, and antioxidants. When paired with nutritious foods, they can fit into a balanced diet, making your fall gatherings both delicious and health-conscious.
Perfect Occasions for Pumpkin Paradise Cookies
Pumpkin Paradise Cookies are versatile and perfect for various occasions throughout the fall season. Here are some festive ideas:
Seasonal Festivities
– Halloween: Delight trick-or-treaters with these cookies or serve them at a spooky-themed party.
– Thanksgiving: Offer them as a dessert alongside traditional pies, or include them in a dessert table spread.
– Fall Gatherings: Perfect for potlucks, family reunions, or any autumn gathering, these cookies are sure to be a hit.
Gifting Cookies
Consider packaging your cookies beautifully as gifts for friends and family. Place them in decorative boxes or tins, and tie them with twine or ribbons for a personal touch. This creates a thoughtful gift for teachers, neighbors, or as a hostess gift.
Versatility for Occasions
Whether casual or formal, Pumpkin Paradise Cookies can fit any setting. Their charming appearance and delicious taste make them suitable for everything from a cozy family night to a more sophisticated gathering.
Conclusion
In conclusion, making and enjoying Pumpkin Paradise Cookies is a delightful experience that captures the essence of the fall season. The process of baking fills your kitchen with the warm scents of pumpkin and spices, creating a cozy atmosphere perfect for sharing with loved ones.
Not only do these cookies offer a delicious treat, but they also present an opportunity to explore the joys of baking and creativity in the kitchen. As you frost, present, and serve your cookies, remember the joy of sharing these seasonal delights with those around you.
Encourage your friends and family to dive into the world of pumpkin-based recipes, enriching their seasonal experiences and perhaps starting a new tradition. So gather your ingredients, preheat that oven, and let the Pumpkin Paradise Cookies bring warmth, flavor, and a touch of joy into your fall celebrations.