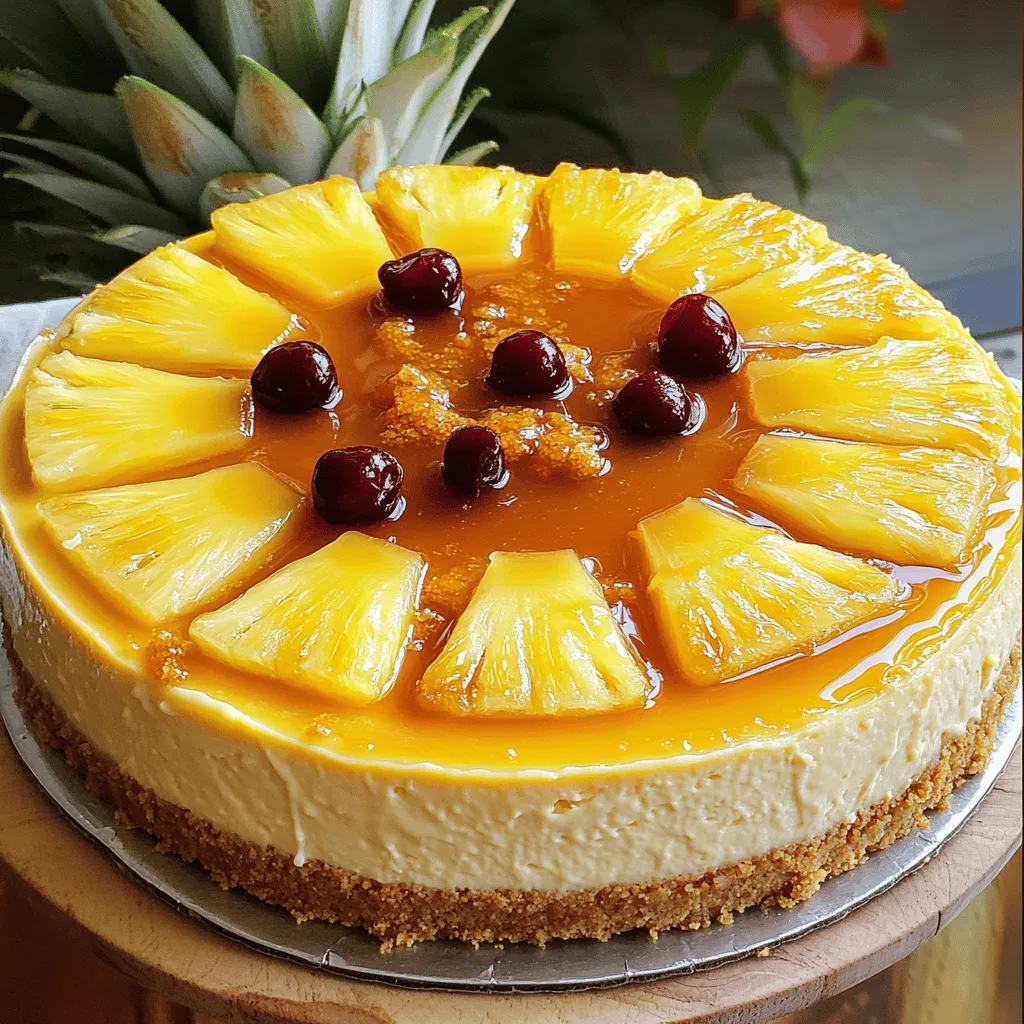
Are you ready to indulge in an amazing dessert? This Pineapple Upside-Down Cheesecake with Caramelized Pineapple combines the best of both worlds! In this post, I’ll guide you through every step—from the ingredients to tips for the perfect creamy texture. You’ll impress your family and friends with this show-stopping treat. Let’s dive in and make your kitchen the place for sweet delights!
Ingredients
Here’s what you need to make this delightful cheesecake:
– 1 cup graham cracker crumbs
– 1/4 cup unsalted butter, melted
– 1 tablespoon sugar
– 8 oz cream cheese, softened
– 1/2 cup sugar
– 1 teaspoon vanilla extract
– 2 large eggs
– 1 cup sour cream
– 1/4 cup crushed pineapple, drained
– 1 cup fresh pineapple, sliced (for topping)
– 1/2 cup brown sugar
– 1/4 cup unsalted butter (for caramelizing)
– Maraschino cherries (for garnish, optional)
Each ingredient plays a key role in building flavor and texture. The graham cracker crumbs create a nice crust. The cream cheese gives the cheesecake its rich taste. The fresh pineapple adds a juicy burst, and the caramelized topping offers sweetness and a beautiful look. Don’t skip the maraschino cherries if you want to add a fun touch.Enjoy cooking!
Step-by-Step Instructions
Preparing the Crust
To start, gather your graham cracker crumbs, melted butter, and sugar. In a medium bowl, mix these three together. You want the crumbs to be well-coated with butter. This helps the crust hold together. Once mixed, take a 9-inch springform pan and press the crumb mix firmly into the bottom. Make sure it’s even and compact. This will give you a sturdy base for your cheesecake.
Making the Cheesecake Filling
Next, let’s focus on the filling. In a large bowl, beat the softened cream cheese. Use a hand mixer for the best results. Mix until it looks smooth and creamy. Gradually add the sugar and vanilla extract. Continue mixing until it is well blended. Now, add the eggs one at a time. Mix on low speed to avoid overmixing. Overmixing can make the cheesecake dense. After that, gently fold in the sour cream and crushed pineapple. Make sure everything is blended well.
Baking and Cooling Process
Now, it’s time to bake! Pour the cheesecake filling over your crust. Bake in a preheated oven at 325°F (160°C) for about 50 to 60 minutes. The center should set but still jiggle a little. Once baked, turn off the oven and leave the cheesecake inside for an hour. This gradual cooling helps prevent cracks. After an hour, take it out and let it cool on the counter. Refrigerate for at least four hours, or overnight for the best flavor.
Tips & Tricks
Perfecting the Cheesecake Texture
To get a creamy cheesecake, start with soft cream cheese. I let mine sit at room temperature for a bit. Mix slowly when adding eggs. This keeps air out, which helps avoid cracks. After baking, let the cake cool gradually in the oven. This step is key for a smooth texture and prevents sudden temperature changes that can cause cracks.
Caramelizing the Pineapple
The best way to caramelize pineapple is to use a skillet. Melt unsalted butter over medium heat. Add brown sugar, stirring until it melts. Then, add your fresh pineapple slices. Keep an eye on them, turning occasionally. About 4 to 5 minutes should get them golden and sweet. Timing is important. You want that beautiful golden color, not burnt edges!
Serving Suggestions
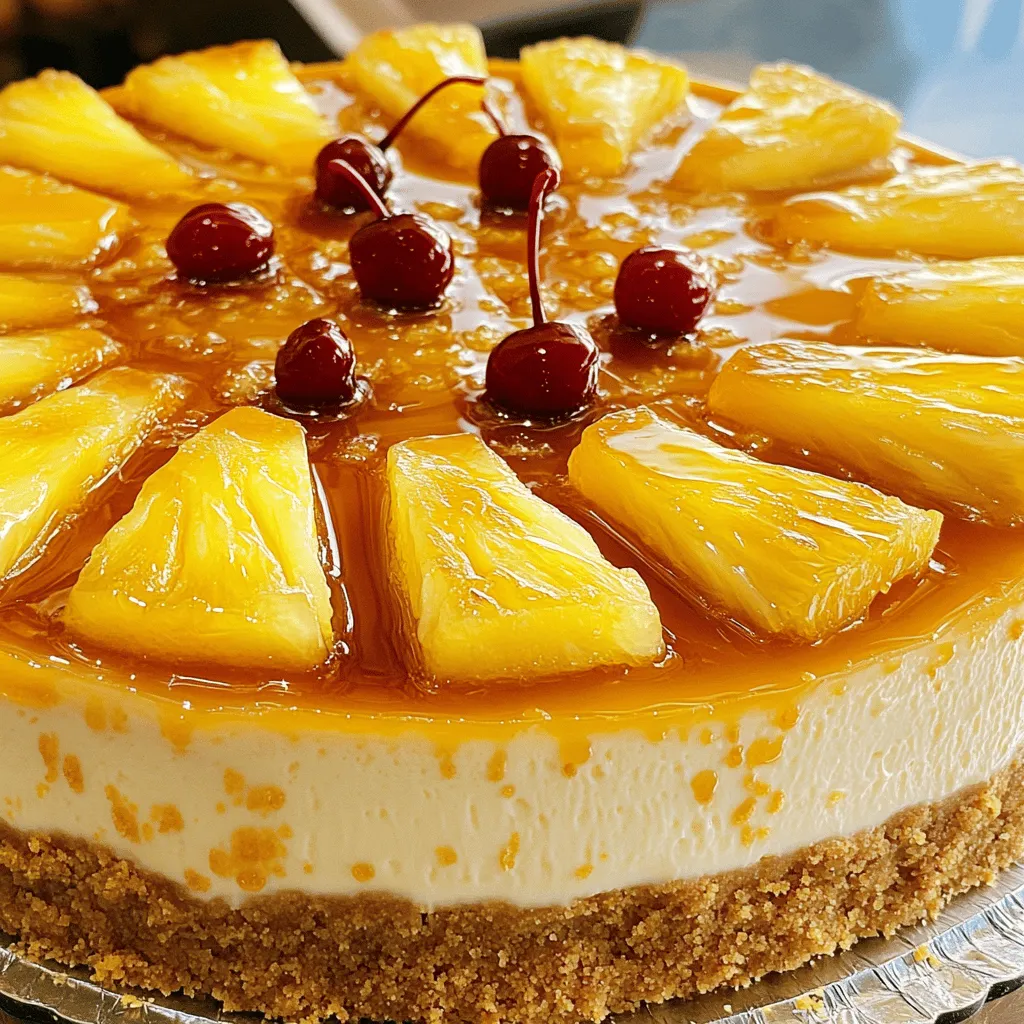
For a delightful finish, serve with whipped cream or a drizzle of caramel sauce. It adds richness that pairs well with the cheesecake. When plating, arrange the caramelized pineapple slices neatly on top. A maraschino cherry adds a fun touch. Drizzle some of the leftover caramel sauce over each slice for a beautiful presentation. This makes each serving look as tasty as it is!
Variations
Flavor Alternatives
You can change up the flavors in your Pineapple Upside-Down Cheesecake easily. Try adding mango for a tropical twist, or mix in coconut to give it a creamy texture. These fruits blend well with the creamy cheesecake base. You can also use a cookie crust instead of the standard graham cracker crust. An almond crust adds a nutty flavor that pairs nicely with the pineapple.
Dietary Adjustments
If you need a gluten-free option, swap the graham cracker crumbs with gluten-free crumbs. You can find these in stores or make your own from gluten-free cookies. For dairy-free needs, use non-dairy cream cheese. It works well in the recipe and ensures a similar creamy texture. With these easy swaps, everyone can enjoy this delightful dessert.
Storage Info
Best Storage Practices
After you make the cheesecake, let it cool completely. Wrap it well in plastic wrap or cover it with a lid. Store it in the fridge. This keeps it fresh and tasty. If you want to freeze it, slice the cheesecake first. Wrap each slice tightly in plastic wrap. Then, place the slices in a freezer bag. Remove as much air as possible. This helps keep the cheesecake from getting freezer burn.
Shelf Life
The cheesecake lasts about five days in the fridge. Be sure to check for signs of spoilage. Look for any changes in color or texture. If it smells off or has mold, it is best to throw it away. For frozen cheesecake, it can last up to three months. Just remember to check for quality when you thaw it. If it looks or smells strange, do not eat it.
FAQs
Can I make the cheesecake ahead of time?
Yes, you can make the cheesecake ahead of time. I often prepare it a day before serving. It needs time to chill. This helps the flavors blend well. After baking, let it cool completely. Then, refrigerate it for at least four hours. Overnight is even better. You will enjoy a richer flavor and better texture. Just remember to top it with caramelized pineapple before serving for the best taste.
How can I ensure my cheesecake doesn’t crack?
Cracking can happen, but you can prevent it. Here are some tips:
– Mix ingredients gently. Overmixing adds air and can cause cracks.
– Bake at a low temperature. This helps cook evenly and reduces cracks.
– Use a water bath. Place the springform pan in a larger pan filled with water. This keeps the heat gentle.
– Cool gradually in the oven. Turn off the oven and leave the cheesecake inside for an hour. This helps avoid sudden temperature changes.
What variations can I try with toppings?
You can get creative with toppings! Here are some fun ideas:
– Use fresh berries like strawberries or blueberries for a fruity twist.
– Try a layer of chocolate ganache for a rich chocolate flavor.
– Add toasted coconut flakes for a tropical touch.
– Consider a drizzle of caramel or chocolate sauce for extra sweetness.
Feel free to mix and match these toppings. Each option adds a unique taste to your cheesecake.
You now have all the steps and tips to create a delicious cheesecake. From choosing the right ingredients to perfecting the texture, each part matters. Remember to focus on cooling and storage to keep it fresh. Explore flavor variations and dietary adjustments to suit your taste and needs. With practice, you’ll master this dessert and impress others. Enjoy your cheesecake, share it with loved ones, and celebrate your baking success!