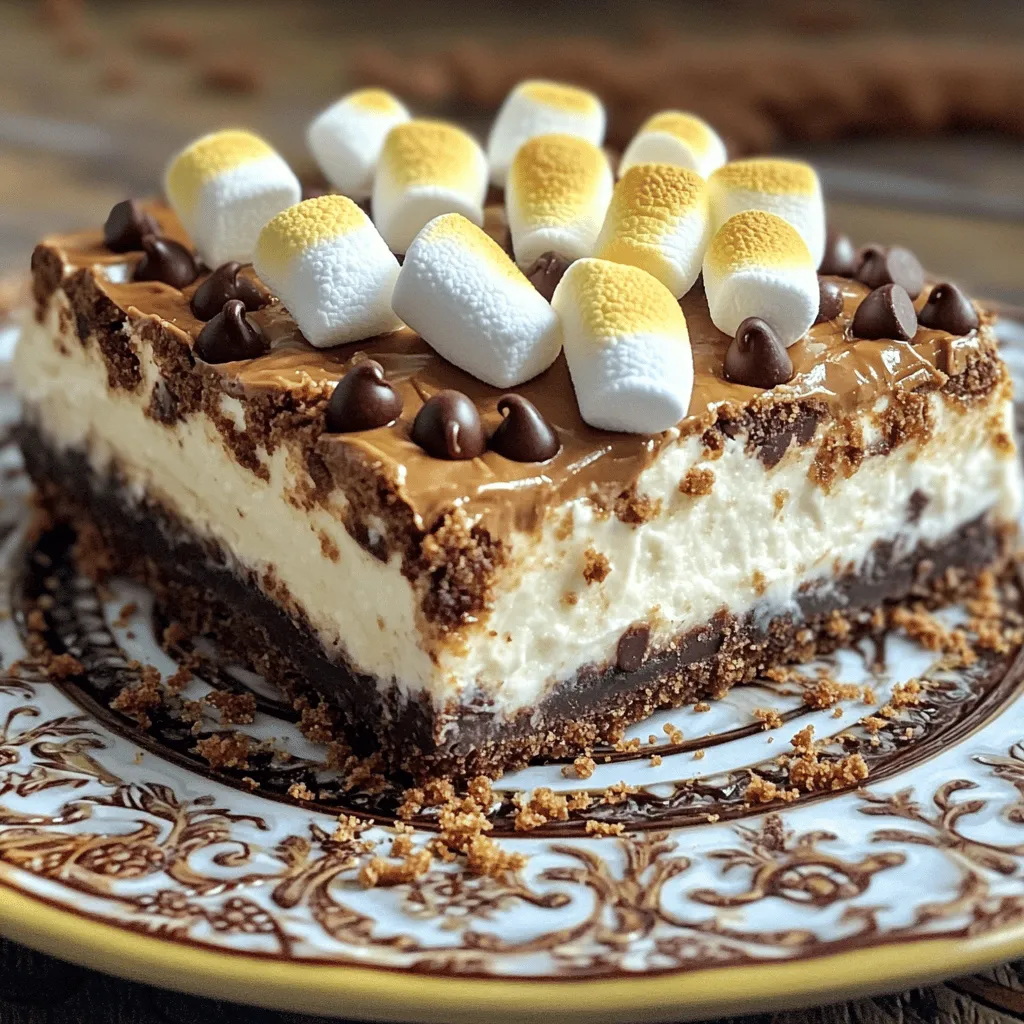
Craving a sweet treat that’s easy and fun? You’ll love these No-Bake S’mores Cheesecake Bars! They are creamy, crunchy, and pack all the classic s’mores flavor. In just a few steps, you can whip up this tasty delight without turning on the oven. Whether for a party or a cozy night in, this recipe will wow your friends and family. Ready to dive into sweetness? Let’s get started!
Ingredients
Main Ingredients
– 1 ½ cups graham cracker crumbs
– ½ cup unsweetened cocoa powder
– ½ cup unsalted butter, melted
– 2 tablespoons granulated sugar
– 1 (8 oz) package cream cheese, softened
– 1 cup powdered sugar
– 1 teaspoon vanilla extract
– 1 cup heavy cream, cold
– 1 cup mini marshmallows
– ½ cup chocolate chips
The first step in making these no-bake s’mores cheesecake bars is gathering your main ingredients. You need graham cracker crumbs, cocoa powder, and unsalted butter for a tasty crust. Mix these with granulated sugar for sweetness.
For the filling, you will need cream cheese, powdered sugar, and vanilla extract. These provide a creamy texture and flavor. Then, whip up some heavy cream to add lightness. Mini marshmallows and chocolate chips bring in that classic s’mores taste.
Optional Toppings
– additional mini marshmallows
– extra chocolate chips
– graham cracker crumbs for garnish
Once you finish your bars, you can top them with even more goodies! Add extra mini marshmallows and chocolate chips for a fun look. Sprinkling graham cracker crumbs on top adds texture too. These toppings make your bars more appealing and delicious.
Step-by-Step Instructions
Preparing the Crust
– Combine 1 ½ cups of graham cracker crumbs, ½ cup of cocoa powder, ½ cup of melted unsalted butter, and 2 tablespoons of granulated sugar in a bowl.
– Mix until the mixture is crumbly and well combined.
– Press this crumb mixture firmly into the bottom of an 8×8 inch baking dish to form the crust.
– Refrigerate the crust for about 30 minutes to set.
Making the Cheesecake Filling
– In a large bowl, beat 1 (8 oz) package of softened cream cheese with a hand mixer until smooth.
– Gradually add in 1 cup of powdered sugar and 1 teaspoon of vanilla extract, mixing until everything is well integrated.
– In another bowl, whip 1 cup of cold heavy cream until stiff peaks form.
– Gently fold the whipped cream into the cream cheese mixture until fully combined.
Assembling the Bars
– Remove the crust from the refrigerator and spread half of the cheesecake mixture on top.
– Sprinkle 1 cup of mini marshmallows and ½ cup of chocolate chips evenly over this layer.
– Add the second half of the cheesecake mixture on top and spread it evenly.
Chilling and Serving
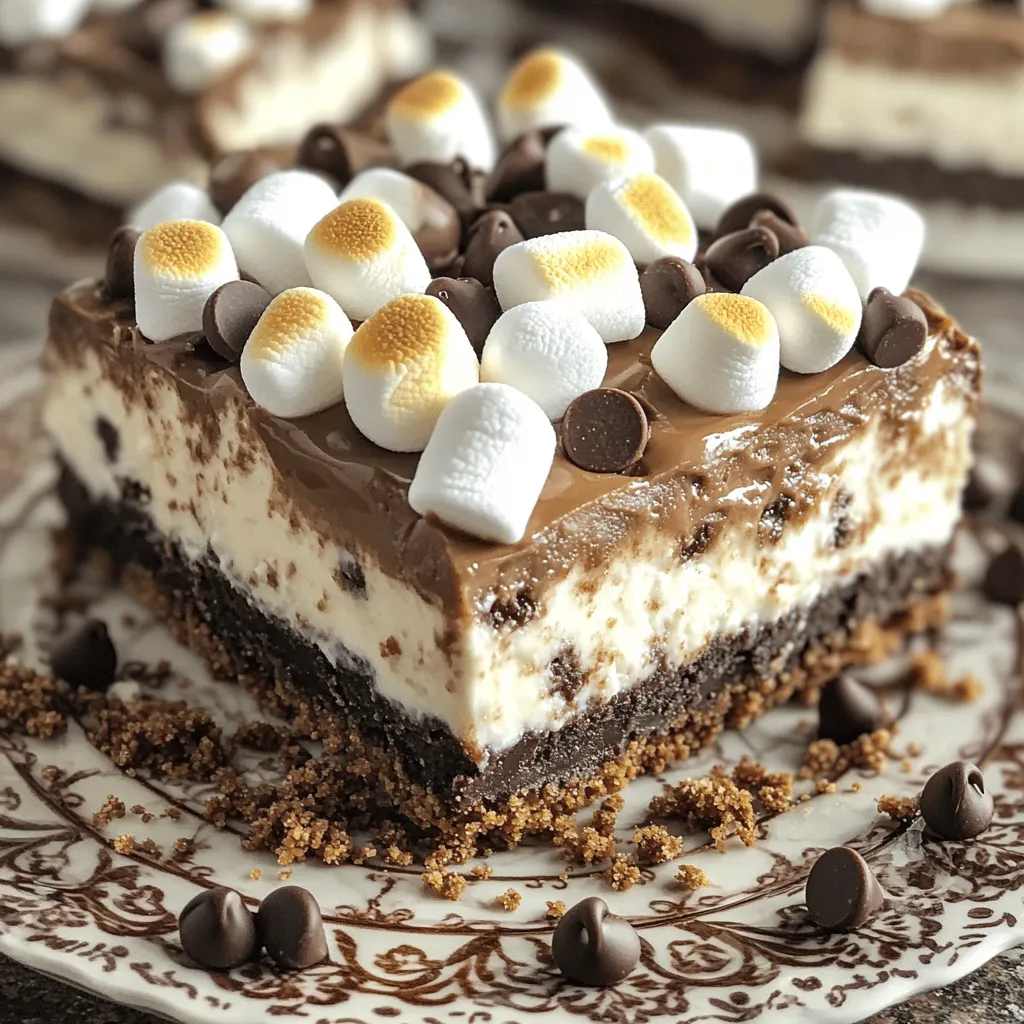
– Top with the remaining ½ cup of mini marshmallows, pressing them down slightly.
– Chill the entire dish in the refrigerator for at least 4 hours or until set.
– Once set, cut into bars and serve. For a fun twist, use a kitchen torch to lightly toast the top marshmallows before serving.
Tips & Tricks
Ensuring the Perfect Consistency
– Tips for whipping heavy cream: Start with cold heavy cream. Use a clean bowl and beaters. Whip on medium speed. Stop when stiff peaks form. This creates a light and airy texture.
– How to achieve a smooth cream cheese mixture: Soften cream cheese at room temperature. Beat with a hand mixer until creamy. Gradually add powdered sugar and vanilla. Mix until fully combined and smooth.
Using a Kitchen Torch
– Best practices for toasting marshmallows: Use a kitchen torch for even toasting. Hold it about 2 inches from the marshmallows. Move in a circular motion for uniform color. Toast until golden brown for the best flavor.
– Safety tips for using a kitchen torch: Always use the torch away from flammable items. Keep a fire extinguisher nearby. Make sure your hands are steady when using the flame. Follow the manufacturer’s guidelines for safe use.
Serving Suggestions
– Presentation ideas for serving: Serve each bar on decorative plates. Sprinkle extra chocolate chips or graham cracker crumbs around. Place a single toasted mini marshmallow on top for flair.
– Pairing with drinks or other desserts: Serve with cold milk, hot cocoa, or coffee. These bars also go well with light fruit salads or vanilla ice cream. This adds contrast to the sweet and rich flavor of the bars.
Variations
Flavor Variations
You can change the flavor of your No-Bake S’mores Cheesecake Bars easily. Adding peanut butter to the filling gives a rich twist. Just mix in half a cup of smooth peanut butter when you blend the cream cheese. It tastes great with the chocolate and marshmallows.
Another fun idea is to swap chocolate chips for butterscotch chips. This gives a sweet and buttery taste. Just replace the chocolate chips with butterscotch in the recipe. Your bars will have a new exciting flavor that everyone will love.
Dietary Adjustments
If you need gluten-free bars, use gluten-free graham cracker crumbs. You can find these at most stores. They work just as well in the crust, keeping the tasty texture.
For a dairy-free option, look for non-dairy cream cheese and heavy cream. Brands like Tofutti and Silk offer great choices. You can still enjoy the creamy filling without dairy. The taste remains delicious and satisfying.
Alternative Serving Styles
You can serve these bars in different ways. Convert them into No-Bake S’mores Cheesecake Cups. Just layer the crust and filling in small cups. This makes a fun treat for parties or gatherings.
Another idea is to use the filling in a layered dessert. Alternate layers of cheesecake filling and toppings in a big dish. This way, everyone can scoop their own portion. It’s a great way to share the joy of S’mores in a new style.
Storage Info
Long-term Storage
To keep your No-Bake S’mores Cheesecake Bars fresh, store them in the fridge. Place the bars in an airtight container. They will last for about five days. If you have more leftovers, freeze them for longer storage. Wrap each bar tightly in plastic wrap. Then, place the wrapped bars in a freezer-safe bag. They can stay frozen for up to three months.
Best Way to Serve After Storage
When you’re ready to enjoy your frozen bars, you need to thaw them first. Take them out of the freezer and let them sit in the fridge overnight. This will make them soft and easy to slice. If you want to add some flair, you can reassemble or garnish after storage. Top with extra mini marshmallows or a drizzle of chocolate. For a fun twist, use a kitchen torch to toast the marshmallows before serving. This adds a warm, campfire flavor to each bite.
FAQs
Can I make these bars ahead of time?
Yes, you can make these bars ahead of time. They keep well in the fridge for up to five days. Make sure to cover them tightly to keep them fresh. This makes them a great treat for parties or gatherings.
What can I substitute for heavy cream?
If you want a lighter version, you can use coconut cream or almond milk. Both options work well and still give a nice texture. Coconut cream adds a subtle flavor while almond milk keeps it light.
Are there any common mistakes to avoid?
One common mistake is overmixing the cream cheese. This can make the filling too runny. Also, be sure to fold in the whipped cream gently to keep it fluffy. Finally, don’t skip chilling the bars long enough. This step is key for a perfect set.
Can I use flavored marshmallows or chocolates?
Absolutely! Using flavored marshmallows, like strawberry or mint, can add fun twists. You can also swap regular chocolate chips for white or butterscotch chips. Experimenting with flavors can make your bars unique and exciting!
You learned how to make delicious no-bake s’mores cheesecake bars. We covered main ingredients, step-by-step instructions, and storage info. Plus, I shared tips for perfect results and fun flavor variations.
Making these bars is easy and fun. You can enjoy them as a sweet treat or impress guests. Remember, the key lies in chilling and enjoying with friends. I hope you try out this recipe and make it your own!