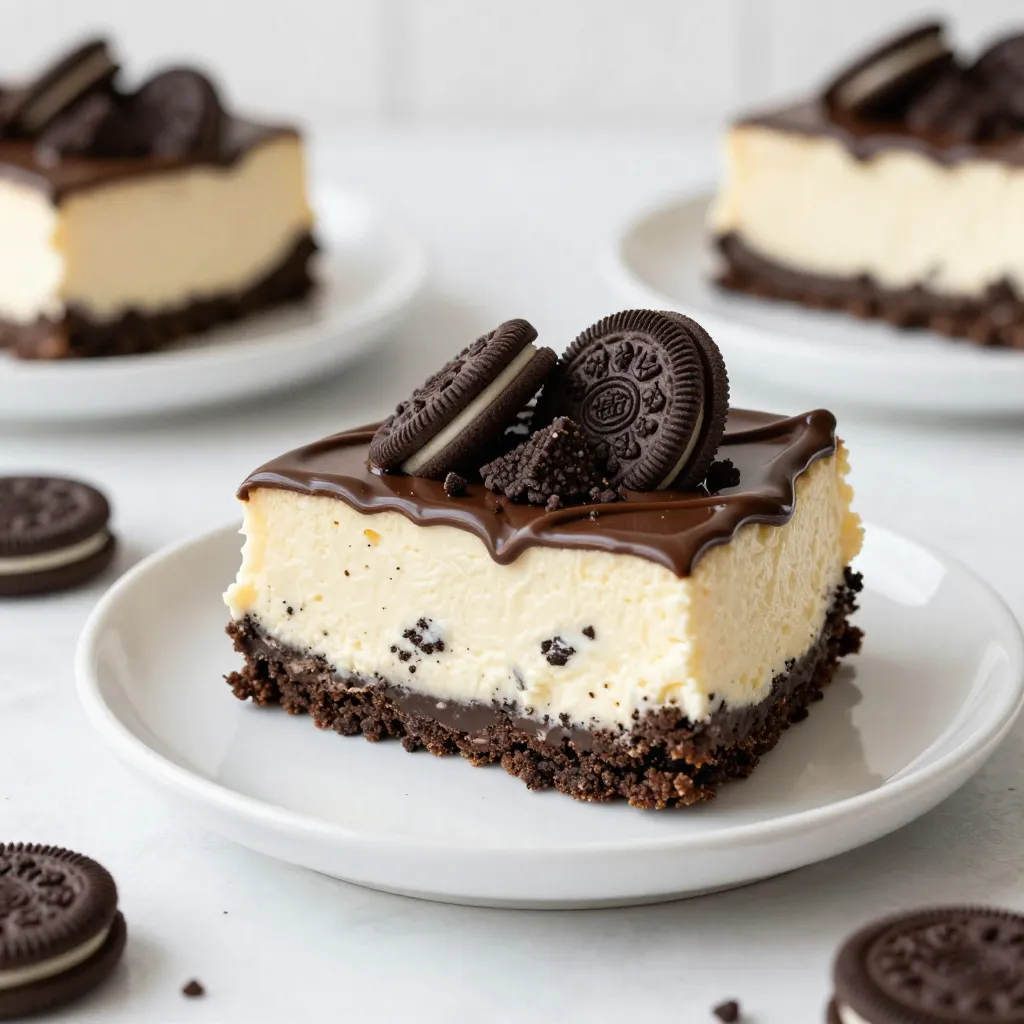
Craving a sweet treat that’s easy to make? No-Bake Oreo Cheesecake Bars hit the spot! These creamy, rich bars blend your favorite cookies with a delightful cheesecake filling. Perfect for gatherings or a quick snack, they are a hit with everyone. In this post, I’ll guide you through simple steps, must-have ingredients, and tips to impress your friends and family. Let’s dive into this delicious dessert adventure!
Why I Love This Recipe
- Decadent Flavor: This cheesecake bars combine the rich, chocolatey flavor of Oreos with creamy cheesecake, making every bite a delight.
- Easy to Make: With simple ingredients and straightforward steps, this recipe is perfect for even novice bakers.
- Perfect for Sharing: These bars are easy to slice and serve, making them a great treat for parties, potlucks, or family gatherings.
- Customizable Toppings: Add your favorite toppings like chocolate sauce or extra Oreos to make these bars uniquely yours.
Ingredients
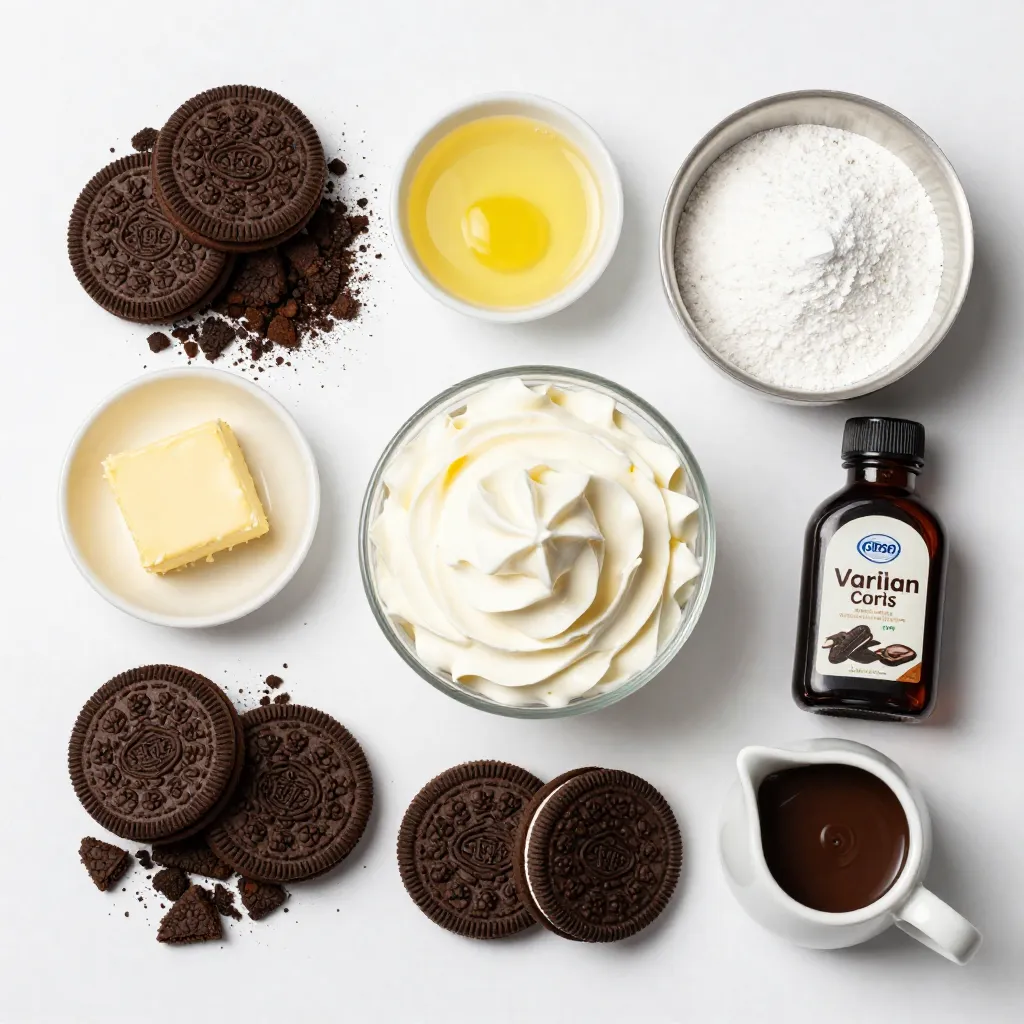
List of Ingredients for No-Bake Oreo Cheesecake Bars
– 24 Oreo cookies, crushed
– 1/4 cup butter, melted
– 16 oz cream cheese, softened
– 1/2 cup powdered sugar
– 1/2 teaspoon vanilla extract
– 1 cup heavy whipping cream
– 10 Oreo cookies, chopped (for topping)
– Chocolate sauce (optional, for drizzling)
Key Ingredients Explained
Oreo cookies form the base and give great flavor. We crush them to make a tasty crust. The butter helps hold the crust together. Cream cheese is the star of our filling. It adds smoothness and richness. Powdered sugar sweetens the filling without grittiness. Vanilla extract adds a warm, sweet note. Heavy whipping cream makes the cheesecake light and fluffy. Chopped Oreo cookies on top add crunch and more chocolate flavor.
Optional Ingredients for Customization
You can add a drizzle of chocolate sauce for extra sweetness. If you prefer a different look, try adding caramel sauce instead. Want a minty twist? Use mint-flavored Oreos in the crust. You can also mix in some fruit, like berries, for a fresh taste.
Step-by-Step Instructions
Detailed Preparation Steps
To start, gather your ingredients. First, crush 24 Oreo cookies into fine crumbs. You can use a food processor or place them in a bag and crush them with a rolling pin. Next, combine the crushed cookies with 1/4 cup of melted butter in a bowl. Mix until everything is well blended.
Now, press this mixture into the bottom of a 9×9-inch baking dish. Use a flat surface, like a measuring cup, to pack it down tightly. This will form your crust. Place the dish in the refrigerator to chill while you make the filling.
In another bowl, beat 16 ounces of softened cream cheese until smooth. Slowly add in 1/2 cup of powdered sugar and 1/2 teaspoon of vanilla extract. Keep mixing until the mixture is creamy and fluffy.
In a separate bowl, whip 1 cup of heavy whipping cream. Use a hand mixer or stand mixer for this. Whip until stiff peaks form. This step is key for a light texture. Gently fold the whipped cream into the cream cheese mixture. Do this slowly so you don’t deflate the whipped cream.
Next, fold in 10 chopped Oreo cookies into the cheesecake filling. Pour this mixture over your chilled crust. Spread it evenly with a spatula.
Cover the dish with plastic wrap and place it back in the fridge. Let it chill for at least 4 hours, or until it sets nicely. After it sets, slice into bars and serve. You can drizzle chocolate sauce on top and add extra Oreo pieces for a fun finish.
How to Achieve the Perfect Crust
For a great crust, use fresh Oreo cookies. Crushing them well is important; you want fine crumbs. The melted butter helps bind the crumbs together. When you press the mixture into the dish, make sure it’s firm. A loose crust won’t hold up when you slice the bars. Refrigerating the crust before adding the filling also helps it stay in place.
Tips for Whipping Cream to Stiff Peaks
Whipping cream can be tricky. Start with cold heavy whipping cream for the best results. Use a clean bowl and beaters to avoid any grease. Begin at a low speed and gradually increase it. Watch closely as the cream thickens. When you see peaks that hold their shape, you’ve reached stiff peaks. Be careful not to over-whip, as this can turn it into butter.
Tips & Tricks
Common Mistakes to Avoid
When making No-Bake Oreo Cheesecake Bars, avoid overmixing the cream cheese. This can make your filling too runny. Another mistake is not chilling the crust enough. A warm crust can cause the filling to melt. Also, don’t skip the step of folding in the whipped cream gently. This keeps the bars light and fluffy. Lastly, let the cheesecake set for at least four hours. Cutting too soon can lead to messy bars.
How to Serve and Present Your Bars
To serve your bars, slice them neatly with a sharp knife. Wipe the knife after each cut for clean edges. You can place the bars on a nice platter. For a fun touch, add a drizzle of chocolate sauce over the top. Sprinkle extra chopped Oreos for a crunchy finish. For a festive look, use colorful plates or napkins. This makes your dessert stand out at parties or gatherings.
Enhancing Flavor with Additional Toppings
You can easily add more flavor to your bars. Try adding crushed mint Oreos for a fresh twist. You can also mix in some peanut butter for a rich taste. Consider adding fresh fruits like strawberries or raspberries on top. They add a pop of color and a tangy flavor. For a chocolate lover’s dream, use chocolate chips or shavings as a topping. These simple additions can elevate your cheesecake bars to a new level.
Pro Tips
- Chill the Cream Cheese: Make sure your cream cheese is softened at room temperature for easier mixing, but if you’re short on time, you can microwave it for about 10 seconds to soften it slightly.
- Whip the Cream Properly: Ensure your heavy whipping cream is very cold before whipping for the best volume and stability. A chilled bowl and beaters can also help achieve stiff peaks.
- Don’t Overmix: When folding the whipped cream into the cream cheese mixture, be gentle to maintain the light and airy texture of the cheesecake bars.
- Use Fresh Ingredients: For the best flavor and texture, use fresh cream cheese and heavy cream. This will enhance the overall taste of your cheesecake bars.
Variations
Different Flavor Options (e.g., Mint, Peanut Butter)
You can change the taste of these bars easily. For a mint flavor, add a few drops of mint extract to the cream cheese mix. This gives a fresh twist. If you love peanut butter, mix in 1/2 cup of creamy peanut butter. It adds richness and fun. You can even blend different flavors. Imagine a cookie dough or caramel version!
Gluten-Free or Dairy-Free Adaptations
Making these bars gluten-free is simple. Use gluten-free Oreo cookies for the crust. Just check the label to be sure. For a dairy-free option, swap the cream cheese with a dairy-free cream cheese. Use coconut cream instead of heavy whipping cream for a nice texture. These swaps let everyone enjoy the bars.
Creative Serving Suggestions
Serving these bars can be fun! Try cutting them into unique shapes with cookie cutters for a party. You can also layer them with fruits like strawberries or bananas for a fresh touch. Drizzling chocolate sauce or caramel on top makes them extra special. Serve them cold or at room temperature for the best taste.
Storage Info
Best Practices for Refrigeration
To keep your No-Bake Oreo Cheesecake Bars fresh, store them in the fridge. Use an airtight container. Cover the bars with plastic wrap if you don’t have a container. This will prevent them from drying out. Make sure to keep them on a flat surface. This helps them stay nice and neat.
How Long Do They Last?
These cheesecake bars will last for about a week in the fridge. After that, they may start to lose their texture. You can still eat them, but they won’t be as tasty. If you want them to last longer, freezing is a great option.
Freezing for Later Enjoyment
You can freeze these bars for up to three months. First, slice the bars and place them in a single layer on a baking sheet. Freeze them for about an hour. After that, wrap each piece in plastic wrap and place them in a freezer bag. Be sure to label the bag with the date. When you’re ready to enjoy them, simply thaw them in the fridge overnight.
FAQs
Can I make these bars ahead of time?
Yes, you can make these bars ahead of time. In fact, it helps the flavors blend better. I suggest making them a day before you want to serve them. Just keep them in the fridge. They stay fresh and tasty for up to five days.
What if I don’t have heavy whipping cream?
If you don’t have heavy whipping cream, you can use whipped topping. This gives a nice texture too. You can also try using half-and-half, but the bars may not be as fluffy. Another option is to whip cream cheese with milk to reach a similar texture.
How do I know when the cheesecake is set?
You can tell the cheesecake is set when it feels firm to the touch. It should not jiggle when you gently shake the dish. After about four hours in the fridge, check it. If it’s firm, you’re ready to slice and serve!
Is it possible to use other cookies for the crust?
Yes, you can use other cookies for the crust. Try chocolate cookies or even graham crackers. Just crush them the same way as the Oreos. This gives you a chance to mix flavors and create your own twist on the recipe!
In this article, we explored how to make No-Bake Oreo Cheesecake Bars. We covered ingredients, detailed steps, and tips for success. Customization options let you swap flavors and suit dietary needs. Remember, avoiding common mistakes ensures great results. Store them right for maximum freshness. Enjoy your creamy bars anytime, whether for a party or a quiet treat. With this guide, you’ll create delights that impress every tim