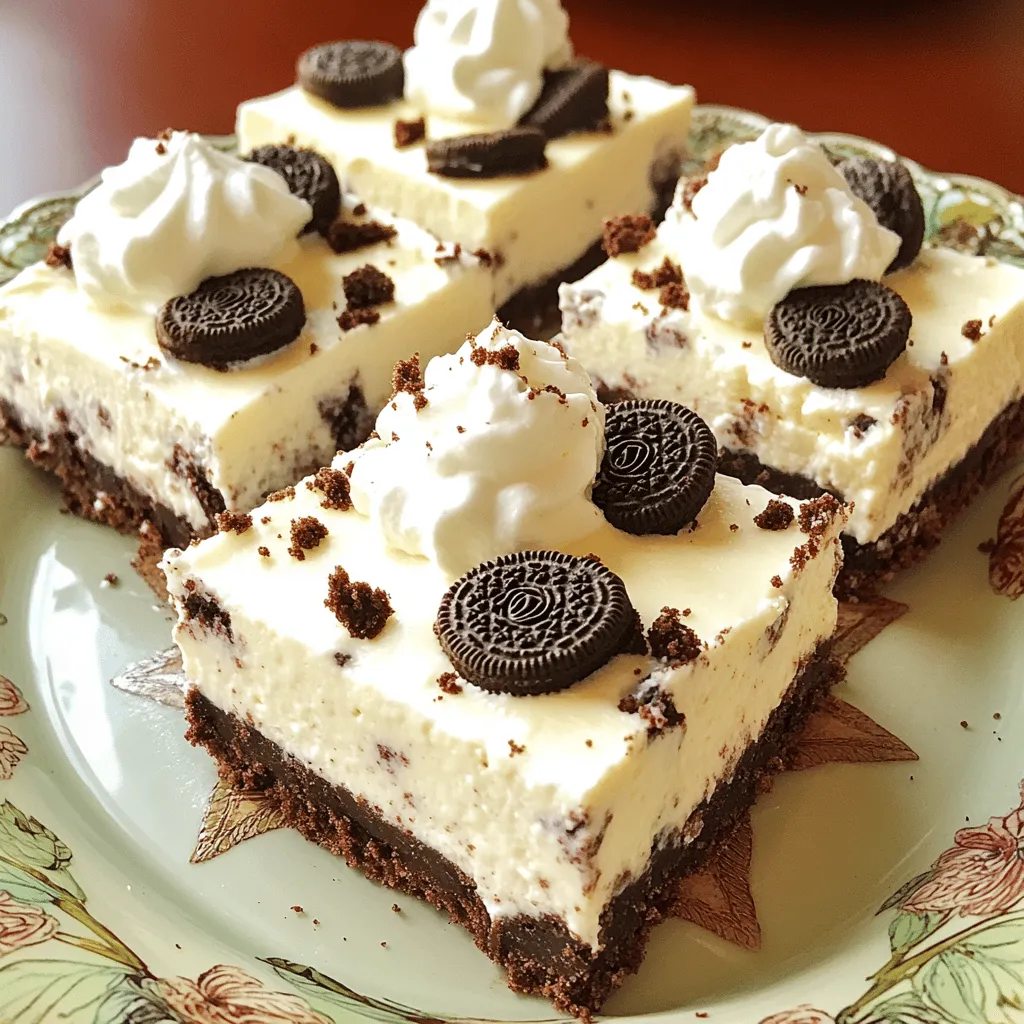
Craving a sweet, creamy treat that’s easy to make? These No-Bake Oreo Cheesecake Bars are just what you need! I’ll guide you through simple steps to whip up these delicious bars without turning on the oven. With just a few ingredients and no baking required, you’ll impress your friends and family. Let’s dive into the world of creamy, dreamy dessert perfection you can enjoy anytime!
Ingredients
Essential Ingredients for No-Bake Oreo Cheesecake Bars
To make these yummy no-bake Oreo cheesecake bars, gather these key ingredients:
– 24 Oreo cookies, crushed
– 1/4 cup unsalted butter, melted
– 16 oz cream cheese, softened
– 1 cup powdered sugar
– 1 teaspoon vanilla extract
– 1 cup heavy whipping cream
– 10 Oreo cookies, chopped (for mixing into the cheesecake)
– Additional Oreo crumbs or whole cookies for topping
These ingredients work together to create a rich and creamy dessert. The crushed Oreos form a crunchy crust that pairs perfectly with the smooth filling.
Recommended Brands and Variations of Ingredients
For the best results, I recommend using these brands:
– Oreo Cookies: Nabisco is the classic choice. They provide the best flavor and texture.
– Cream Cheese: Philadelphia cream cheese is my favorite. It is creamy and blends well.
– Powdered Sugar: Domino is a reliable brand for sweetness and smoothness.
– Heavy Whipping Cream: Land O’Lakes offers a high-fat cream that whips nicely.
You can try using flavored Oreos, like mint or peanut butter, for a fun twist.
Substitutes for Common Allergens
If you have allergies or dietary needs, here are some easy swaps:
– Gluten-Free: Use gluten-free Oreo cookies for the crust and filling.
– Dairy-Free: Substitute cream cheese with dairy-free cream cheese. Use coconut cream instead of heavy cream.
– Sugar-Free: Choose sugar-free Oreo cookies and powdered sugar alternatives for a lighter option.
These substitutes allow everyone to enjoy this tasty treat!
Step-by-Step Instructions
How to Prepare the Oreo Crust
To start, you need 24 Oreo cookies. Crush them in a bowl until they turn into fine crumbs. Add 1/4 cup of melted butter to the crumbs. Mix well until the crumbs are coated. This will give your crust a rich taste.
Next, line a 9×9 inch baking pan with parchment paper. Pour the cookie mixture into the pan. Use a spatula or your hands to press it down firmly. Make sure it’s even and compact. Place this crust in the freezer for about 10 minutes. This helps it set nicely before adding the filling.
Making the Creamy Cheesecake Filling
Now, let’s make the cheesecake filling. Take 16 oz of softened cream cheese and put it in a large bowl. Use an electric mixer to beat it until smooth. This should take about 2 minutes. Next, gradually add 1 cup of powdered sugar and 1 teaspoon of vanilla extract. Mix until everything is well blended.
In another bowl, whip 1 cup of heavy cream until it forms stiff peaks. This is key for a light texture. Carefully fold the whipped cream into the cream cheese mixture. Be gentle to keep the mixture airy. After that, fold in 10 chopped Oreo cookies. This adds extra flavor and texture to your bars.
Assembly and Chilling Process
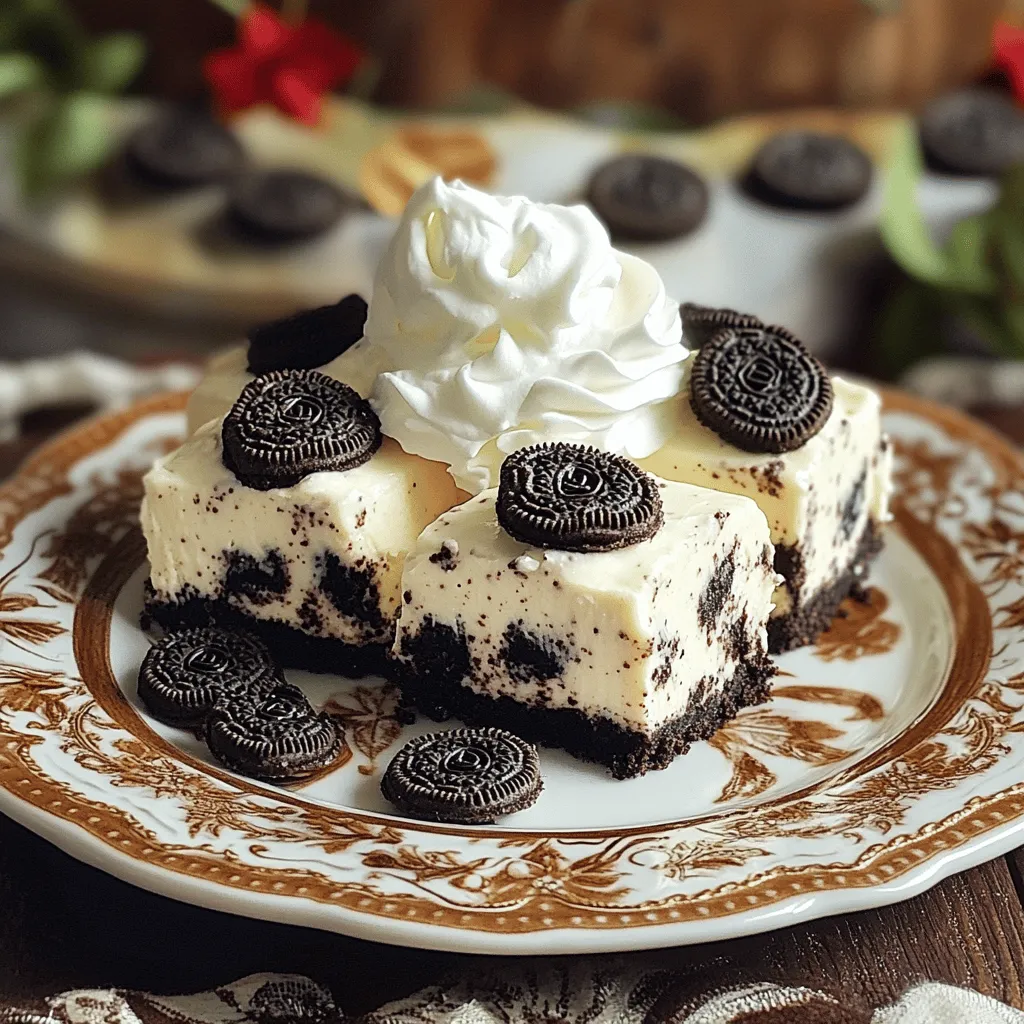
Once your crust is set, it’s time to assemble. Spread the cheesecake filling evenly over the crust. Use a spatula to smooth the top. Make it look nice; presentation matters!
Cover the pan with plastic wrap and put it in the fridge. Let it chill for at least 4 hours. This allows the bars to firm up. After chilling, remove the bars by lifting the parchment paper. Cut them into squares. You can top each one with extra Oreo crumbs or whole cookies for a nice touch. Enjoy your delicious no-bake Oreo cheesecake bars!
Tips & Tricks
How to Achieve the Perfect Whipped Cream
To make great whipped cream, start with cold heavy cream. Pour it into a clean bowl. Whip it using a mixer until you see stiff peaks. This means it holds shape well. Do not over-whip. If you do, it can turn grainy. Fold this whipped cream gently into your cream cheese mix. This keeps it light and fluffy.
Tips for Cutting and Serving the Bars
When it’s time to cut your bars, use a sharp knife. Run it under hot water first. This helps the knife glide through the cheesecake smoothly. Wipe the knife between cuts to keep edges clean. For serving, place each bar neatly on a plate. Add a dollop of whipped cream on the side for flair. You can also sprinkle extra Oreo crumbs on top to make it look special.
Best Practices for Refrigeration and Serving Temperature
Keep your cheesecake bars in the fridge until you are ready to serve. They taste best chilled. Cover them with plastic wrap to keep them fresh. If you wish to serve them later, let them sit out for about 10 minutes. This makes them easier to cut and enhances the flavor. Enjoy your creamy bars at the perfect temperature!
Variations
Add-Ins for Different Flavor Profiles
You can easily change the flavor of these bars. Add mint extract for a minty twist. You can also mix in peanut butter for a nutty taste. Try adding fresh berries or crushed candy for some fun. Each add-in creates a unique treat that everyone will love.
Healthier Options for Ingredients
Want a lighter version? Use low-fat cream cheese instead of regular. You can swap powdered sugar for a natural sweetener like honey or maple syrup. For a lower-calorie crust, use whole-grain cookies or oats. These swaps keep the taste while making it a bit healthier.
Gluten-Free or Dairy-Free Adaptations
Making these bars gluten-free is easy. Use gluten-free cookies for the crust. For a dairy-free option, choose dairy-free cream cheese and coconut cream. These choices allow everyone to enjoy the bars, no matter their dietary needs.
Storage Info
How to Store Leftover Cheesecake Bars
Store leftover cheesecake bars in the fridge. Place them in an airtight container. This keeps them fresh and tasty. You can enjoy them for about five days. Just make sure to cover them well. If you notice any change in texture or smell, it’s best to toss them.
Freezing Instructions for Longer Shelf Life
You can freeze these cheesecake bars for up to three months. First, cut the bars into squares. Wrap each piece in plastic wrap. Then, place them in a freezer bag or container. When you want to eat one, let it thaw in the fridge overnight. This way, you keep the creamy texture.
Recommended Containers for Storage
For best storage, use glass or plastic containers. Make sure they seal tightly. This helps prevent any odors from the fridge. If you freeze them, use freezer-safe bags or containers. Label each bag with the date. This keeps track of how long they stay fresh.
FAQs
Can I use other cookies instead of Oreos?
Yes, you can use other cookies! Consider using chocolate sandwich cookies or graham crackers. Each type brings a unique taste. Chocolate cookies add more richness. Graham crackers give a different, lighter texture. Experiment to find your favorite combo!
How long do No-Bake Oreo Cheesecake Bars last in the fridge?
These cheesecake bars can last up to five days in the fridge. Store them in an airtight container for best results. Keeping them covered helps maintain their creaminess. If they last that long, you have great self-control!
What can I use if I don’t have heavy whipping cream?
If you lack heavy whipping cream, use whipped topping as a substitute. You can also whip milk with cornstarch for a thicker texture. Cream cheese can work in a pinch, but it changes the flavor slightly. Choose what fits your taste best!
No-bake Oreo cheesecake bars are simple and fun to make. We covered all the essential ingredients, from the Oreo crust to creamy filling. I shared tips for making perfect whipped cream and serving them well. We also explored variations for flavor and dietary needs.
Remember to store leftovers properly for the best taste. Enjoy experimenting with flavors and share your results! You’ll impress everyone with these easy and delicious bars.