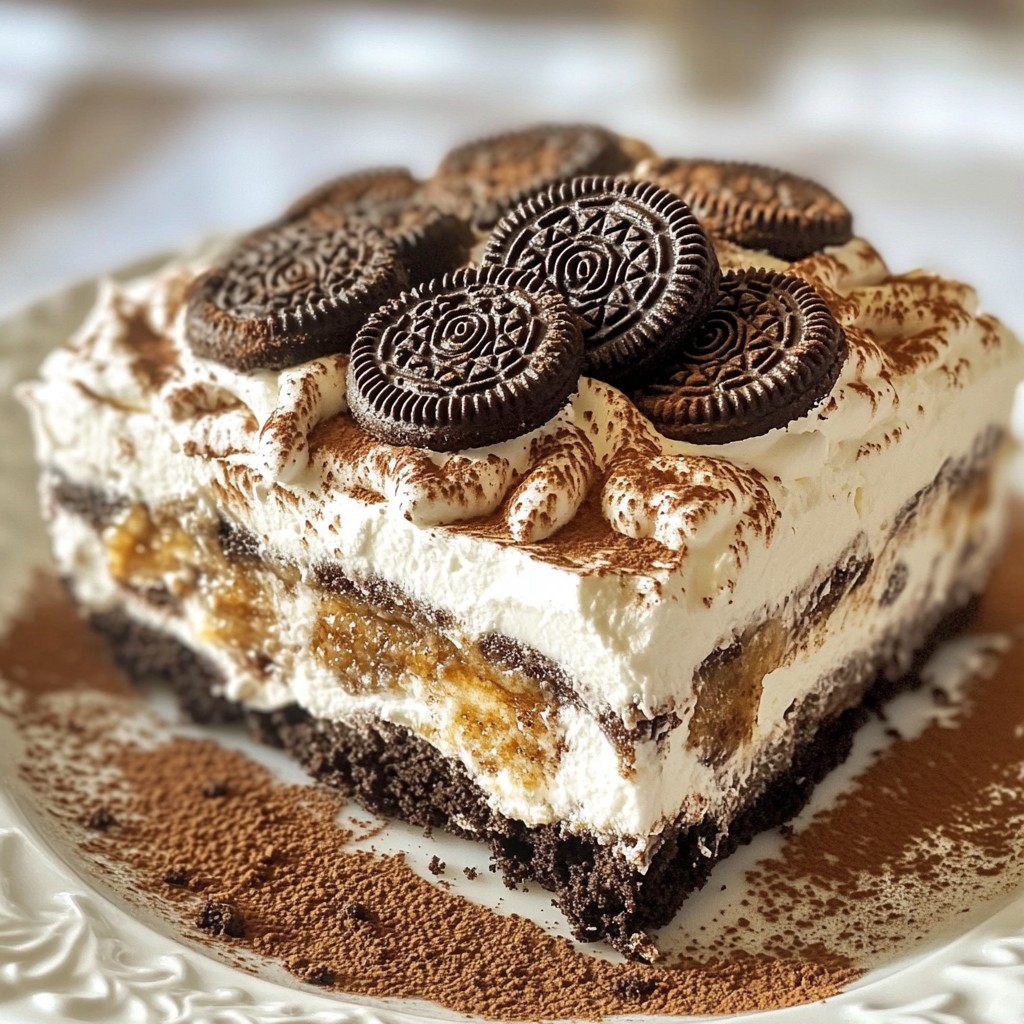
Are you ready for a no-bake dessert that’s easy and delicious? This Mocha Oreo Icebox Cake combines creamy whipped layers with rich coffee flavors and crunchy Oreos. It’s a delightful treat perfect for any occasion! In this article, I will guide you through the simple steps, share tips for perfection, and explore some tasty variations. Let’s dive into this sweet sensation that everyone will love!
Why I Love This Recipe
- Decadent Flavor: This cake combines the rich taste of mocha with the crunch of Oreos, creating a delightful dessert experience.
- No-Bake Convenience: Perfect for hot days, this icebox cake requires no baking, making it a hassle-free treat.
- Easy to Assemble: Layering cookies and whipped cream is simple, allowing anyone to create an impressive dessert with minimal effort.
- Make Ahead Delight: With a required chilling time, this cake can be prepared in advance, making it perfect for parties and gatherings.
Ingredients
List of Ingredients
- 2 cups heavy whipping cream
- 1 cup powdered sugar
- 1 tablespoon instant coffee granules
- 1 teaspoon vanilla extract
- 30 Oreo cookies, crushed (reserve some for topping)
- 1 cup brewed coffee, cooled
- 1/4 cup cocoa powder
- 1/2 teaspoon espresso powder (optional for extra mocha flavor)
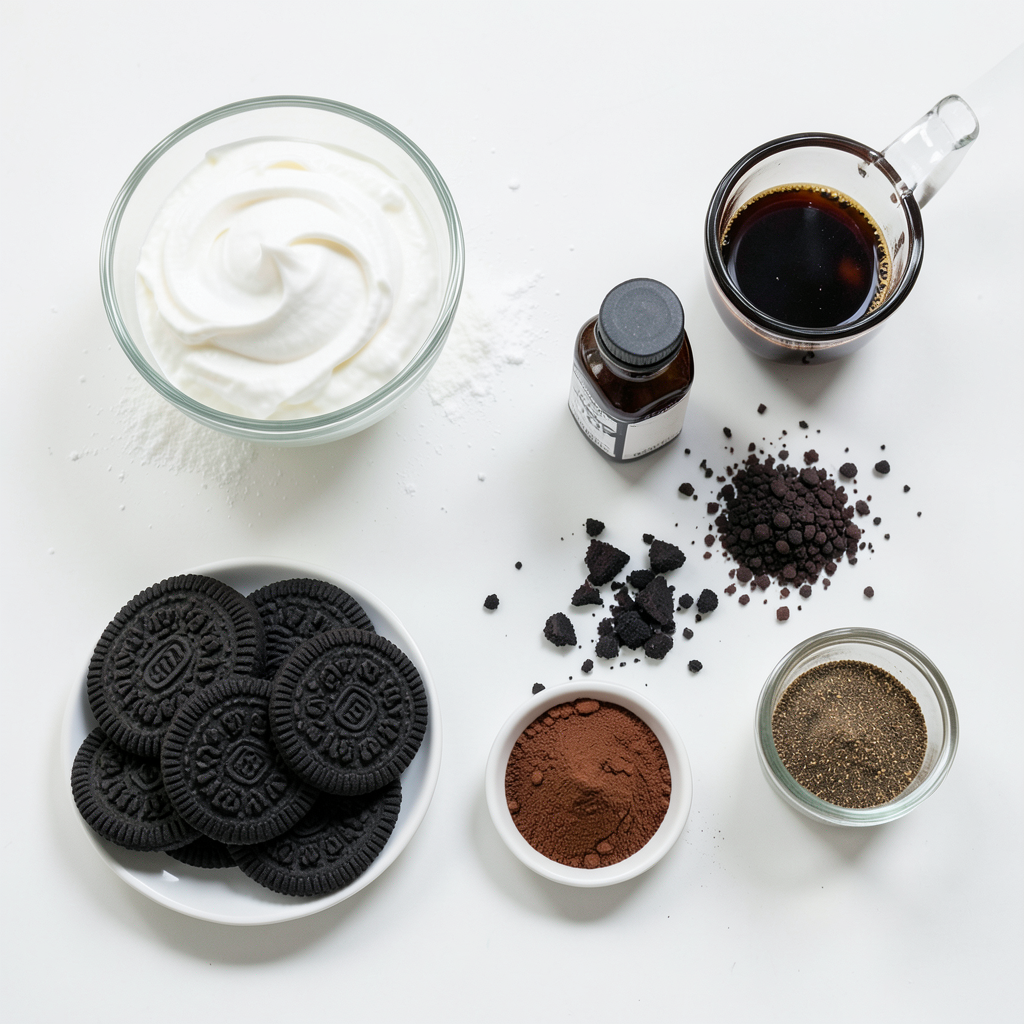
To make the Mocha Oreo Icebox Cake, you need simple yet flavorful ingredients. Heavy whipping cream gives the cake its rich texture. Powdered sugar adds the right amount of sweetness. Instant coffee granules and brewed coffee bring out the mocha flavor.
Vanilla extract adds depth to the taste. Oreo cookies are the star of this dessert, providing a crunchy base. Cocoa powder enhances the chocolate flavor. If you want a stronger coffee taste, add the optional espresso powder.
Gather these ingredients before you start. They come together to create a delightful no-bake treat. Enjoy the process of making this cake. It is simple and rewarding!
Step-by-Step Instructions
Preparation of Coffee Mixture
First, mix 1 tablespoon of instant coffee granules with 1 cup of brewed coffee. Stir until the coffee dissolves completely. This step is key for flavor. Once mixed, let the coffee mixture cool. You want it to be at room temperature before using it.
Preparing the Whipped Cream
Next, grab a large bowl and whip 2 cups of heavy cream. Use an electric mixer on medium speed. Whip until it starts to thicken. Then, add 1 cup of powdered sugar, 1 teaspoon of vanilla extract, and 1/4 cup of cocoa powder. If you like a stronger mocha flavor, add 1/2 teaspoon of espresso powder. Continue whipping until stiff peaks form. This means the cream will hold its shape.
Assembling the Cake Layers
Now comes the fun part: assembling the cake! Take an Oreo cookie and dip it briefly into the cooled coffee mixture. Make sure not to soak it. Place the dipped cookie in a rectangular dish or a round springform pan. Spread a layer of the whipped cream mixture over the cookies. Smooth it out with a spatula. Repeat this process. Alternate between dipped cookies and whipped cream until you use up all the ingredients. End with a final layer of whipped cream on top. For a nice touch, crush some leftover Oreo cookies and sprinkle them on the top layer. Once assembled, cover the dish with plastic wrap. Refrigerate for at least 6 hours, or overnight if you can. This waiting time helps the flavors blend and the cookies soften. Before serving, let the cake sit at room temperature for about 15 minutes. This makes slicing easier. Enjoy!
Tips & Tricks
Achieving Perfect Whipped Cream
To get great whipped cream, you want stiff peaks. Start with cold heavy cream. Use a clean bowl and beaters. Beat the cream until it thickens. When it forms peaks that stand tall, you’re ready.
Chilled equipment helps a lot. Place your mixing bowl and beaters in the fridge for a bit. Cold tools keep the cream from melting while you whip it. This step makes your whipped cream light and fluffy.
Serving Suggestions
When it’s time to serve, slice the cake carefully. Use a sharp knife dipped in warm water. This helps you get neat slices. Place each slice on a chilled plate.
Drizzle chocolate syrup on top for a sweet touch. You can also sprinkle cocoa powder for extra flair. This makes your cake look as good as it tastes.
Enhancing the Mocha Flavor
For a stronger mocha taste, add espresso powder. Just a half teaspoon gives a nice boost. Mix it into your whipped cream for a richer flavor.
You can also add chocolate chips or shavings. Scatter them between the layers or on top. This adds texture and extra chocolate joy to every bite.
Pro Tips
- Chill Your Tools: Before whipping the cream, chill your mixing bowl and beaters in the refrigerator for about 15 minutes. This helps the cream whip up faster and achieve better volume.
- Layering Technique: Ensure that the Oreo cookies are just dipped in the coffee mixture to prevent them from becoming too soggy. This will help maintain the cake's structure.
- Flavor Boost: For an extra mocha flavor, consider adding a tablespoon of coffee liqueur to the whipped cream mixture or using a flavored coffee for dipping the Oreos.
- Serving Suggestion: Serve the cake with a side of whipped cream or a scoop of vanilla ice cream to balance the rich chocolate and coffee flavors.
Variations
Alternative Flavor Profiles
You can give your Mocha Oreo Icebox Cake a twist. Try adding peppermint extract for a fresh mint mocha flavor. Just a few drops can make a huge difference. You can also switch up the Oreos. Use mint, peanut butter, or even birthday cake Oreos. Each option adds a unique spin to the classic recipe.
Gluten-Free Options
If you need a gluten-free version, don’t worry! You can use gluten-free cookies instead of regular Oreos. Many brands offer tasty gluten-free options. This way, everyone can enjoy this delightful treat.
No-Coffee Version
Not a coffee fan? No problem! You can easily make a no-coffee version. Simply substitute the brewed coffee with milk or cream. This keeps the cake creamy and delicious, without the coffee flavor. Whatever your choice, your Mocha Oreo Icebox Cake will still be a hit!
Storage Info
Storing Leftovers
After enjoying your Mocha Oreo Icebox Cake, store any leftovers in the fridge. Place the cake in an airtight container. If you don’t have one, cover the dish tightly with plastic wrap. This keeps the cake fresh and prevents it from drying out. Keep it on a middle shelf of your fridge for the best results.
Freezing Tips
You can freeze Mocha Oreo Icebox Cake if you want to save some for later. First, slice the cake into portions. Wrap each slice in plastic wrap. Then place the wrapped pieces in a freezer bag. Make sure to squeeze out all the air before sealing. This way, the cake stays fresh for up to three months.
Shelf Life
In the fridge, your Mocha Oreo Icebox Cake stays fresh for about 4 to 5 days. If you freeze it, it can last up to three months. Always check for signs of spoilage, like off smells or changes in texture. Enjoy this delicious treat while it's at its best!
FAQs
Can I make the cake in advance?
Yes, you can make this cake in advance. I recommend refrigerating it for at least 6 hours. For the best taste and texture, let it chill overnight. This waiting time lets the flavors mix well and the cookies soften.
What can I use instead of heavy cream?
If you need an alternative to heavy cream, try using coconut cream or whipped coconut milk. You can also use a non-dairy whipping cream if you want a dairy-free option. Just make sure to whip it well to get the right texture.
How do I prevent the cake from melting?
To keep your cake from melting during warm weather, serve it in a cool area. You can also chill your serving plates and utensils. If you have ice packs, place them under your serving dish. This will help maintain the cake's shape and keep it cool.
You now have a clear guide to make a Mocha Oreo Icebox Cake. We covered the key ingredients and step-by-step instructions. You learned tips for perfect whipped cream and creative variations. Remember to store leftovers properly to keep them fresh. Try out different flavors and share this fun dessert with friends. Enjoy making your cake, and happy baking!