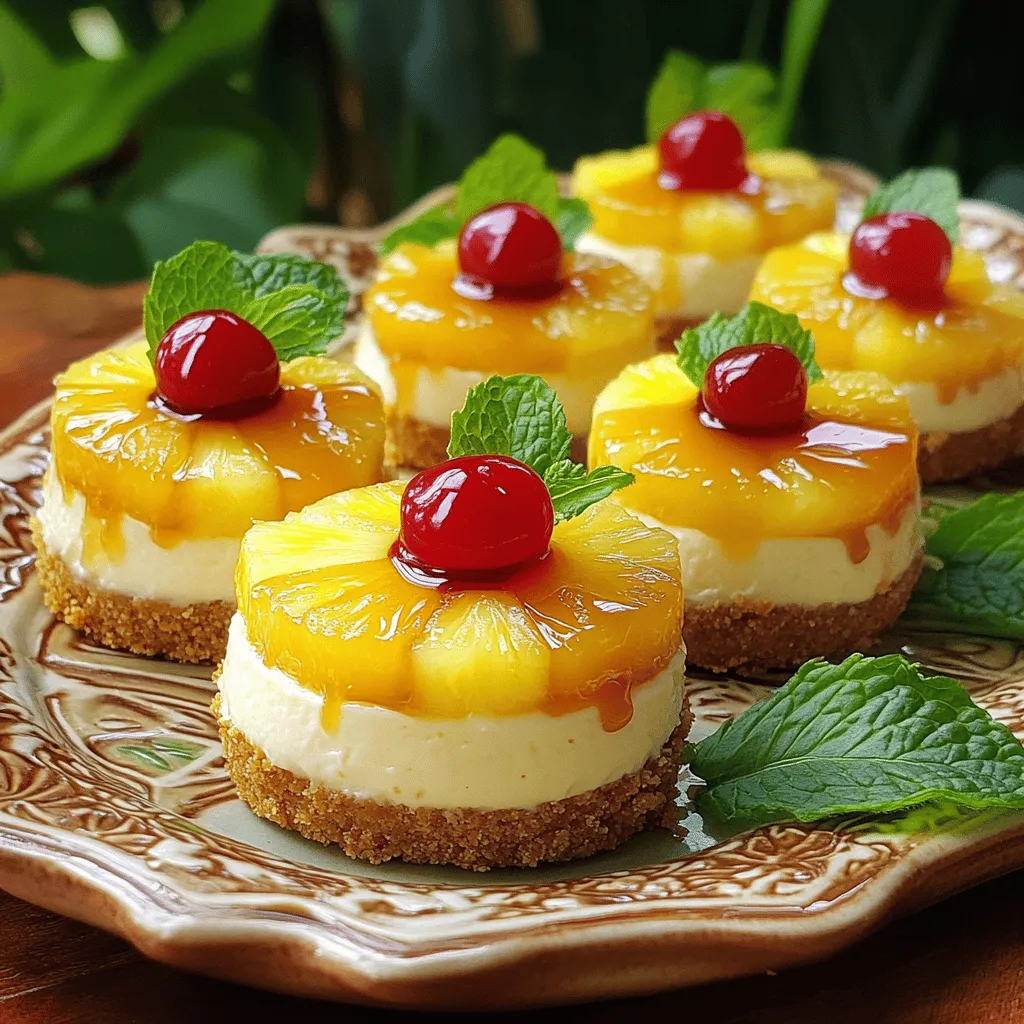
Get ready to treat yourself to a tropical delight with my Individual Mini Pineapple Upside-Down Cheesecakes! These little bites combine creamy cheesecake, juicy pineapple, and a buttery graham cracker crust. They are easy to make and perfect for any occasion. In this post, I’ll guide you through each step, offer tips, and share fun variations. Let’s dive into this sweet and tasty adventure together!
Ingredients
Key Ingredients
– Cream cheese, pineapple, and graham cracker crust: Cream cheese gives the cheesecake its rich, creamy texture. Pineapple adds a sweet and tangy flavor. The graham cracker crust provides a crunchy base.
– Optional components: Maraschino cherries bring a pop of color and extra sweetness. Ground cinnamon adds warmth and depth to the flavor.
– Alternatives for dietary restrictions: For a gluten-free crust, use almond flour or gluten-free graham crackers. For dairy-free, swap cream cheese with a plant-based alternative. You can also use cashew cream for a rich texture.
These ingredients make the individual mini pineapple upside-down cheesecakes delightful and special. You can adjust them to fit your taste and dietary needs.
Step-by-Step Instructions
Preparation Steps
1. Preheat the Oven: Set your oven to 350°F (175°C). Line a muffin tin with cupcake liners. This helps keep the cheesecakes neat.
2. Mix and Bake the Crust: In a bowl, combine 1 cup crushed graham crackers, 1/4 cup melted butter, and 2 tablespoons brown sugar. Mix until blended. Press about 1 tablespoon of this mix into each cupcake liner. Bake for 5 minutes. Remove and let cool a bit.
3. Create the Cheesecake Filling: In a large bowl, beat 1 package of softened cream cheese until smooth. Gradually add 1/4 cup of granulated sugar. Mix until well combined. Stir in 1 teaspoon vanilla extract, 1/2 cup sour cream, and 1 tablespoon lemon juice. Finally, add 1 large egg and mix until just combined. Avoid overmixing.
Assembly Process
1. Layer Pineapple and Cheesecake Batter: In a small bowl, toss 1 cup of diced pineapple with a tablespoon of sugar. This step boosts the sweetness. Spoon some pineapple on each cooled crust. Pour the cheesecake batter over the pineapple, filling each liner about 3/4 full. Top with a halved maraschino cherry.
2. Baking Tips and Timing for Doneness: Bake in the oven for 20-25 minutes. The cheesecakes should be set but still a bit jiggly in the center. Remove from the oven and let them cool in the pan for 10 minutes. Then, transfer them to a wire rack to cool completely.
Cooling and Serving
1. Importance of Cooling and Chilling: After they cool, refrigerate the mini cheesecakes for at least 2 hours. Chilling helps them firm up and enhances the flavor.
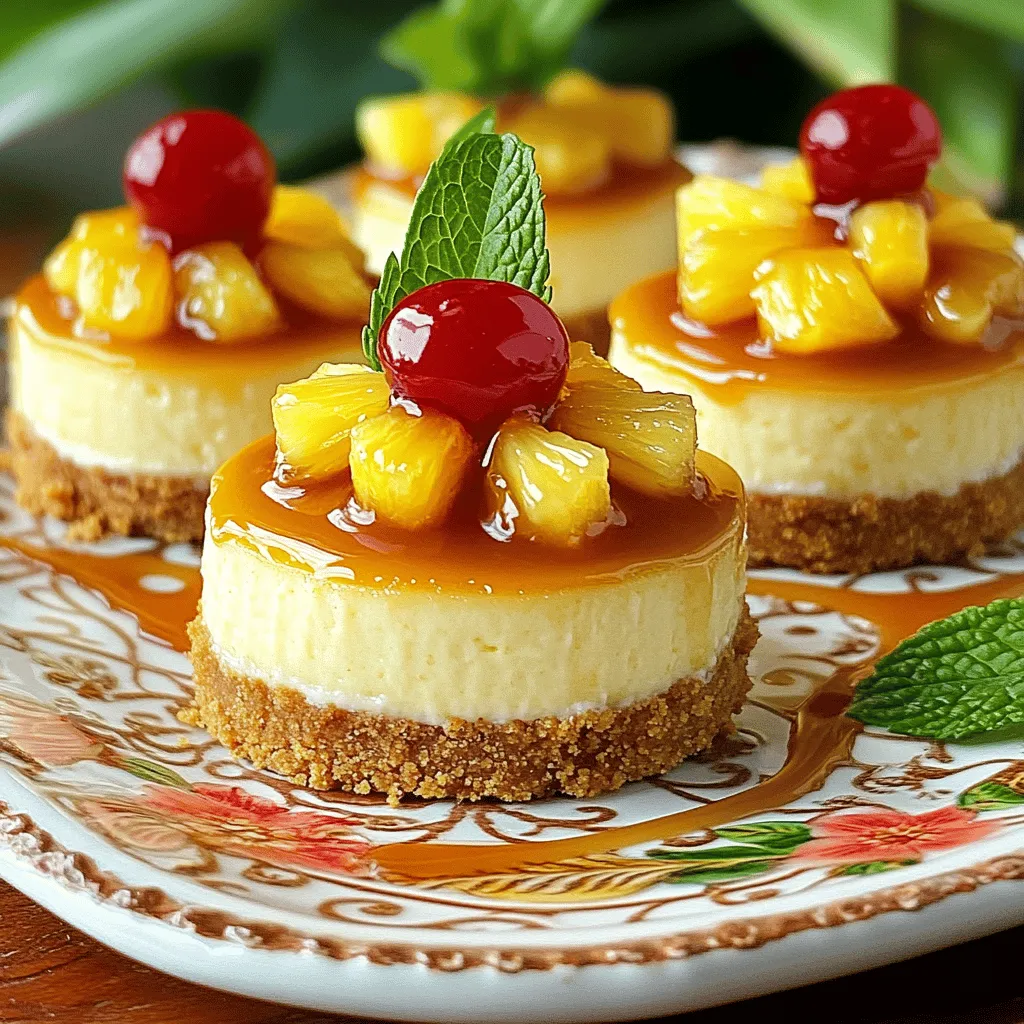
2. Serving Suggestions and Garnishing Options: Carefully remove the cheesecakes from the liners. Serve chilled. Sprinkle with crushed graham crackers, or drizzle with caramel sauce. Add fresh mint leaves for a lovely touch.
Tips & Tricks
Achieving the Perfect Crust
To make a great crust, mix crushed graham crackers with melted butter and brown sugar. Use a fork to combine them well. This mix should feel like wet sand. Press about one tablespoon of the mixture into each cupcake liner. Make sure it holds together well, or else your crust may crumble. Bake the crust for five minutes to set it. This step makes it firm and ready for the cheesecake.
Cheesecake Consistency
Cheesecake texture is key. Avoid overmixing the batter. Overmixing can add too much air, which makes the cheesecake puff up during baking. Instead, mix ingredients just until combined. When adding eggs, do this last. Crack the egg into the bowl and mix gently. This keeps the texture creamy and smooth.
Presentation Enhancements
Making your mini cheesecakes look great is easy. Decorate with fresh fruit or whipped cream on top. A slice of pineapple or a few berries can add color. You can also drizzle caramel sauce or coconut cream for a sweet touch. Serve on a decorative platter to impress your guests. Garnish with fresh mint leaves for that perfect finishing touch.