Are you tired of store-bought granola bars filled with mystery ingredients? Making your own homemade granola bars is easy and fun! In this guide, I’ll show you a simple and tasty recipe that uses wholesome ingredients like oats, nuts, and dried fruits. You can customize them to fit your taste and dietary needs. Let’s dive into the delicious world of homemade granola bars!
Ingredients for Homemade Granola Bars
Making homemade granola bars is fun and easy. You need to gather the right ingredients first. Here are the main ones:
Essential Ingredients
– 2 cups rolled oats
– 1 cup mixed nuts (almonds, walnuts, pecans)
– 1/2 cup sunflower seeds
– 1/2 cup honey or maple syrup
– 1/4 cup almond butter or peanut butter
– 1/2 cup dried fruits (cranberries, apricots, raisins)
– 1 teaspoon vanilla extract
– 1/2 teaspoon cinnamon
– A pinch of salt
These ingredients work together to create a tasty and filling snack. Rolled oats add fiber, while nuts and seeds bring protein. Dried fruits add sweetness and chewiness.
Optional Add-Ins
You can customize your bars with fun add-ins. Here are some ideas:
– Chocolate chips
– Nut butters
– Flavorings and spices
Chocolate chips can give your bars a sweet twist. Nut butters add creaminess and richness. Try adding spices like nutmeg or ginger for extra flavor.
Dietary Adjustments
Many people want different options for their granola bars. Here are some ideas for dietary needs:
– Gluten-free variations: Use gluten-free oats.
– Nut-free alternatives: Replace nuts with seeds like pumpkin or hemp.
– Sugar substitutes: Use agave syrup or stevia instead of honey.
These adjustments help everyone enjoy homemade granola bars.
Step-by-Step Instructions for Nutty Bliss Homemade Granola Bars
Prepping the Baking Dish
To start, line your baking dish with parchment paper. Use an 8×8 inch dish for best results. Leave some paper hanging over the edges. This makes it easy to lift out the bars later. Parchment paper is key here. It prevents sticking and keeps your bars intact.
Mixing Dry Ingredients
In a large bowl, mix the rolled oats, nuts, sunflower seeds, and dried fruits. Be sure to mix well. This helps spread the flavors and textures evenly. The combination of nuts and fruits adds a nice crunch and sweetness.
Preparing the Wet Mixture
Now, melt the almond butter and honey together in a small saucepan. Heat them on low. Stir until they blend together into a smooth mixture. Once melted, take it off the heat. Add in the vanilla extract, cinnamon, and a pinch of salt. Mixing in these flavors enhances the taste of your bars.
Combining Mixtures and Baking
Pour the warm nut butter mix over the dry ingredients. Stir everything together until well-coated. You want to achieve a sticky consistency. Next, transfer the mixture to your baking dish. Press it down firmly with a spatula or your hands. This helps the bars hold their shape. Bake in the preheated oven for 20 to 25 minutes. Look for golden brown edges; this means they are done.
Once baked, let the granola bars cool completely in the pan. You can use the overhanging parchment paper to lift them out. After cooling, cut them into bars or squares. Enjoy your Nutty Bliss Homemade Granola Bars!
Tips & Tricks for Perfect Granola Bars
Customization Tips
You can create your favorite flavors by adding different ingredients. Try adding chocolate chips for a sweet touch. Dried coconut can bring a tropical vibe. You can also mix in spices like nutmeg or ginger for warmth. Experimenting with textures can make your bars even better. Use crunchy nuts or seeds for a bit of crunch. Soft dried fruits add chewiness. You can even swap some oats for puffed rice for a lighter texture.
Adjusting Sweetness
Balancing flavors is key. Honey or maple syrup can sweeten your bars. If you want less sugar, use mashed bananas. This adds sweetness and moisture. Managing moisture content is also important. If your mixture feels too dry, add a splash of water or more nut butter. If it’s too wet, add extra oats. This will help your bars hold together better.
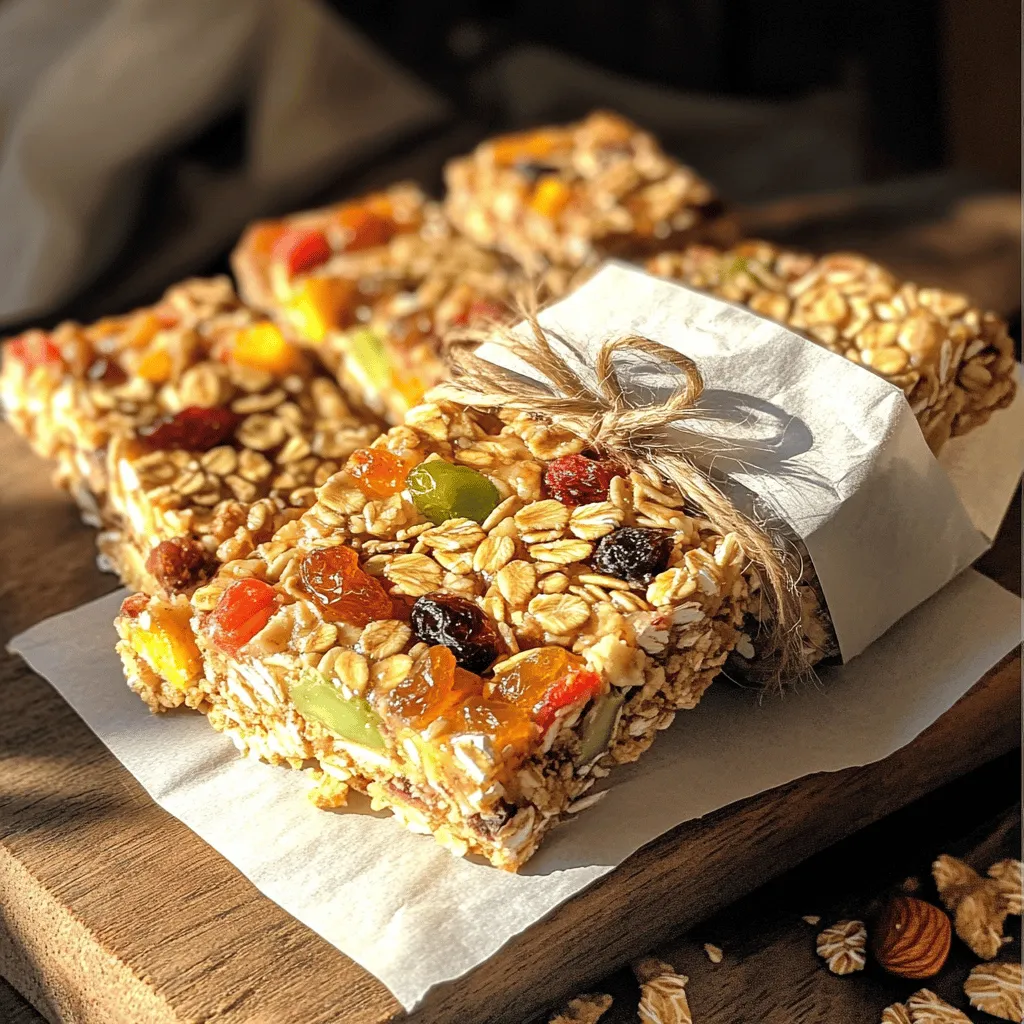
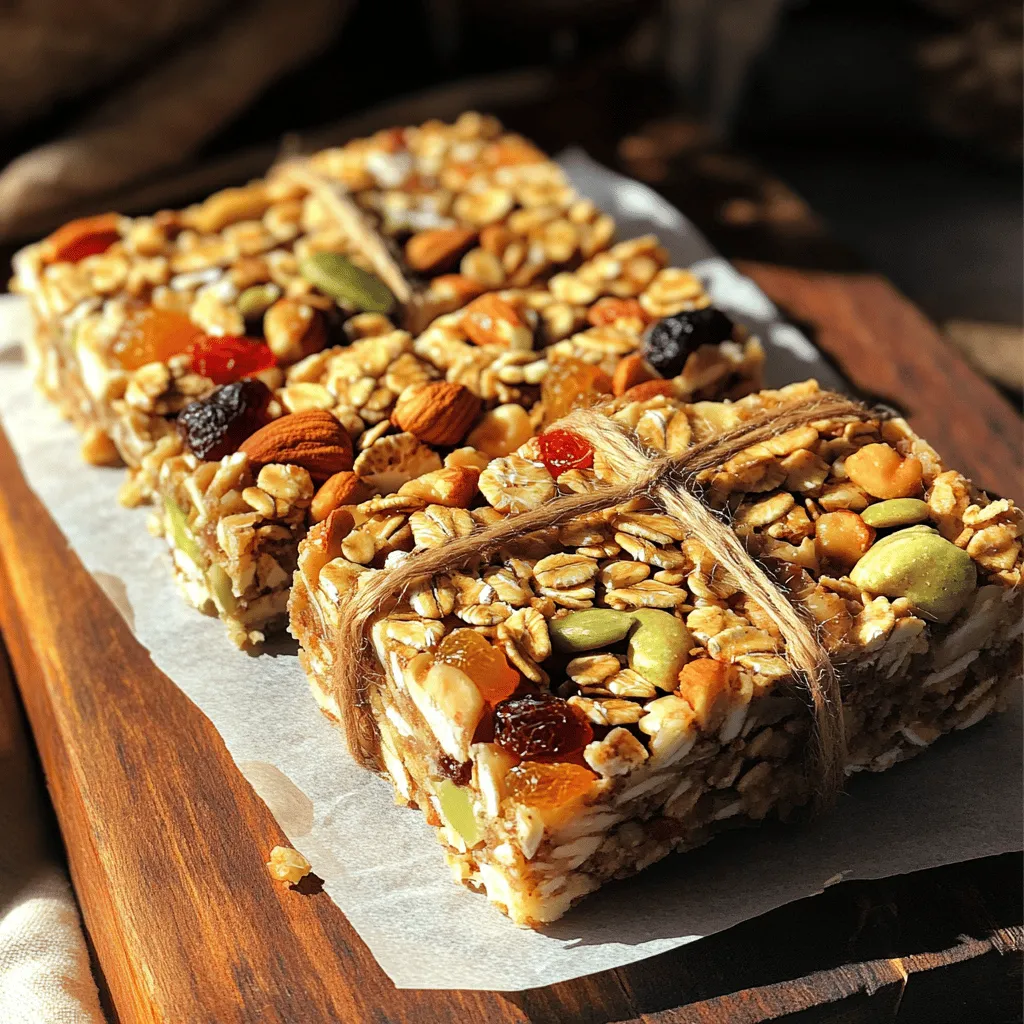
Serving Suggestions
For presentation, wrap your granola bars in parchment paper. Tie them with twine for a rustic look. This makes them perfect for snacks on the go. Pair them with your favorite drinks. A tall glass of milk or a warm cup of tea works great. You can also serve them with yogurt for a tasty breakfast.
Variations of Granola Bars
Granola bars are fun to make and easy to tweak. You can change the flavors and ingredients to match your taste. Here are some great ideas for different types of granola bars.
Flavor Combinations
You can create tropical granola bars by adding coconut. Just mix in shredded coconut with your base ingredients. This gives your bars a chewy and sweet bite that feels like a vacation.
Chocolate lovers will enjoy chocolate and nut varieties. You can add dark chocolate chips or cocoa powder to your mix. Pair them with nuts for a tasty treat that satisfies your sweet tooth.
Health-Oriented Options
If you want a protein-packed bar, consider adding protein powder or seeds. Chia seeds or hemp seeds can boost the protein level without changing the taste much. This makes your snack filling and nutritious.
For those watching calories, low-calorie granola bars are a good choice. You can use less honey or choose a sugar substitute. Keep the nuts and seeds light to make it healthy but still tasty.
Seasonal Variations
You can use seasonal fruits and nuts to change things up. In summer, try fresh berries or peaches. In fall, go for apples and walnuts. Each season brings new flavors, making your granola bars exciting.
Holiday-themed flavors add fun to your snacks. Use spices like cinnamon or nutmeg for a cozy flavor. Add dried cranberries for a festive touch around the holidays.
These variations keep your granola bars fresh and fun. Feel free to mix and match flavors!
Storage Information for Granola Bars
Best Storage Practices
To keep your granola bars fresh, use airtight containers. They protect against air and moisture. Choose a cool, dry place like a pantry or cupboard. Avoid sunlight, which can make them go stale.
Freezing Options
You can freeze granola bars for longer storage. Wrap each bar in plastic wrap. Place the wrapped bars in a freezer-safe bag. This keeps them fresh for up to three months. To thaw, take them out and leave them at room temperature. You can also heat them in the microwave for about 15 seconds.
Shelf Life
Homemade granola bars last about a week at room temperature. After that, they may lose their taste and texture. Signs of spoilage include a dry or hard texture and an off smell. If you see any mold, throw them away right away. For freshness, check them often.
FAQs about Homemade Granola Bars
Can I use regular oats instead of rolled oats?
Yes, you can use regular oats, but the texture will change. Regular oats cook faster and may turn mushy. Rolled oats hold their shape better and add chewiness. If you want crunchier bars, stick with rolled oats.
How do I know when my granola bars are done baking?
Look for golden edges and a firm texture. The bars should not be soft in the center. A light touch will help you check; they should feel set but slightly soft. They will firm up as they cool.
Can I make granola bars without nut butter?
Absolutely! You can use alternatives like sunflower seed butter or coconut oil. These options still bind the ingredients. You can also use applesauce or mashed bananas for a fruity twist. Just remember, the texture may vary slightly.
Homemade granola bars are simple to make. We explored key ingredients, from oats to dried fruits, plus fun add-ins like chocolate chips. We covered steps to prep your baking dish, mix ingredients, and bake for the perfect texture. Customization is key, so feel free to experiment with flavors. Store bars properly to keep them fresh. Remember, these snacks can fit any diet and season. Try your own twist on these nutritious bars today. Enjoy the process and the tasty results that come with it!