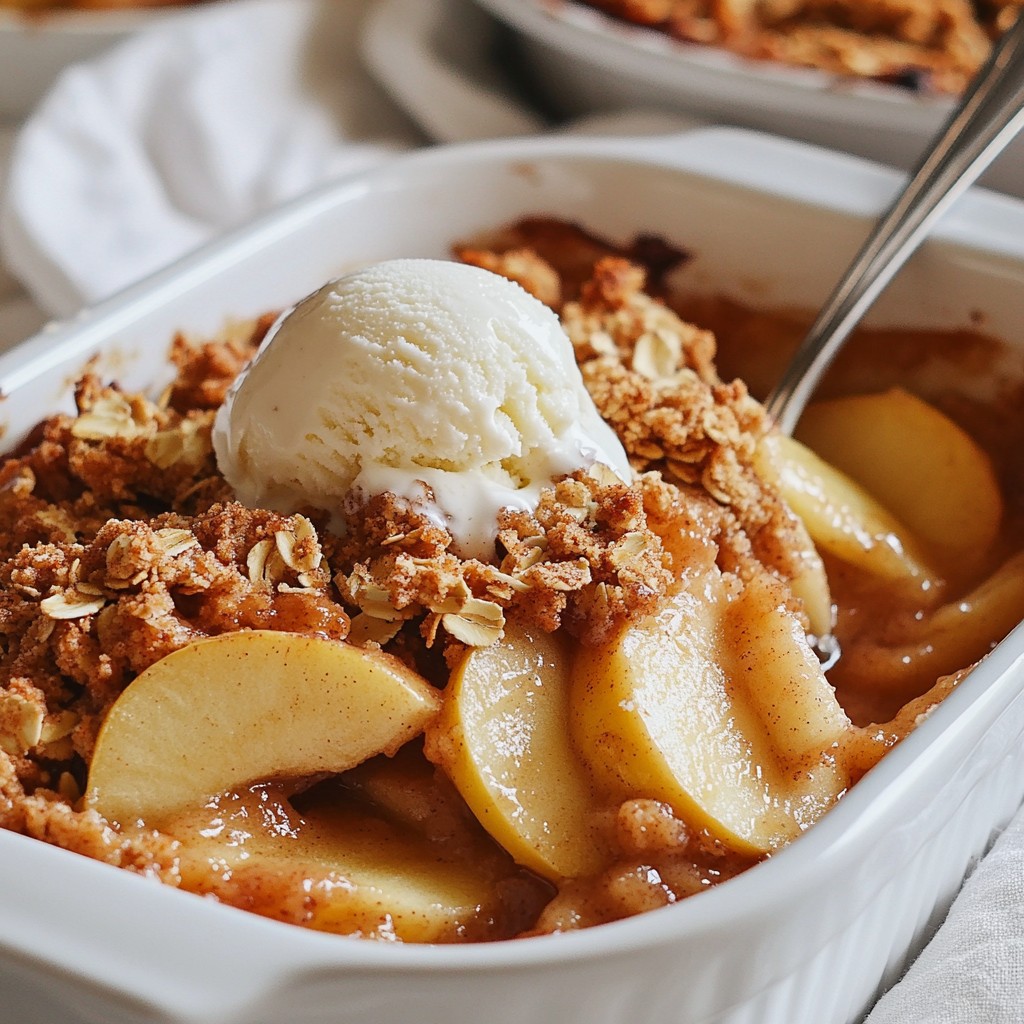
Are you ready for a treat that’s both delicious and gluten-free? This Gluten-Free Apple Crisp is simple to make and perfect for any occasion. I’ll guide you through selecting the best apples, preparing a tasty filling, and achieving that perfect crisp topping. Plus, you’ll discover some fun variations and health benefits of this sweet dish. Let’s make a dessert that everyone will love!
Why I Love This Recipe
- Delicious and Comforting: This apple crisp is the perfect warm dessert for cool autumn evenings, offering a cozy and inviting flavor.
- Gluten-Free Goodness: Made with gluten-free oats and almond flour, this recipe ensures everyone can enjoy a tasty treat without worry.
- Simple Ingredients: With just a handful of simple ingredients, it's easy to whip up this dessert anytime you crave something sweet.
- Customizable Toppings: You can serve it with vanilla ice cream or yogurt, making it versatile and adaptable to your preferences.
Ingredients
List of Ingredients for Gluten-Free Apple Crisp
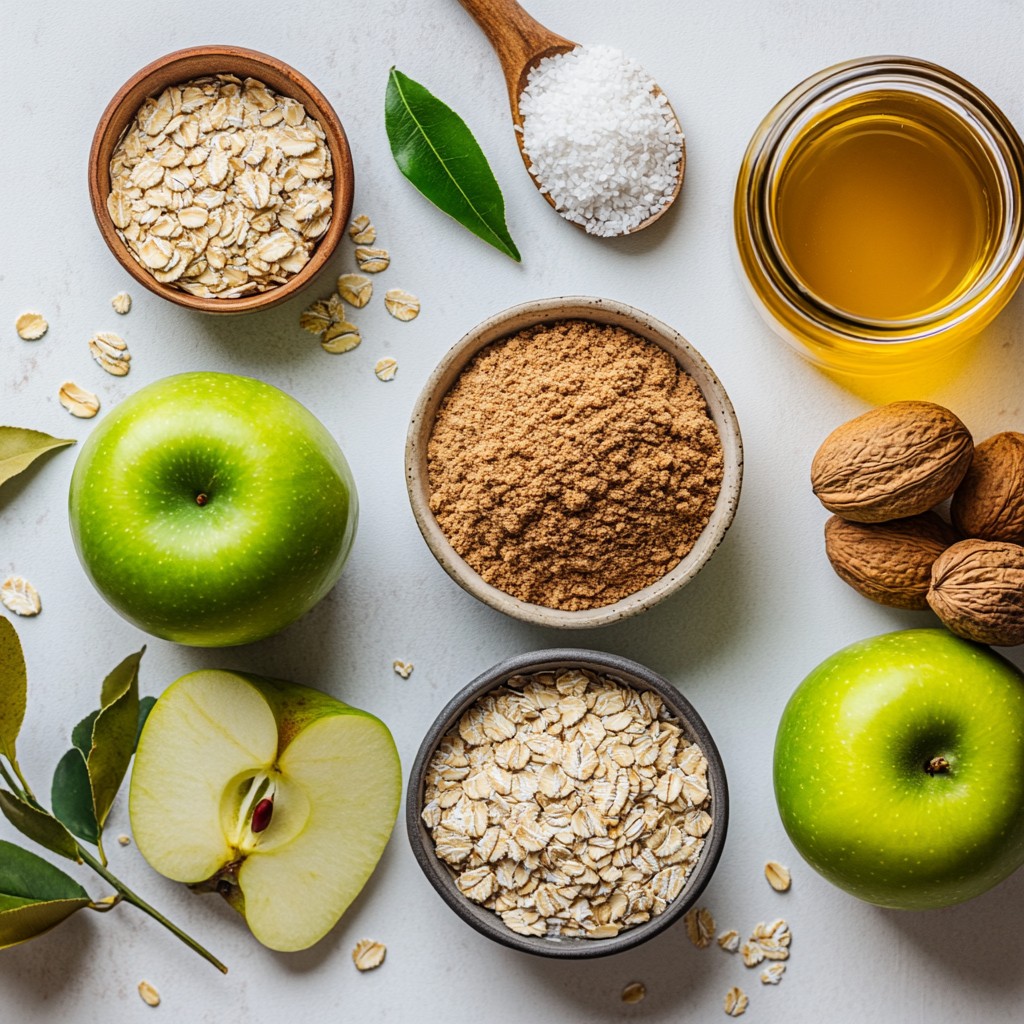
To make a delicious gluten-free apple crisp, gather these ingredients:
- 4 large apples (like Granny Smith or Honeycrisp), peeled, cored, and sliced
- 1 tablespoon lemon juice
- 1 teaspoon ground cinnamon
- 1/2 teaspoon nutmeg
- 1/4 cup brown sugar (packed)
- 1 cup gluten-free rolled oats
- 1/2 cup almond flour
- 1/4 cup unsweetened coconut flakes
- 1/2 cup melted coconut oil or unsalted butter
- 1/4 teaspoon salt
- Optional: vanilla ice cream or yogurt for serving
Quick Tips on Selecting Quality Apples
When choosing apples, pick firm and fresh ones. Look for apples with no bruises or soft spots. Granny Smith apples add a tart taste, while Honeycrisp apples give sweetness. You can mix different types for more flavor. Smell the apples; they should have a sweet aroma. Opt for organic apples when possible for better quality.
Suggested Substitutions for Dietary Needs
If you have specific dietary needs, here are some smart swaps:
- Replace almond flour with oat flour for nut-free options.
- Use maple syrup instead of brown sugar for a natural sweetener.
- Swap coconut oil for a dairy-free butter if needed.
- Try gluten-free granola if you want a crunchy topping.
These changes can keep the dessert tasty and suitable for everyone!
Step-by-Step Instructions
Detailed Instructions for Preparing the Apple Filling
To start, gather your ingredients. You need four large apples, some lemon juice, cinnamon, nutmeg, and brown sugar. I recommend using Granny Smith or Honeycrisp apples for the best flavor.
1. Peel and Core: First, peel and core the apples. Then slice them thin. Thin slices cook better and blend well with the spices.
2. Mix Ingredients: In a large bowl, combine the sliced apples with one tablespoon of lemon juice. This adds a nice zing. Next, add one teaspoon of ground cinnamon, half a teaspoon of nutmeg, and a quarter cup of packed brown sugar. Toss until all the apple slices are coated. This step makes sure every bite is full of flavor.
3. Prepare the Dish: Spread the apple mixture evenly in a greased 9x13-inch baking dish. Make sure the apples are in a single layer for even cooking.
Instructions for Making the Crisp Topping
Now, let’s make the crisp topping. This is the part that adds crunch and sweetness.
1. Gather Topping Ingredients: In a separate bowl, mix one cup of gluten-free rolled oats, half a cup of almond flour, and a quarter cup of unsweetened coconut flakes. These ingredients give the crisp a great texture.
2. Add Wet Ingredients: Pour in half a cup of melted coconut oil or unsalted butter. This adds richness. Add a quarter teaspoon of salt to balance the flavors.
3. Combine: Stir all the ingredients together until well mixed. The mixture should be crumbly but hold together when pressed.
Baking Process and Temperature Guidelines
Now it’s time to bake!
1. Preheat Your Oven: Start by preheating your oven to 350°F (175°C). This ensures even cooking.
2. Assemble the Crisp: Sprinkle the oat mixture evenly over the apples in the baking dish. Make sure it covers all the apples well.
3. Bake: Place the dish in the oven and bake for 30-35 minutes. Check for doneness when the apples are tender and the top is golden brown.
4. Cool Before Serving: Once baked, remove the crisp from the oven. Let it cool slightly before serving. This helps the flavors settle and makes it easier to serve.
Enjoy your delicious gluten-free apple crisp!
Tips & Tricks
How to Achieve the Perfect Crisp Texture
To get that perfect crunchy top, use a mix of oats and almond flour. The oats give a hearty feel, while almond flour adds richness. Don't forget the coconut flakes; they add a delightful crunch. Mix these dry ingredients well before sprinkling them over the apples. This ensures even coverage. Bake until the topping turns golden brown. This browning shows that your crisp is ready and delicious.
Best Practices for Serving and Presentation
Serve the apple crisp warm for the best taste. Scoop generous portions into bowls. Top each serving with a scoop of vanilla ice cream or a dollop of yogurt. This adds creaminess that pairs well with the crisp. For a touch of flair, sprinkle some extra cinnamon or coconut flakes on top. This small detail makes your dessert look even more inviting.
Storage and Reheating Recommendations
Store any leftover crisp in an airtight container. It will stay fresh for up to three days in the fridge. To reheat, place it in the oven at 350°F (175°C) for about 10-15 minutes. This keeps the topping crunchy. You can also microwave it for a quick fix, but the texture may not be as crisp. Enjoy your delicious dessert any time!
Pro Tips
- Choose the Right Apples: Use a mix of tart and sweet apples for a balanced flavor. Granny Smith adds tartness while Honeycrisp brings sweetness.
- Customize Your Topping: Feel free to add nuts like walnuts or pecans to the topping for an extra crunch and flavor.
- Let It Rest: Allow the apple crisp to cool for at least 10 minutes before serving. This helps the juices thicken and makes it easier to serve.
- Serving Suggestions: Serve with a scoop of vanilla ice cream or Greek yogurt for a delicious contrast to the warm crisp.
Variations
Additional Ingredients to Customize Your Crisp
You can add many fun ingredients to make your apple crisp even better. Here are some ideas:
- Dried fruits: Try raisins or cranberries for a sweet twist.
- Fresh berries: Blueberries or raspberries add color and flavor.
- Chia seeds: They boost fiber and add a nice crunch.
These extras will make your crisp unique and tasty.
Flavor Variations (e.g., Adding Nuts, Spices)
Flavor is key in your apple crisp. Adding nuts and spices can enhance the taste. Consider these options:
- Nuts: Walnuts or pecans add crunch and healthy fats.
- Spices: Ginger or allspice can bring warmth to your dish.
Mixing in different flavors helps you create a new dessert each time.
Vegan Adjustments for the Recipe
If you want to make your apple crisp vegan, it is easy! Here are some simple changes:
- Butter: Use coconut oil instead of butter for a vegan option.
- Sweetener: Maple syrup can replace brown sugar for a unique sweetness.
These swaps keep your crisp delicious while meeting vegan needs.
Health Benefits of Gluten-Free Eating
Nutritional Value of Key Ingredients
This gluten-free apple crisp uses simple and wholesome ingredients. Apples are a great source of fiber and vitamin C. They help keep your heart healthy. Lemon juice adds a fresh taste and boosts vitamin C too. Ground cinnamon can help regulate blood sugar levels. Almond flour provides healthy fats and protein. It's low in carbs, making it a smart choice for many diets. Gluten-free rolled oats are high in fiber, which aids digestion. Coconut flakes offer healthy fats and a touch of sweetness.
Advantages of Choosing Gluten-Free Desserts
Choosing gluten-free desserts can be a tasty way to eat well. Many people feel better when they avoid gluten. This means less stomach discomfort for some. Gluten-free desserts like this apple crisp often use natural ingredients. This can lead to healthier choices. You also reduce the risk of additives found in many processed items. Gluten-free desserts can be just as satisfying and delicious. They can satisfy your sweet tooth without heavy ingredients.
Why This Recipe is a Healthier Choice
This apple crisp is a healthier choice for many reasons. First, it uses fresh apples, not canned or sugary ones. It has less sugar than many traditional desserts. The use of almond flour and oats provides nutrients instead of empty calories. The coconut oil offers healthy fats, which are good for your body. Plus, you can serve it with yogurt for added protein. This dessert is not just tasty; it also supports your health goals. Enjoying this gluten-free apple crisp means you can indulge without guilt.
FAQs
Can I use different types of apples?
Yes, you can use many types of apples. Granny Smith and Honeycrisp are great choices. They bring a nice balance of tartness and sweetness. Other options include Fuji and Gala apples. Try mixing different kinds for more flavor. Each apple type offers its own unique taste and texture.
How do I store leftover apple crisp?
To store leftover apple crisp, let it cool first. Then, cover it with plastic wrap or foil. You can also place it in an airtight container. Store it in the fridge for up to three days. For longer storage, freeze it. Just make sure it is in a freezer-safe container.
Is it possible to make this recipe in advance?
Yes, you can prepare the apple filling ahead of time. Mix the apples with lemon juice, spices, and sugar. Store this mixture in the fridge for up to a day. When you are ready to bake, mix the topping and layer it on. This makes it easy to enjoy a warm dessert later.
What is the best way to reheat the apple crisp?
To reheat apple crisp, use your oven for best results. Preheat your oven to 350°F (175°C). Place the apple crisp in an oven-safe dish. Cover it with foil to keep it from drying out. Heat for about 15-20 minutes or until warm. You can also microwave it, but the oven keeps the crisp texture better.
In this article, I outlined how to make a tasty gluten-free apple crisp. We covered the key ingredients, tips for choosing apples, and ways to customize your dish. I shared step-by-step instructions for both the filling and the crisp topping. Achieving the perfect texture and knowing how to store leftovers were also discussed. Remember, this recipe not only satisfies your cravings but offers health benefits too. Enjoy experimenting with variations and serving this delightful dessert to others. Happy baking!