Are you ready to whip up a treat that’s both sweet and simple? Coconut macaroons fit the bill perfectly! With just a few easy ingredients, you can create these delightful bites that will impress family and friends. In this guide, I will share everything you need to know, from the perfect ingredient list to expert tips for baking. Let’s dive into making coconut macaroons that are sure to wow everyone!
Ingredients for Coconut Macaroons
Coconut macaroons are simple yet delightful treats. Here’s what you need to make them:
– 3 cups shredded coconut
– 1 cup sweetened condensed milk
– 1 teaspoon vanilla extract
– 1/4 teaspoon almond extract
– 2 large egg whites
– 1/4 cup all-purpose flour
– 1/2 cup semi-sweet chocolate chips (optional)
– 1/4 teaspoon salt
Detailed Ingredient List
1. Shredded coconut: This is the star of the show! Use sweetened coconut for a burst of flavor.
2. Sweetened condensed milk: This thick milk adds sweetness and helps bind the coconut together.
3. Flavorings: I love adding 1 teaspoon of vanilla extract for warmth. A touch of almond extract (1/4 teaspoon) gives a nice twist.
4. Binding agents: Two large egg whites help the mixture hold together. The 1/4 cup of all-purpose flour adds structure.
5. Optional chocolate chips: If you want a rich treat, add 1/2 cup of semi-sweet chocolate chips.
6. Seasoning: A pinch of salt (1/4 teaspoon) balances the sweetness and enhances the flavor.
These ingredients work together to create a chewy, sweet bite that melts in your mouth.Each ingredient plays a key role in making coconut macaroons a favorite dessert!
Step-by-Step Instructions
Preparation
Step 1: Preheating the oven
Start by preheating your oven to 325°F (160°C). This step is key to getting a nice, golden color on your macaroons.
Step 2: Preparing the baking sheet
Line a baking sheet with parchment paper. This helps the macaroons not stick. A clean sheet is important for easy cleanup.
Mixing the Ingredients
Step 3: Combining coconut and wet ingredients
In a large bowl, mix 3 cups of shredded sweetened coconut with 1 cup of sweetened condensed milk. Add in 1 teaspoon of vanilla extract, 1/4 teaspoon of almond extract, and 1/4 teaspoon of salt. Stir until the coconut is coated well.
Step 4: Beating egg whites and folding in
In a separate bowl, beat 2 large egg whites until stiff peaks form. This means the egg whites should hold their shape. Gently fold the beaten egg whites into the coconut mixture. Be careful not to deflate the egg whites.
Baking
Step 5: Forming macaroons and spacing on the sheet
Using a tablespoon or a small cookie scoop, drop spoonfuls of the mixture onto the prepared baking sheet. Space them about 1 inch apart to allow for spreading.
Step 6: Baking time and checking for doneness
Bake in your preheated oven for 15-20 minutes. Keep an eye on them. You want the edges to be golden brown. If you want to add chocolate, melt it and drizzle it over the macaroons right after baking.
Enjoy the process and look forward to your sweet coconut treats!
Tips & Tricks
Perfecting the Texture
To get the best coconut macaroons, focus on making stiff peaks with your egg whites. Stiff peaks mean the egg whites hold shape well. This helps your macaroons rise and stay fluffy. When you fold the egg whites into the coconut mix, do it gently. This keeps air in your batter, which makes the macaroons light and airy.
Cooking Techniques
Baking on parchment paper gives you the best results. It helps the macaroons not stick to the pan. If you use greased sheets, they might spread too much. Keep your oven temperature at 325°F (160°C) for even baking. This helps the edges turn golden without burning. Always check your macaroons towards the end of baking time for the perfect color.
Decorating and Serving Suggestions
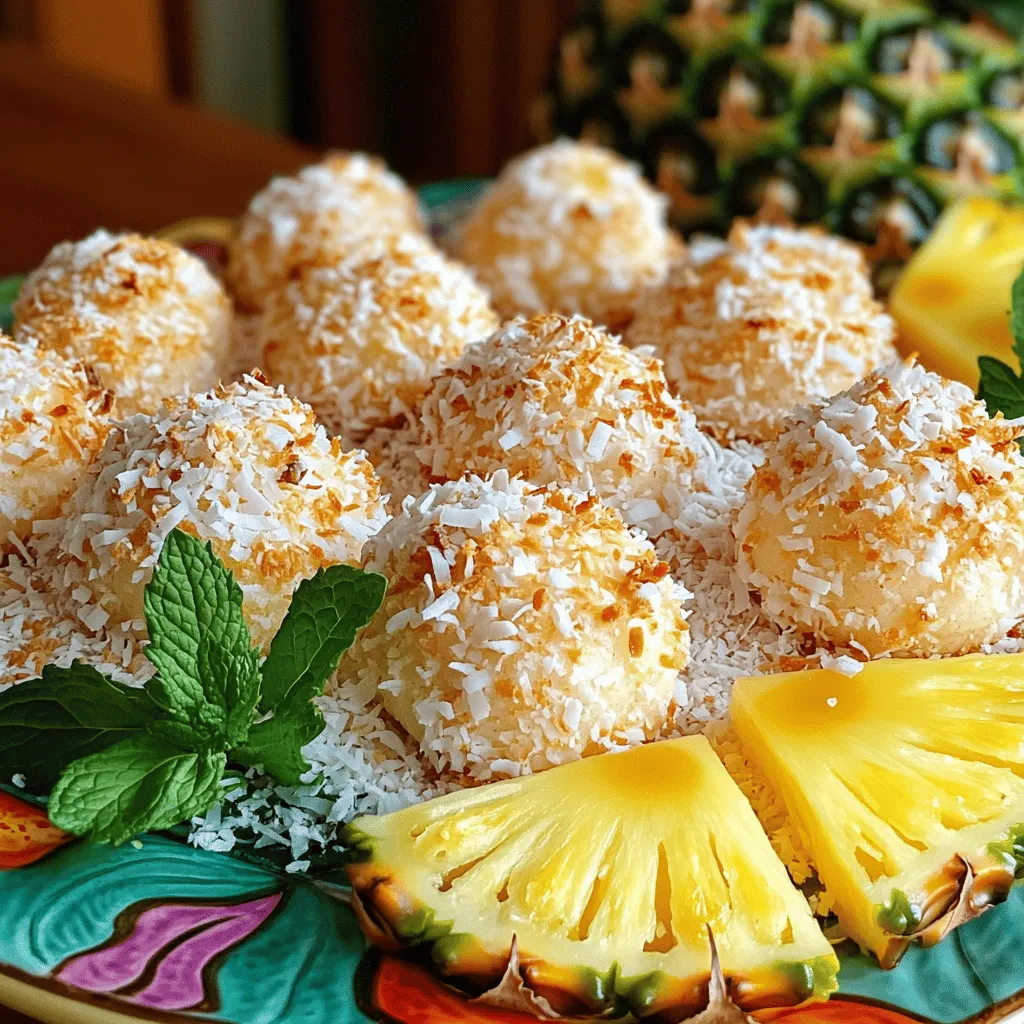
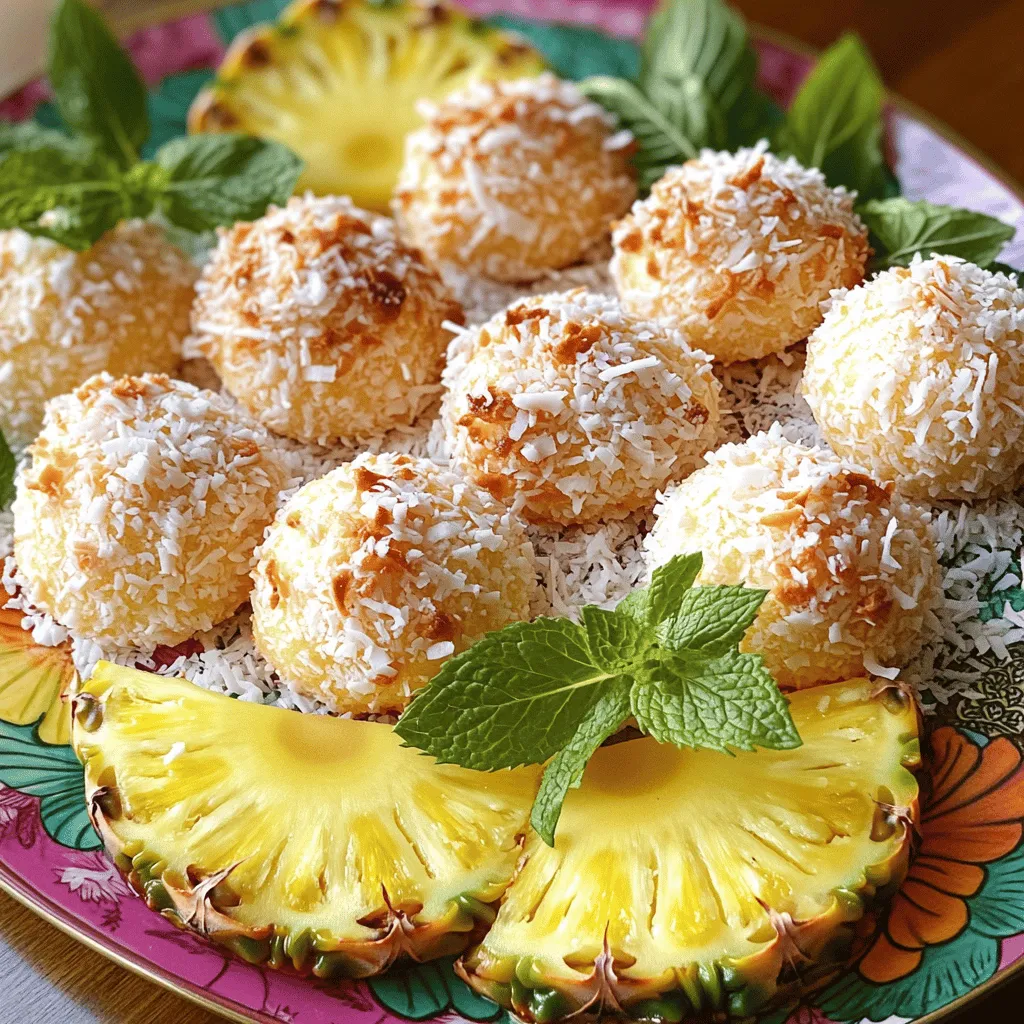
Add a fun chocolate drizzle to your macaroons for extra flair. Melt semi-sweet chocolate chips in the microwave. Drizzle it over warm macaroons as soon as they come out of the oven. For a lovely presentation, arrange the macaroons on a colorful platter. You can also garnish with fresh mint leaves. Serve with pineapple slices for a tropical touch. This makes your treat look and taste even better.
Variations of Coconut Macaroons
Flavor Infusions
You can change up your coconut macaroons with fun flavors. Try adding pineapple or lime zest for a tropical twist. This brightens up the sweet coconut. You can also mix in chopped almonds or hazelnuts. These nuts add a nice crunch and depth.
Dietary Alterations
If you need gluten-free macaroons, use almond flour instead of all-purpose flour. This keeps the treat light and tasty. For vegan options, swap the egg whites with aquafaba, the liquid from canned beans. It whips up just like egg whites and binds the macaroons well.
Themed Macaroons
You can make special macaroons for holidays, too. For example, use peppermint extract for a fresh winter treat. Or, try pumpkin spice for a cozy autumn flavor. You can also shape the macaroons into fun forms. Use cookie cutters for birthdays or celebrations.
These variations keep coconut macaroons exciting and fun to make.
Storage Info
Optimal Storage Conditions
Store your coconut macaroons at room temperature for short-term use. They taste best fresh. If you want to keep them longer, refrigeration works too. Use an airtight container to prevent them from drying out. This helps maintain their sweet taste and chewy texture.
Shelf Life
Homemade macaroons can last about five days at room temperature. In the fridge, they may last up to ten days. Always check for signs of spoilage. If they smell off or look dry, it’s time to toss them. Fresh macaroons should feel soft and moist.
Freezing Instructions
To freeze coconut macaroons, place them in a single layer on a baking sheet. Freeze them for about an hour. Once they are firm, transfer them to a freezer-safe bag. Make sure to remove as much air as possible. To thaw, leave them in the fridge overnight. This keeps their soft texture intact.
FAQs about Coconut Macaroons
What is the difference between macaroons and macarons?
Macaroons and macarons are quite different. Macaroons are thick, chewy cookies made with coconut. They often have a sweet, moist texture. On the other hand, macarons are delicate sandwich cookies made with almond flour. They have a crisp shell and a creamy filling. The key difference lies in their main ingredients and texture.
Can I use unsweetened coconut for this recipe?
Yes, you can use unsweetened coconut. However, the taste will be less sweet. If you choose unsweetened coconut, add more sugar or sweetened condensed milk. This will help balance the flavors. Sweetened coconut gives that lovely taste and texture we all love.
How can I make my coconut macaroons chewier?
To make your coconut macaroons chewier, try a few tricks. First, add a bit more sweetened condensed milk. This adds moisture. Second, bake them for a shorter time. A slightly softer center will keep them chewy. Lastly, use larger coconut flakes for a more satisfying bite.
What are some common mistakes to avoid when making coconut macaroons?
Here are common mistakes to avoid:
– Not measuring ingredients correctly: This can change the texture.
– Overmixing the batter: Mix just enough to combine the ingredients.
– Not beating egg whites enough: Stiff peaks are key for a light texture.
– Baking at the wrong temperature: Ensure your oven is at 325°F for even baking.
Follow these tips to make perfect macaroons!
Coconut macaroons are simple yet delicious treats. By combining shredded coconut, sweetened condensed milk, and egg whites, you create a chewy delight. Remember, stiff peaks and proper folding make a big difference. You can also explore variations to match any celebration or diet. Store them correctly to keep them fresh longer. Now that you know the steps, tips, and tricks, it’s time to bake! Enjoy the process, and share your tasty results with others. Happy baking!