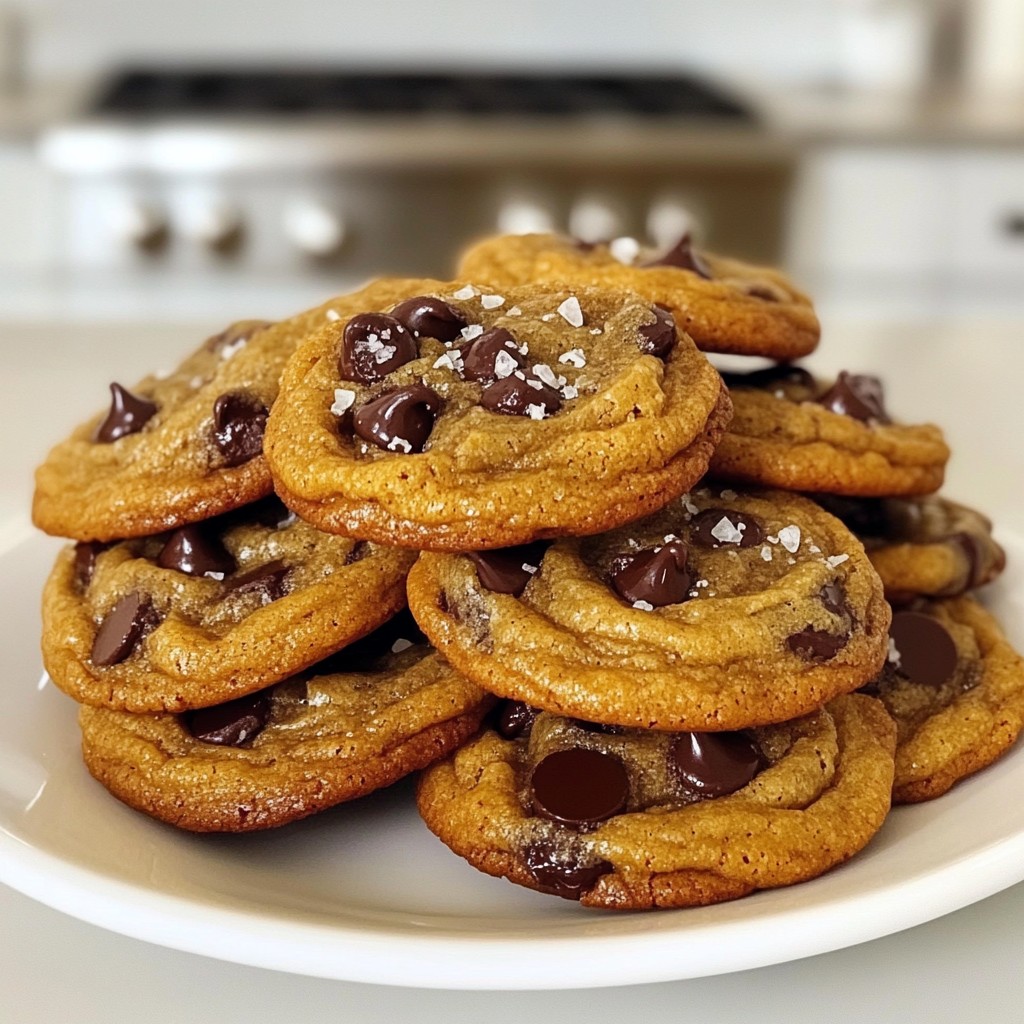
Ready to bake the ultimate treat? Chewy Brown Butter Chocolate Chip Cookies delight with a rich, nutty flavor. I’ll guide you through each step, from browning the butter to achieving that perfect chewy texture. Whether you're a newbie or a pro, this post will cover everything you need. Let’s dive into the ingredients, tips, and variations to make your cookies stand out!
Why I Love This Recipe
- Rich Flavor: The brown butter adds a deep, nutty flavor that elevates these cookies to a whole new level.
- Chewy Texture: The combination of brown sugar and the chilling step ensures a perfectly chewy cookie every time.
- Chocolatey Goodness: With 1 ½ cups of chocolate chips, these cookies are loaded with melty chocolate in every bite.
- Easy to Make: This simple recipe requires basic ingredients and minimal effort, making it perfect for bakers of all levels.
Ingredients
List of Essential Ingredients
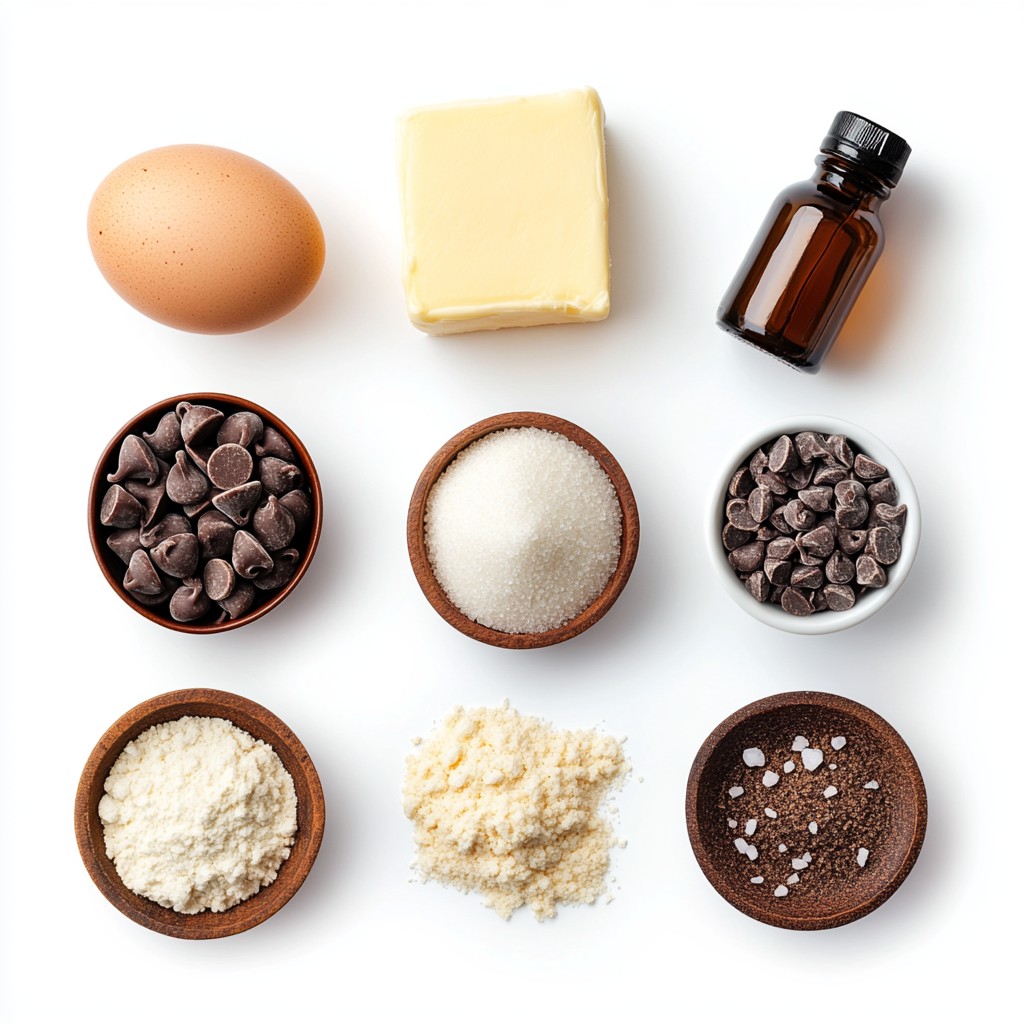
To make these chewy brown butter chocolate chip cookies, gather these key ingredients:
- 1 cup unsalted butter
- 1 cup brown sugar, packed
- 1/2 cup granulated sugar
- 2 large eggs
- 1 teaspoon vanilla extract
- 3 cups all-purpose flour
- 1 teaspoon baking soda
- 1 teaspoon sea salt
- 1 ½ cups semi-sweet chocolate chips
- Flaky sea salt, for sprinkling
Each component plays a vital role. The butter brings richness and flavor. Brown sugar adds moisture and a deep taste. The eggs bind everything together and give the cookies a nice rise.
Substitutions and Alternatives
If you need to swap ingredients, here are some options:
- Unsalted butter can be replaced with salted butter. Just skip adding extra salt.
- Brown sugar can be replaced with coconut sugar for a hint of caramel flavor.
- Granulated sugar can be cut with an equal amount of honey or maple syrup, but adjust the liquid in your recipe.
- All-purpose flour can be swapped with a gluten-free blend for a gluten-free cookie.
- Semi-sweet chocolate chips can be exchanged for dark chocolate or milk chocolate, depending on your taste.
These substitutions can still lead to tasty cookies, so feel free to get creative!
Measurement Tips
Accurate measurements help ensure your cookies turn out perfectly. Here are some handy tips:
- For solid ingredients like butter, use a kitchen scale for the best results.
- When measuring flour, spoon it into your measuring cup and level it off with a knife. Avoid packing it down.
- For brown sugar, pack it tightly into the cup. It should hold its shape when you remove it.
- Use large eggs for consistent results. They weigh about 50 grams each.
With these tips, you can confidently gather your ingredients and start baking!
Step-by-Step Instructions
How to Brown Butter
First, you need to brown the butter. Take 1 cup of unsalted butter and place it in a medium saucepan. Set the heat to medium. Keep stirring the butter often. This helps it cook evenly. After about 5 to 7 minutes, the butter will turn golden brown. It will also smell nutty. Watch it closely, as it can burn quickly. Once it's ready, take it off the heat and let it cool a bit.
Mixing the Batter
Now, let's mix the batter. In a large bowl, combine the brown butter with 1 cup of brown sugar and 1/2 cup of granulated sugar. Use a whisk to stir it all together until it looks smooth and creamy. Next, add 2 large eggs one at a time. Mix well after each egg. Add 1 teaspoon of vanilla extract and stir until combined. In another bowl, mix 3 cups of all-purpose flour, 1 teaspoon of baking soda, and 1 teaspoon of sea salt.
Baking the Cookies
Combine the wet and dry mixtures. Gradually add the dry ingredients to the butter mixture. Stir it gently until just combined. Do not overmix. Now, fold in 1 ½ cups of semi-sweet chocolate chips. Make sure they are evenly mixed in. Cover the dough with plastic wrap and chill it in the fridge for at least 30 minutes. This helps the cookies keep their shape.
Preheat your oven to 350°F (175°C). Line two baking sheets with parchment paper. Using a cookie scoop or tablespoon, drop rounded balls of dough onto the sheets. Space them about 2 inches apart. Lightly sprinkle flaky sea salt on each cookie. Bake for 10 to 12 minutes. They should be golden around the edges but still soft in the center. Let them cool on the sheets for 5 minutes before transferring to wire racks. Enjoy your chewy brown butter chocolate chip cookies!
Tips & Tricks
Achieving the Perfect Chewy Texture
To get that perfect chewy texture, start by browning the butter. This step adds depth and a rich flavor. Make sure not to overheat it; you want a golden brown color and a nutty smell. Use a mix of brown and granulated sugar. Brown sugar adds moisture, while granulated sugar helps the cookies spread.
Chill the dough for at least 30 minutes. This step firms up the dough and keeps the cookies from spreading too much. When baking, remove the cookies when they are just golden at the edges. The centers should look soft. They will continue to cook slightly on the baking sheet.
Storage and Freezing Tips
Store your cookies in an airtight container at room temperature. They stay fresh for about a week. To freeze, place the cooled cookies in a single layer in a freezer bag. They can last up to three months in the freezer. For best results, freeze the dough instead. Scoop the dough into balls and freeze them on a baking sheet. Once frozen, transfer them to a bag. You can bake frozen dough without thawing. Just add a minute or two to the baking time.
Troubleshooting Common Issues
If your cookies come out too flat, check the butter temperature. It should be warm, not hot, when mixed with sugars. If they are too dry, you might have added too much flour. Measure carefully. If you find your cookies spreading too much, try chilling the dough longer. If they taste too salty, ensure you measure the sea salt correctly. Use flaky sea salt for a nice sprinkle on top.
Pro Tips
- Brown the Butter Properly: Make sure to watch the butter closely as it browns; it can go from perfect to burnt very quickly. The nutty aroma is your cue to remove it from the heat.
- Chill the Dough: Don’t skip the chilling step! Refrigerating the dough helps the flavors develop and ensures your cookies won’t spread too much while baking.
- Use Quality Chocolate: Opt for high-quality semi-sweet chocolate chips for the best flavor. The chocolate is a key component, so choose one that you love to eat.
- Perfect Baking Time: Keep an eye on the cookies as they bake. They should be slightly underbaked in the center for that chewy texture, as they will continue to cook on the baking sheet after being removed from the oven.
Variations
Add-Ins and Mix-Ins
You can make these chewy brown butter chocolate chip cookies even more special with add-ins. Try adding nuts for crunch. Walnuts or pecans work great. You could also include dried fruit, like cranberries or cherries, for a sweet twist. For a touch of spice, mix in a teaspoon of cinnamon or even a dash of espresso powder. These small changes can create a completely new flavor profile.
Different Chocolate Options
While semi-sweet chocolate chips are a classic, don't feel limited to just that. You can use dark chocolate chips for a richer taste. Milk chocolate chips add a sweeter touch, perfect for those with a sweet tooth. If you like a burst of flavor, try adding white chocolate chips or even peanut butter chips. Mixing different types of chocolate can make each bite unique and exciting.
Dietary Substitutions (Gluten-Free, Vegan)
If you need gluten-free cookies, swap the all-purpose flour for a gluten-free blend. Make sure the blend has xanthan gum for better texture. For a vegan option, replace the butter with coconut oil or vegan butter. Use flax eggs instead of regular eggs; mix one tablespoon of ground flaxseed with three tablespoons of water, letting it sit for five minutes. These substitutions keep the cookies tasty while meeting dietary needs.
Storage Info
Best Ways to Store Cookies
To keep your chewy brown butter chocolate chip cookies fresh, store them in an airtight container. This helps trap moisture and keeps them soft. You can also use wax paper between layers to prevent sticking.
If you want to keep them even longer, consider freezing them. Place cooled cookies in a freezer bag. Squeeze out the air and seal it tightly.
Shelf Life of Brown Butter Chocolate Chip Cookies
When stored properly, these cookies can last about a week at room temperature. If you freeze them, they can last up to three months. Just make sure to label your bags with the date.
Reheating Recommendations
To enjoy your cookies warm, preheat the oven to 350°F (175°C). Place cookies on a baking sheet and heat for about 5 minutes. You can also use a microwave for a quick fix. Heat for about 10-15 seconds. Just don’t overdo it, or they may become tough. Enjoy them fresh!
FAQs
What makes these cookies chewy?
The key to chewy cookies lies in the brown butter and the sugars used. Brown butter adds a rich, nutty flavor and moisture, which helps create that delightful chewiness. The brown sugar, which retains more moisture than granulated sugar, also plays a big role in this. When you mix the two, they create a soft texture that is hard to resist.
Can I freeze the dough?
Yes, you can freeze the dough! It’s a great way to have fresh cookies on hand. To freeze, scoop the dough into balls and place them on a baking sheet. Freeze them until solid, then transfer the balls to a freezer bag. You can store them for up to three months. Just bake them directly from the freezer, adding a couple of extra minutes to the baking time.
How do I know when the cookies are done baking?
You’ll know the cookies are done when they are lightly golden around the edges but still soft in the middle. They may look a bit underbaked, but they will firm up as they cool. Keep an eye on them, as baking times can vary based on your oven. It’s better to take them out a little early than to overbake!
In this article, I covered essential ingredients, step-by-step instructions, and useful tips for making brown butter chocolate chip cookies. Understanding substitutes, baking methods, and storage can enhance your cookie-making experience. Remember, achieving that perfect chewy texture is key to delicious cookies. With these insights and techniques, you can enjoy baking confidently. Now, get in that kitchen, experiment with variations, and savor the rewards of your hard work! Happy baking!