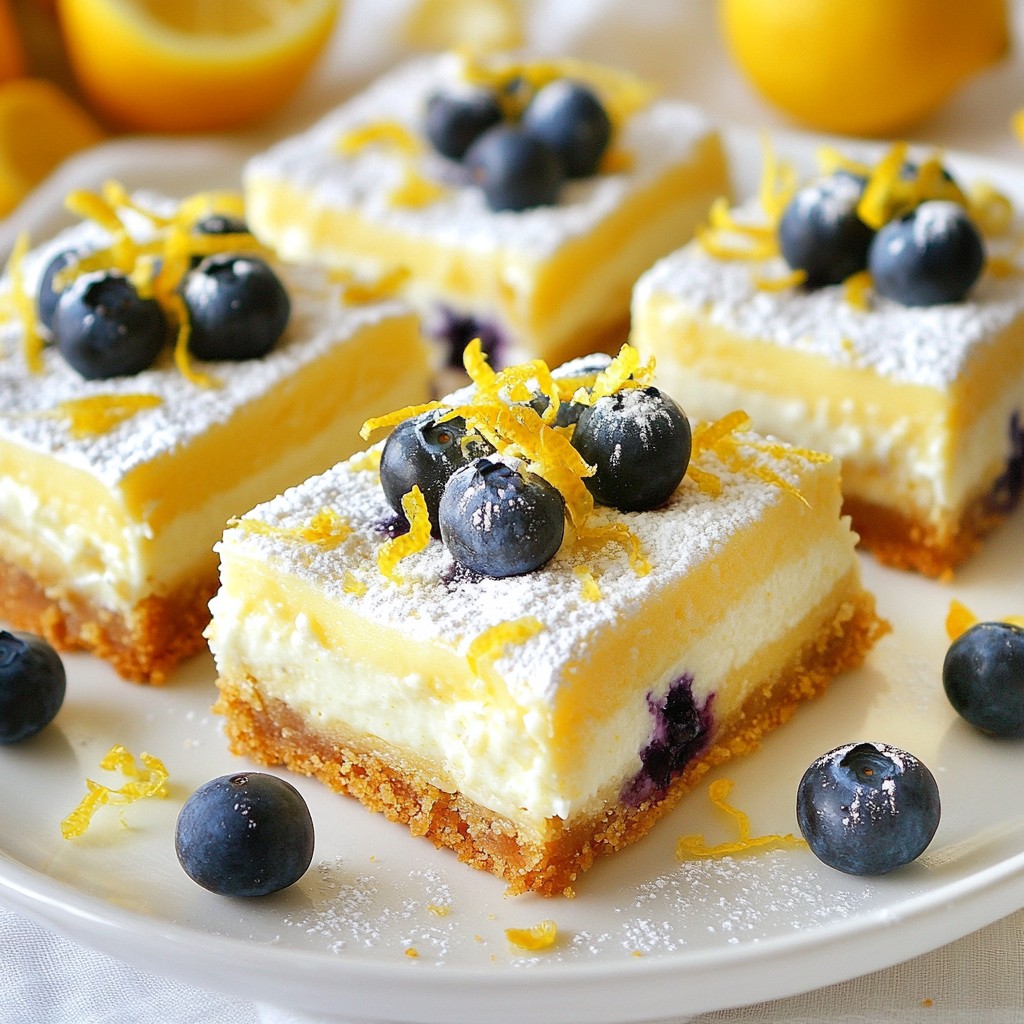
Looking for a dessert that's both simple and delicious? You’ve found it! These Blueberry Lemon Cheesecake Bars are a treat everyone will love. With a creamy filling, a crunchy crust, and just the right amount of tartness from fresh lemons and blueberries, this recipe checks all the boxes. Get ready to impress family and friends with a dessert that’s as easy to make as it is tasty! Let’s dive into the details!
Why I Love This Recipe
- Delicious Flavor Combination: The tartness of lemon perfectly complements the sweetness of blueberries, creating a refreshing and delightful taste.
- Easy to Make: This recipe is straightforward, with simple steps that make it accessible for bakers of all skill levels.
- Perfect for Any Occasion: Whether it's a summer barbecue, a holiday gathering, or just a family dessert, these bars are sure to impress.
- Make-Ahead Dessert: These cheesecake bars can be made in advance and stored in the fridge, making them a convenient option for busy days.
Ingredients
List of Ingredients
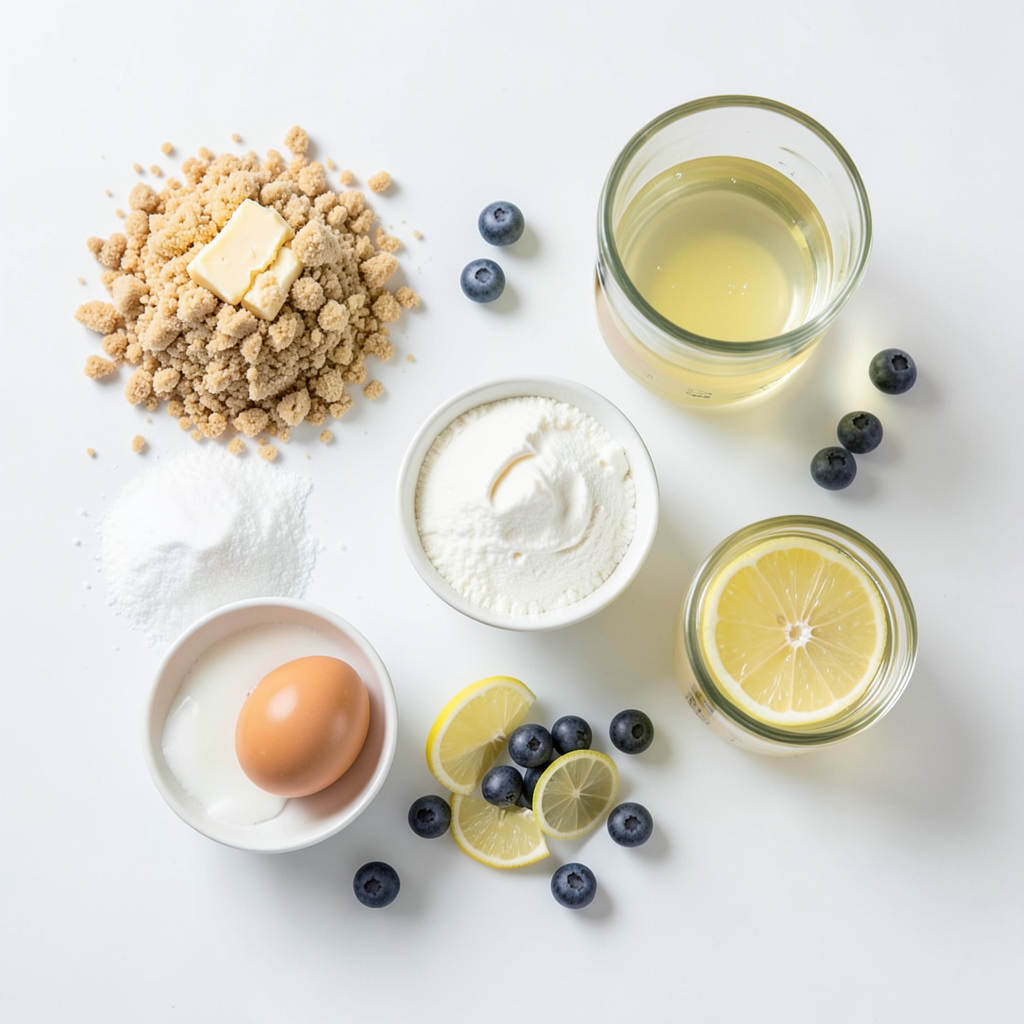
To make these blueberry lemon cheesecake bars, you will need:
- For the Crust:
- 1 ½ cups graham cracker crumbs
- ½ cup unsalted butter, melted
- For the Filling:
- 2 cups cream cheese, softened
- 1 cup granulated sugar
- 2 large eggs
- 1 teaspoon vanilla extract
- Zest of 2 lemons
- ½ cup fresh lemon juice
- 1 cup fresh blueberries
Optional Toppings and Garnishes
To make your bars even more special, consider adding:
- Powdered sugar for dusting
- Extra fresh blueberries for garnish
- Lemon zest for a bright touch
These ingredients combine to create a perfect balance of sweet and tart flavors. You will love the creamy texture and the fresh taste of blueberries.
Step-by-Step Instructions
Preparing the Crust
To start, mix graham cracker crumbs and melted butter in a bowl. Use a fork or your hands to blend them well. You want the mix to look like wet sand. Once it's ready, grab a greased 9x9-inch baking dish. Press the crumb mixture firmly into the bottom. Make sure it’s even across the dish. Bake it at 350°F (175°C) for 10 minutes. This step helps form a strong base for your bars. After baking, let the crust cool slightly before adding the filling.
Making the Cheesecake Filling
Now, let’s make the cheesecake filling. In a large bowl, beat softened cream cheese and granulated sugar with an electric mixer. Keep mixing until it’s smooth and creamy. This part is key for a good texture. Next, add the eggs, vanilla extract, lemon zest, and lemon juice. Beat again until everything is fully mixed. You want it nice and creamy.
Baking and Cooling Steps
Pour the cheesecake filling over the baked crust. Spread it out with a spatula to make it even. Bake the cheesecake for 25 to 30 minutes. Check it by looking for set edges and a slightly jiggly center. When it’s done, let the bars cool at room temperature for about 30 minutes. Then, place them in the fridge for at least 4 hours. This chilling time helps them firm up nicely. After they are set, slice them into squares to serve. Enjoy!
Tips & Tricks
Perfecting Your Cheesecake Bars
To achieve the ideal texture in your blueberry lemon cheesecake bars, focus on two key steps. First, make sure your cream cheese is softened. This helps it blend smoothly with the sugar. Second, do not overbeat the mixture once you add the eggs. Overbeating can trap too much air, which leads to cracks. Gently mix until just combined for a creamy texture.
To avoid cracks in your cheesecake, bake at a lower temperature. A hot oven can cause the top to puff and crack. Instead, bake at 325°F (160°C) for a gentler cook. Also, let the bars cool in the oven for a bit after baking. This gradual cooling helps prevent cracks.
Serving Suggestions
For a beautiful presentation, dust the top of your cheesecake bars with powdered sugar. Add fresh blueberries and lemon zest as a garnish. Arrange the bars on a decorative platter to make them pop. This will impress your guests!
Pair these bars with light beverages. Fresh lemonade or iced tea works well. If you prefer something stronger, try a fruity white wine. The flavors of lemon and blueberry blend well with many drinks.
Pro Tips
- Use Room Temperature Cream Cheese: This ensures a smoother batter without lumps, making your cheesecake filling perfectly creamy.
- Fresh Blueberries for Flavor: Always opt for fresh blueberries, as they provide the best flavor and texture compared to frozen ones.
- Chill for Best Results: Allowing the bars to chill overnight enhances the flavors and makes slicing easier.
- Garnish for Presentation: A dusting of powdered sugar and a sprinkle of lemon zest elevate the visual appeal and taste of your dessert.
Variations
Gluten-Free Option
To make these cheesecake bars gluten-free, switch the graham cracker crumbs. Use almond flour or gluten-free cookie crumbs instead. Combine 1 ½ cups of the alternative crumbs with ½ cup melted butter. Mix until it looks like wet sand, just like the original crust. This option gives you a tasty base without gluten.
Vegan Version
For a vegan version, substitute cream cheese with a mix of soaked cashews and coconut cream. Blend 1 cup of soaked cashews with ½ cup of coconut cream until smooth. Replace the eggs with 1/4 cup of unsweetened applesauce or 1 tablespoon of flaxseed mixed with three tablespoons of water. The baking time may need slight changes, so check them around 25 minutes. Ensure they cool completely before serving.
Other Flavor Combinations
You can switch the blueberries for other fruits. Try raspberries or strawberries for a fresh twist. They all pair well with lemon. Mix and match to find your favorite flavor. Adding a touch of lime juice can also give it a zesty kick. Don't be afraid to experiment and have fun with it!
Storage Info
Best Practices for Storing Cheesecake Bars
After making your blueberry lemon cheesecake bars, let them cool down. This step is key. If you skip this, the bars can get soggy. Once cool, cover them tightly with plastic wrap. You can also use an airtight container. This keeps them fresh and prevents any weird smells from the fridge. It’s best to store them in a single layer. Stacking can cause them to lose their shape.
Refrigeration and Freezing Tips
These cheesecake bars last well in the fridge. They stay good for about 5 to 7 days. Make sure they are covered. If you want to keep them longer, freezing is a great option. In the freezer, they can last up to 3 months. Just remember to slice them before freezing. Wrap each piece in plastic wrap, then place them in a freezer bag. This way, you can grab one whenever you want a treat!
FAQs
What is the best way to cut cheesecake bars?
To cut cheesecake bars cleanly, use a sharp knife. Dip the knife in hot water, then wipe it dry before cutting. This helps the knife glide through without sticking. Make straight cuts for nice squares. After each slice, rinse and dry the knife again. This method keeps your bars looking neat and pretty.
Can I make these cheesecake bars ahead of time?
Yes, you can make these cheesecake bars ahead of time. They are great for meal prep. You can prepare them up to two days in advance. Just store them in the fridge. This allows the flavors to blend well. You can also freeze them for up to three months. Just wrap them tightly to prevent freezer burn.
What can I substitute for fresh blueberries?
If you don’t have fresh blueberries, you can use other berries. Raspberries, strawberries, or blackberries work well. You can also use frozen berries; just thaw and drain them first. For a twist, try adding lemon zest or a splash of orange juice for extra flavor. These options keep the dessert fresh and tasty.
You learned how to make delicious cheesecake bars from scratch. We covered the ingredients, step-by-step methods, and helpful tips. You can even try variations for gluten-free and vegan diets. Remember, storage is key to keeping them fresh. With practice, you will master creamy, flavorful bars. Enjoy serving them at your next gathering or savoring them at home. These bars are sure to impress everyone. Happy baking!