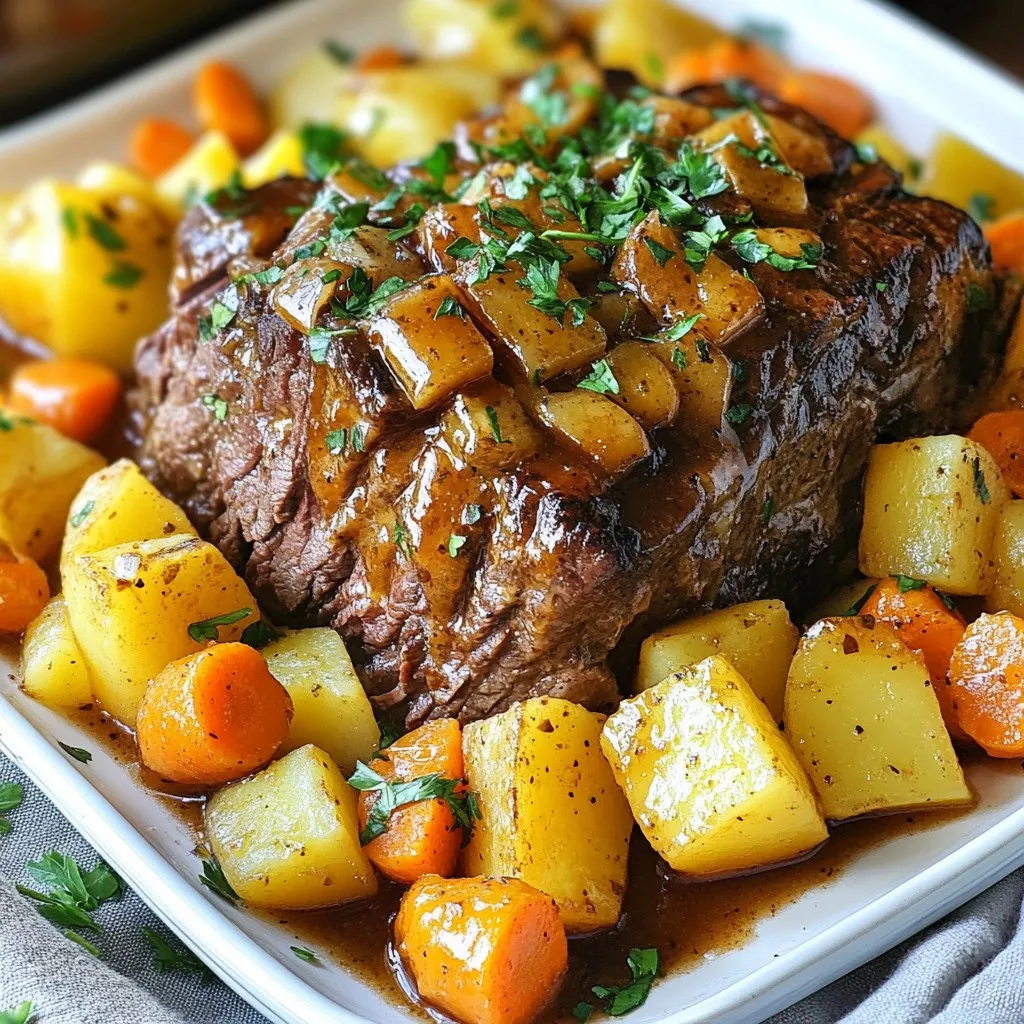
Slow Cooker Pot Roast Simple and Flavorful Meal
Looking for a simple, tasty meal? Slow Cooker Pot Roast is your answer! This dish brings together tender beef, flavorful

Looking for a simple, tasty meal? Slow Cooker Pot Roast is your answer! This dish brings together tender beef, flavorful

Looking for a warm, cozy meal that’s both easy to make and full of flavor? Look no further! This Creamy

Get ready to elevate your baking game with my easy and delicious Cranberry Orange Shortbread Cookies! These cookies blend the

Looking for a delicious and healthy breakfast option? Spinach Feta Egg Muffins are your answer! Packed with nutrients and bursting

If you’re looking for a simple yet bursting-with-flavor dish, you’ve hit the jackpot. Spiced Harissa Chickpeas are not only tasty,

Are you ready to enjoy a sweet twist on a fall classic? In this post, I’ll guide you through an
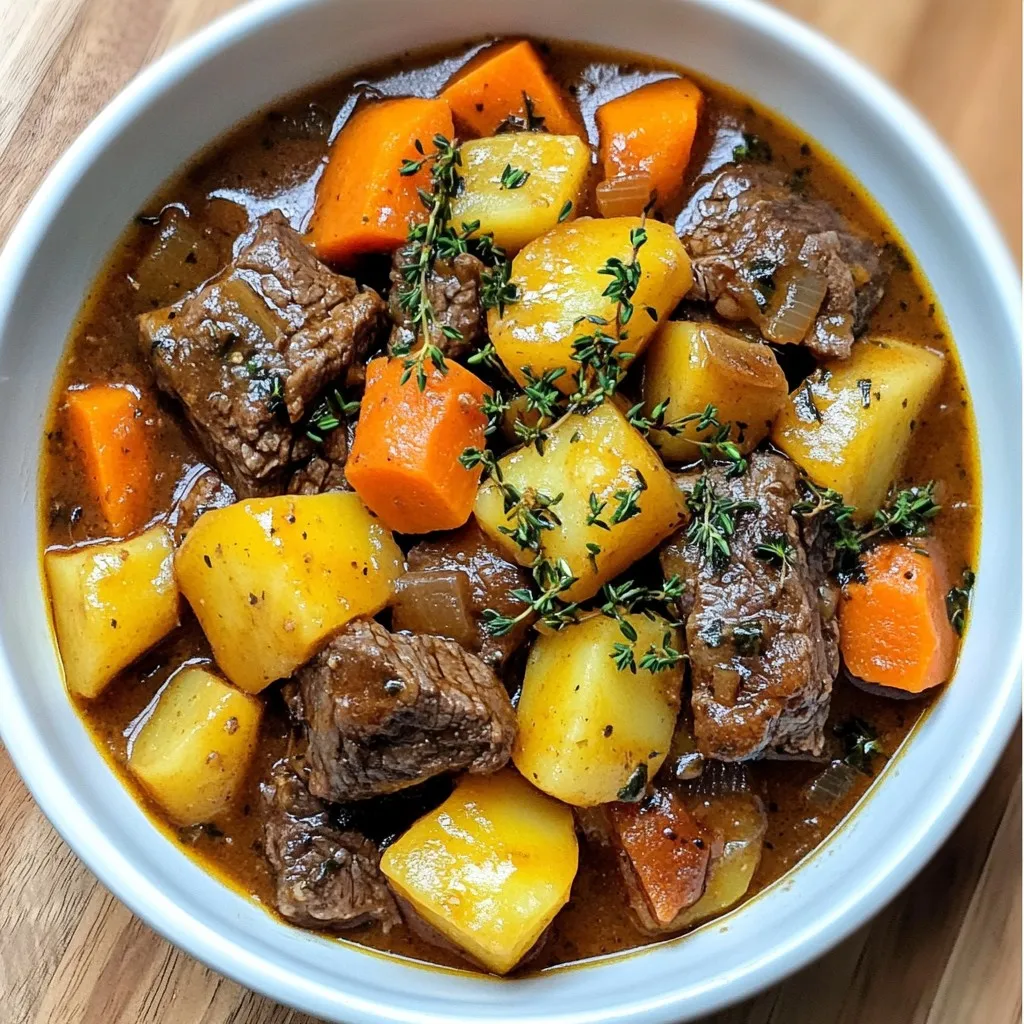
Looking for a warm and filling meal that you can whip up in a flash? This Instant Pot Beef Stew

Whip up a batch of Easy Peppermint Patties that will delight your taste buds! With just a few simple ingredients,

If you crave a quick and easy treat, look no further! These No-Bake Peanut Butter Bars are simple to make

Are you ready to take your side dish game to the next level? These Maple Dijon Roasted Carrots are both
