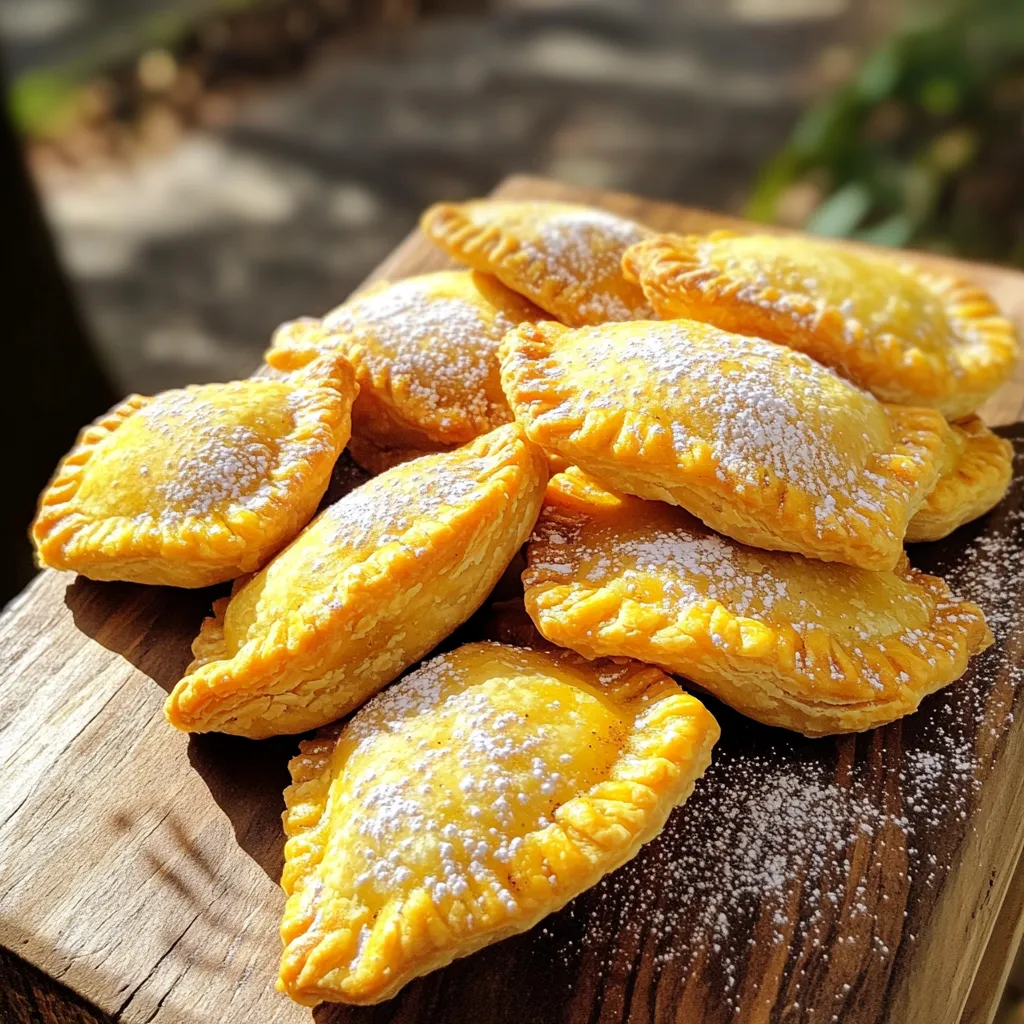
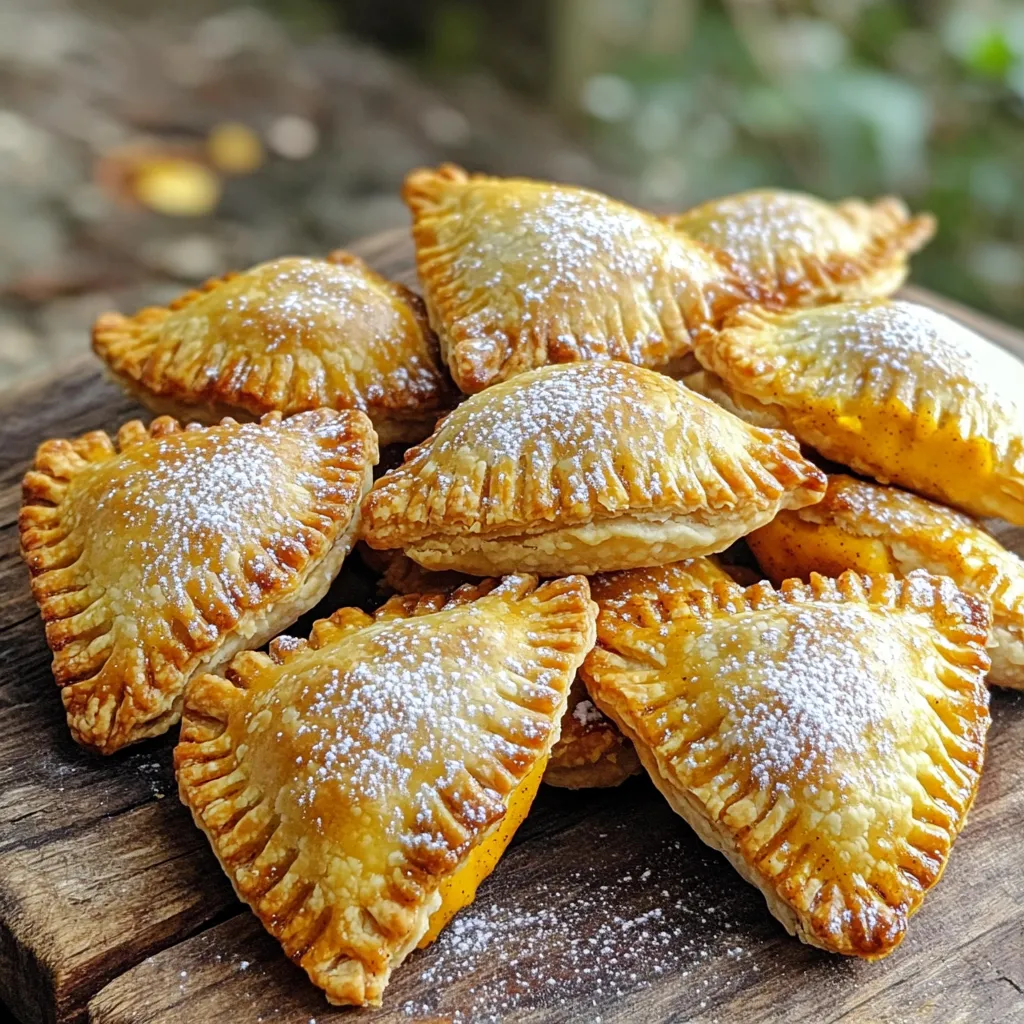
Fall is here, and there’s no better way to celebrate than with Air Fryer Mini Pumpkin Hand Pies! These tasty treats are perfect for cozy gatherings or simple snacks. From rich pumpkin puree to warm spices, every bite brings joy. I’ll guide you step-by-step to create these mini delights, ensuring they’re crisp, delicious, and fun to make. Let’s dive into this easy recipe that captures the essence of autumn!
Ingredients
Main Ingredients
– 1 cup canned pumpkin puree
– 1/2 cup brown sugar
– 1 teaspoon pumpkin pie spice
– 1/4 teaspoon salt
– 1 teaspoon vanilla extract
– 1 tablespoon cornstarch
The main ingredients for these hand pies create a rich and sweet filling. Pumpkin puree gives a smooth texture. Brown sugar adds sweetness. Pumpkin pie spice brings warmth and flavor. Salt balances the sweetness. Vanilla extract adds depth. Cornstarch helps thicken the filling.
Pie Crust and Additional Ingredients
– 1 package refrigerated pie crusts (usually contains 2 crusts)
– 1 egg (for egg wash)
– 1 tablespoon milk (for egg wash)
– Optional: powdered sugar for dusting
The pie crust is key for a flaky outer layer. I use refrigerated pie crusts for convenience. They save time and taste great. For the egg wash, mix one egg and milk. This gives a golden finish to the pies. Dusting with powdered sugar is optional, but it adds a nice touch.
Step-by-Step Instructions
Preparing the Filling
To make the filling, grab a medium bowl. Add 1 cup of canned pumpkin puree, 1/2 cup of brown sugar, 1 teaspoon of pumpkin pie spice, and 1/4 teaspoon of salt. Don’t forget 1 teaspoon of vanilla extract and 1 tablespoon of cornstarch. Mix all the ingredients well until they blend nicely. This mix will be sweet and spicy, perfect for fall. Once it’s well mixed, set the filling aside while you prepare the crusts.
Assembling the Hand Pies
Next, roll out your refrigerated pie crust. Use a lightly floured surface to prevent sticking. Take a round cutter, about 4-5 inches in diameter, to cut out circles. You should get around 10-12 circles from one package. Now, take one circle and place about 2 tablespoons of the pumpkin filling in the center. Be careful not to overfill, or it might leak. Fold the crust over to make a half-moon shape. Press the edges to seal. Use a fork to crimp the edges for a secure seal.
Cooking Process
Before cooking, preheat your air fryer to 350°F (175°C). While it heats, prepare an egg wash by whisking 1 egg and 1 tablespoon of milk in a small bowl. Brush this mixture on top of each hand pie. This gives them a golden finish. Place the hand pies in a single layer in the air fryer basket. Make sure to leave space between them for air flow. You might need to cook in batches if your air fryer is small. Air fry the hand pies for 10-12 minutes or until they turn golden brown and crisp. Once done, remove them and let them cool slightly on a wire rack. If you like, dust them with powdered sugar before serving for a sweet touch.
Tips & Tricks
Perfecting the Pumpkin Filling
To make the filling just right, you can adjust the sweetness and spice levels. If you like it sweeter, add more brown sugar. For more spice, increase the pumpkin pie spice. Always taste as you mix. This helps you find your preferred flavor.
The right consistency is key too. The filling should be thick, not runny. If it seems too loose, add a bit more cornstarch. It helps hold everything together.
Ensuring Optimal Cooking
When cooking in the air fryer, placement matters. Arrange the hand pies in a single layer. Make sure there’s space between each pie. This allows the hot air to circulate and cook them evenly.
Cooking times depend on the size of your hand pies. If you make them smaller, check them after 8 minutes. Larger pies may need a few extra minutes. Always keep an eye on them for the perfect golden brown.
Making Them Ahead
You can prepare the filling in advance. Just keep it in the fridge for up to two days. This saves time when you are ready to bake.
If you want to freeze the hand pies, do this before cooking. Assemble the pies and place them on a tray. Once they are frozen, transfer them to a bag. This way, you can cook them straight from the freezer when you want a treat.
Variations
Flavor Enhancements
You can make these mini pumpkin hand pies even more fun. Adding chocolate chips gives them a sweet twist. Just sprinkle in about 1/4 cup of chips when mixing the filling. You’ll love how the chocolate melts and blends with the pumpkin.
You can also try nuts for a crunch. Chopped pecans or walnuts work great. Just mix in about 1/4 cup. They add a nice texture and flavor to each bite.
Using different spices can change the taste too. You might enjoy adding a pinch of nutmeg or ginger. This gives a warm, cozy flavor. Experiment with what you like best!
Dietary Alternatives
If you need a gluten-free option, don’t worry. You can use gluten-free pie crusts. Many stores sell these now. Just follow the same steps as with regular crusts.
For dairy-free hand pies, swap the egg wash and milk. Use almond milk or coconut milk for brushing. You can skip the egg wash altogether if you want. Your pies will still taste delicious!
Storage Info
Storing Leftover Hand Pies
To keep your mini pumpkin hand pies fresh, store them properly. You can refrigerate or freeze them. If you choose to refrigerate, place them in an airtight container. They will stay good for up to 3 days.
For longer storage, freezing is best. Wrap each pie in plastic wrap and place them in a freezer bag. This method helps prevent freezer burn. They can last up to 2 months in the freezer. When you’re ready to enjoy them, just thaw in the fridge overnight before reheating.
Reheating Instructions
To reheat your hand pies, use the air fryer for the best results. Preheat the air fryer to 350°F (175°C). Place the hand pies in the basket and heat for 5-7 minutes. This method keeps them crispy.
If you use a microwave, be careful. It can make the crust soggy. To avoid this, place a paper towel under the pie when microwaving. This will help absorb excess moisture. Enjoy your tasty treats warm!
FAQs
How do I prevent the filling from leaking?
To keep the filling from leaking, focus on sealing techniques. After you place the filling on the crust, fold it over carefully. Press the edges firmly to seal. Use a fork to crimp the edges. This adds a strong seal and looks nice too.
Another way to prevent leaks is by adjusting filling amounts. Use about 2 tablespoons of filling per pie. Too much filling makes it hard to seal. If you keep the filling balanced, you’ll have less chance of leaks.
Can I use fresh pumpkin instead of canned?
Yes, fresh pumpkin is a tasty option. To cook with fresh pumpkin, start by peeling and chopping it into pieces. Boil or roast the pieces until soft, then mash them into a puree. This takes more time but adds great flavor.
When adjusting the recipe for fresh puree, you may need to tweak the moisture. Fresh pumpkin can be wetter than canned. You might want to add a bit more cornstarch to help thicken the filling. This keeps the texture just right.
What air fryer settings should I use?
For air frying these hand pies, set your air fryer to 350°F (175°C). This temperature cooks them evenly and gives a nice golden color. Cook for about 10-12 minutes. Check them often as air fryers can vary.
If you have different air fryer models, cooking times may shift. Some may cook faster while others take longer. Always check for a golden-brown color on the pies to know they’re done.
You learned about making delicious pumpkin hand pies. We covered key ingredients like pumpkin puree, brown sugar, and pie crusts. I shared easy steps for mixing filling and cooking. Explore tips for perfecting flavor and cooking, plus tasty variations. Remember to store your pies right and reheat them well. With this guide, you’ll enjoy tasty treats any time. Dive in and enjoy your pumpkin hand pies!